
|
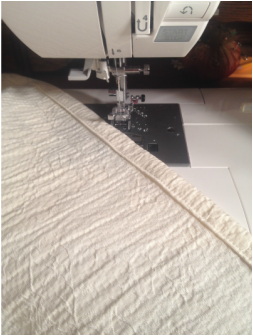
There are a lot of guides for machine quilting out there, but that may be where most of the information on sewing large projects stops. My sewing machine has an attachable quilting table, but I've never used it. After sewing curtain panels 90+ in long (and also a few basic quilts) I have come up with a few tips that help, from measuring and cutting to sewing and finishing. 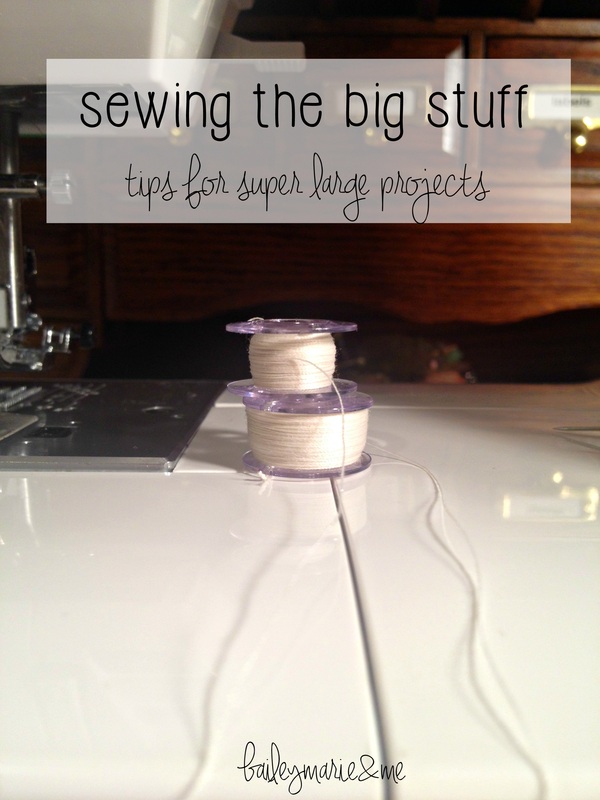 1. Wind up extra bobbins! You do not want to let out a sigh of relief after a 100 inch hem only to realize your bobbin ran out a few stitches in. 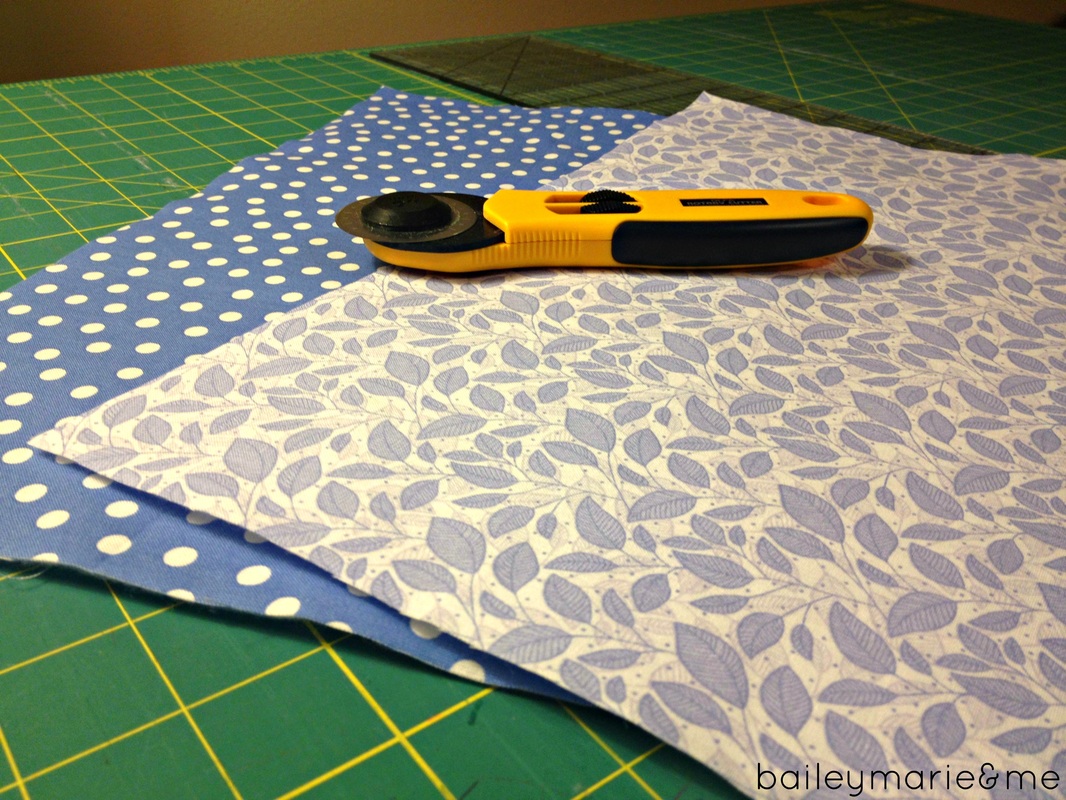 2. Don't stress too much about straight lines. Add a few inches to your measurements - and measure 3 times because those flexible tape measures can be squirrely. To me, a large project means too large to cut rotary on a mat. This means you need sharp scissors and a big open space! Also...vacuum your floor first. Divide your total length into thirds or fourths, measure out that length, and then carefully fold your fabric so it is easier to cut.
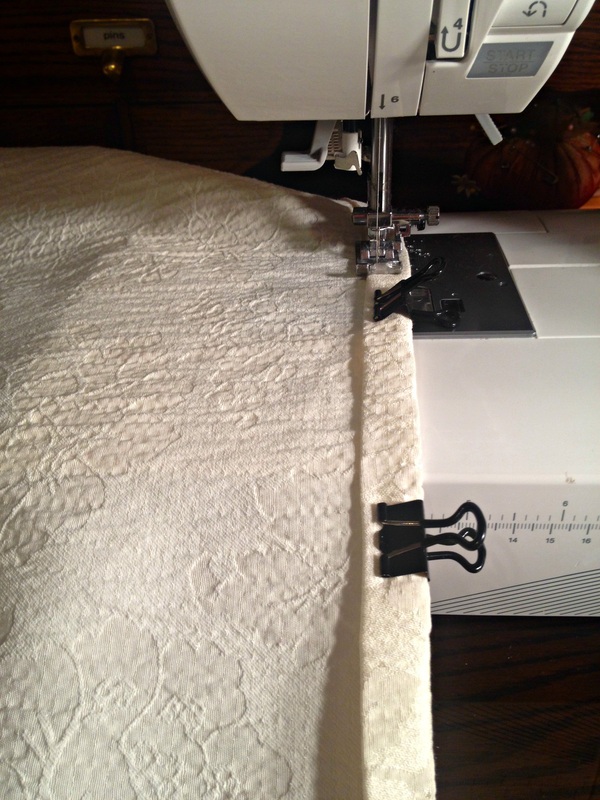
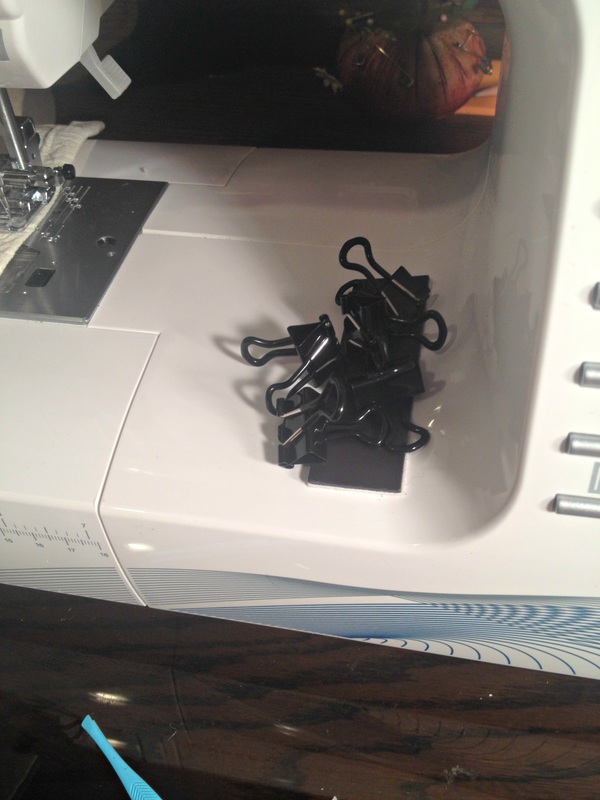
3. Skip the pins. I swear by these binder clips - the ones with plastic coating. Believe me, you'll wish you got the ones with plastic coating when your fingers are numb. I used 3M tape to adhere a kitchen magnet to my sewing machine where I can throw pins and binder clips as I sew. Highly recommended! 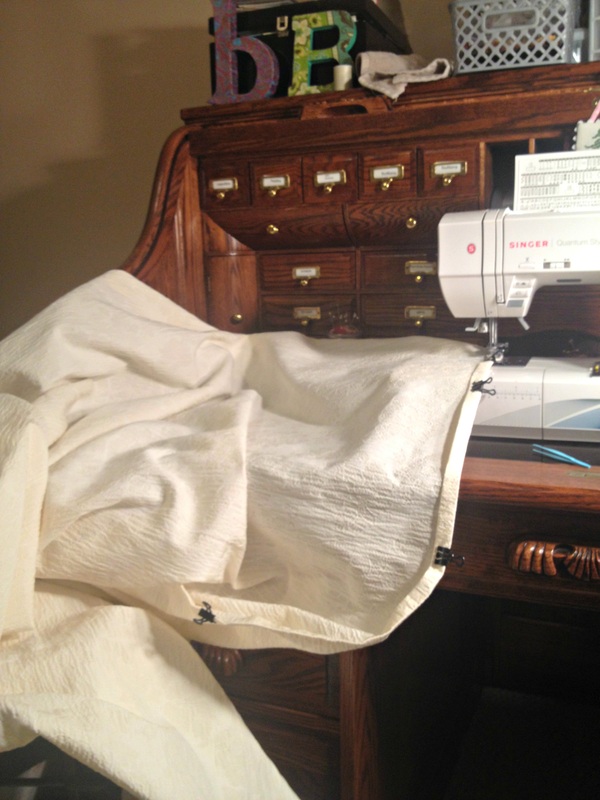 What large projects have you undertaken?
-Bailey
5 Comments
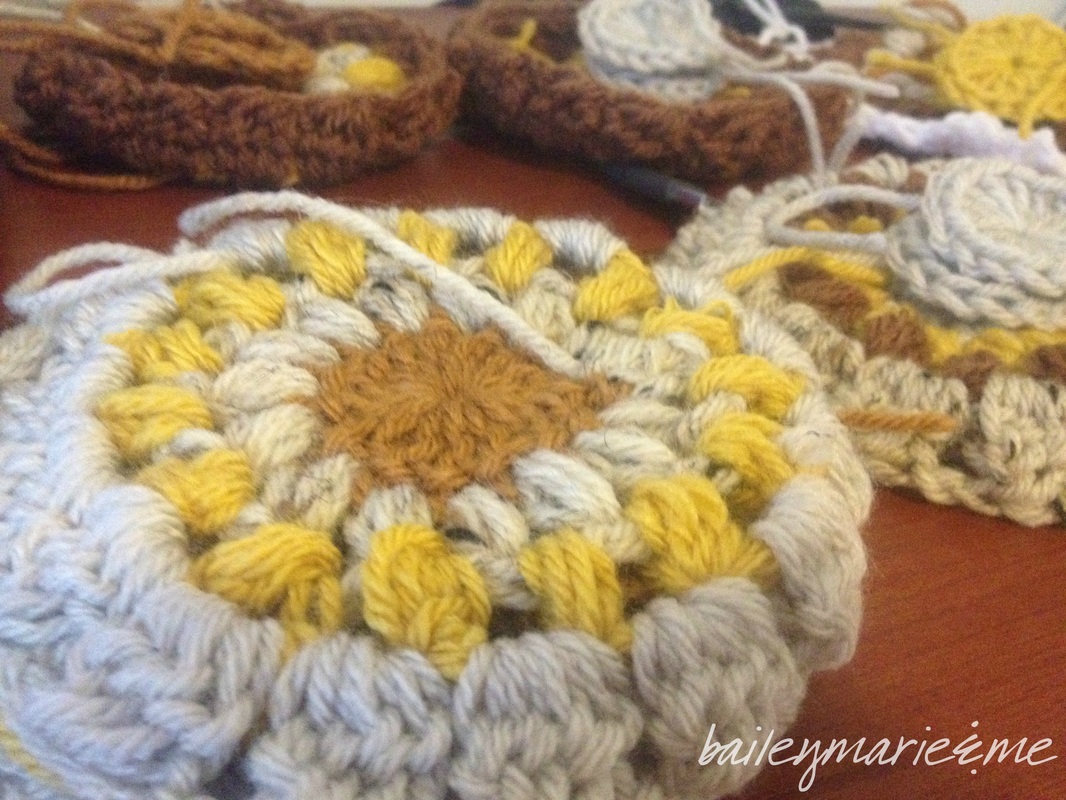
This blog post contains affiliate links for Amazon, however this is not a sponsored post and all opinions are my own. Last year I crocheted this giant granny square blanket. Giant is relative to a normal 4-5 row granny square...but its really a lap blanket. I resorted to the granny blanket method because it guarantees you straight sides (something I may or may not struggle with...). It also turned out to be my fiance's favorite blanket to cuddle up with. Remember I said it was a lap blanket...? I'll let your imagination paint that picture. But really, the granny square method for a blanket is nice because it doesn't have too many holes but it's also not too dense. The drape of the "fabric" is great, too. Obviously in love with these yellow-gray-brown color combinations, I set out to make the granny blanket a RECTANGLE (cue oohs and aws) but adding traditional granny squares. I did this. And then took it all out. The drape of the traditional granny squares was so much flimsier than the center square, and it drove me crazy. Yes, now I have a gazillion tiny yarn balls [picture coming soon]. But I will find something to do with them... 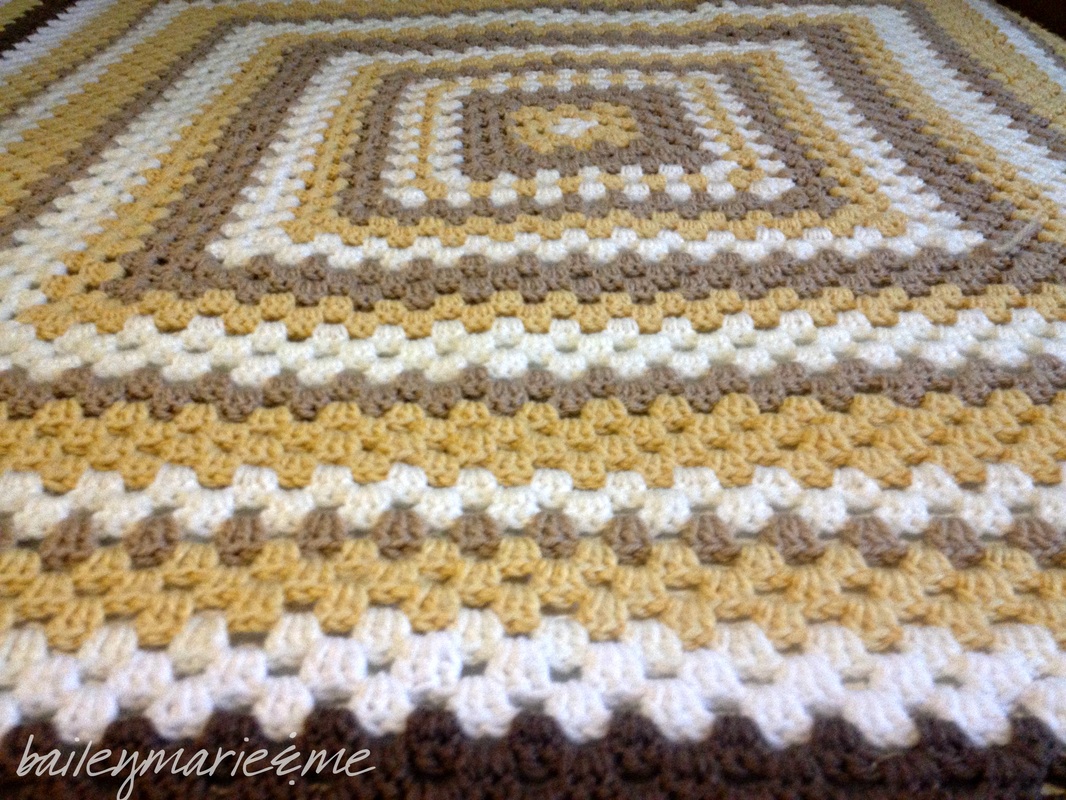
My favorite afghan yarn is Lion Brand Vanna's Choice - it's just soft enough and is an Amazon add-on product. I am also partial to the aluminum hooks - they stay so cool in your hands.
Stay tuned for more projects! I learned how to knit! What needle projects are you working on now? Bailey Do you have an overflowing pile of fabric scraps? I particularly have a number of squares from creating box-bottom bags. Well, I just sewed some great curtains, and wanted to make some curtain tie backs. What could be cuter than fabric flowers? 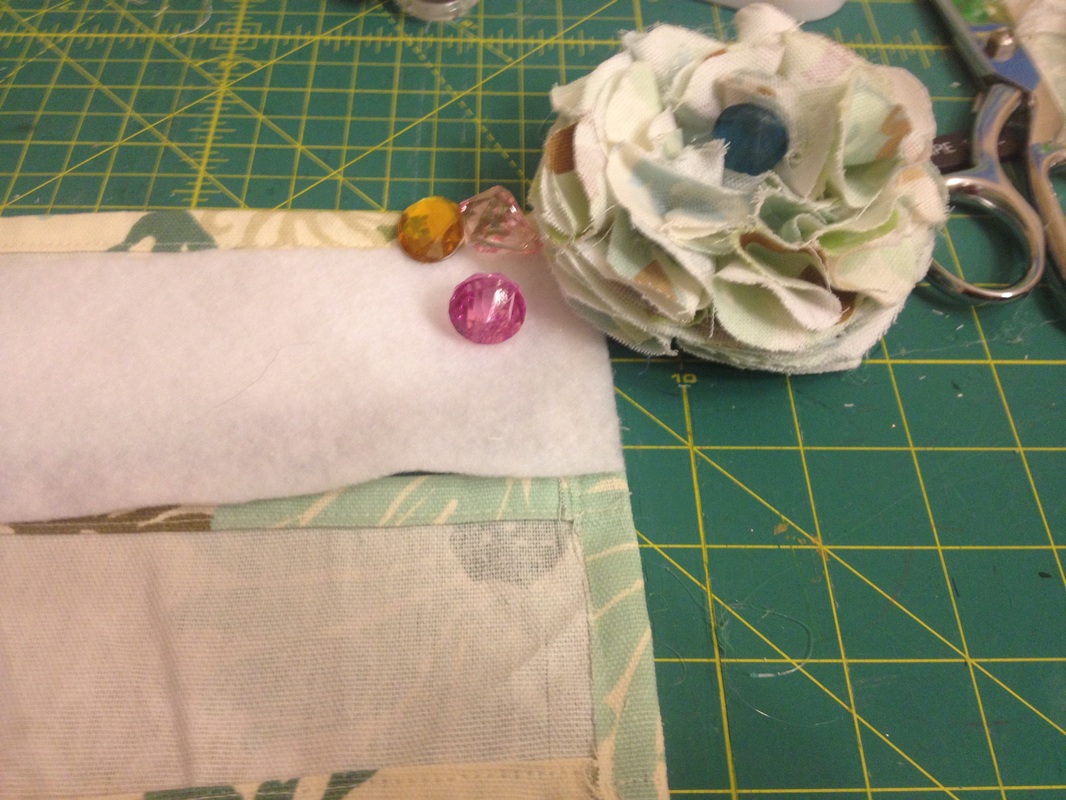 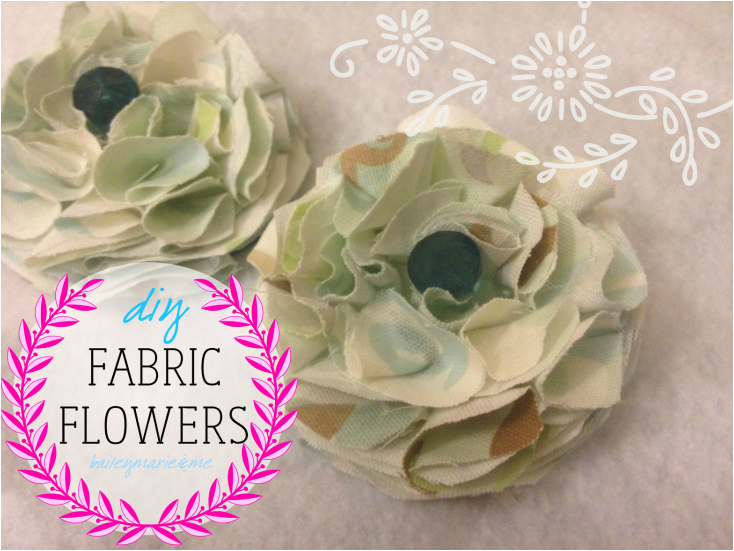 For the flowers:
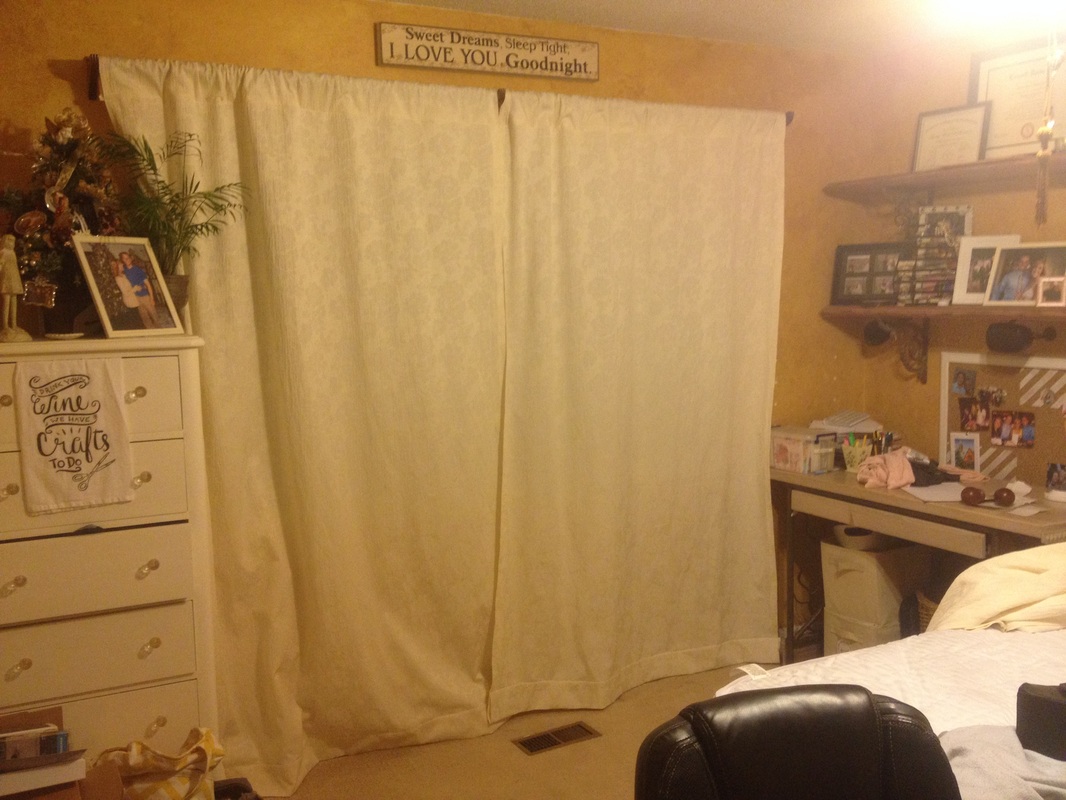
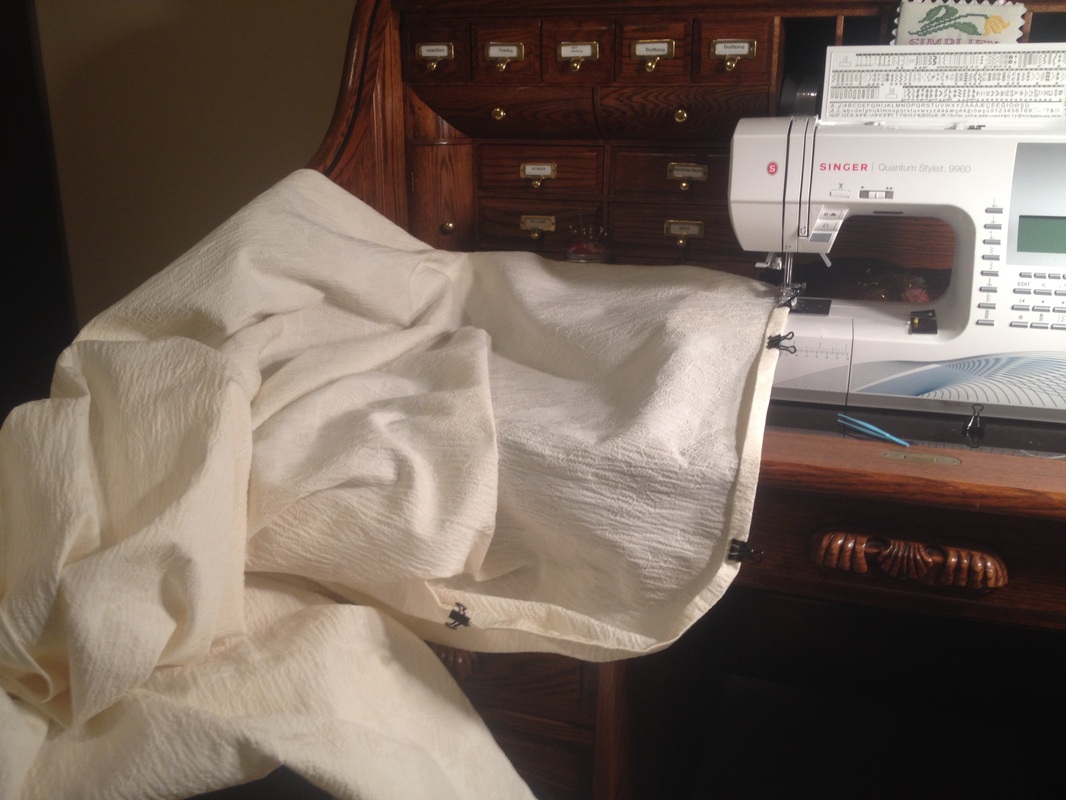
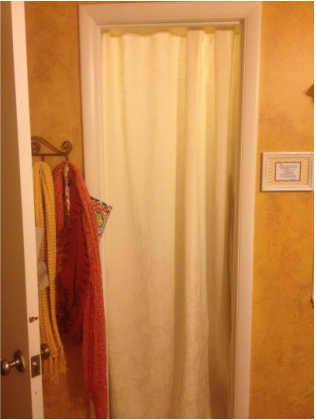
Squares of home decorating weight fabric Bead or rhinestone for center Hot glue Felt square Cut the fabric squares into circles. Fold them, right sides in, into fourths. Use the felt square as your base and glue them down around the edge. Build up until you get the height you want. Finish off with a bead or rhinestone in the center. For the tie-back: My original plan was to use magnets, and I built this elaborate plan to use felt cut down, insert magnets, and attach. But these flowers (about the size of your hand) were too heavy. As soon as I snapped them around the curtains, they just slid down. In the mean time, I am using safety pins (chic, right?) I highly suggest velcro Measure around your curtains. This is the length of your rectangle. Now decide on a width that will support your flower. That is the width of the rectangle. Add 1-inch. Cut out 1 rectangle per tie back, fold, iron, and hem each side. If you are using iron-on batting/interfacing, wait. If you are using sew in, sew it in with the hemming. Attach your flower with hot glue to the center of your rectangle. Attach velcro to the two ends so they overlap cleanly. Ta da! What else could you use these flowers for? Bailey 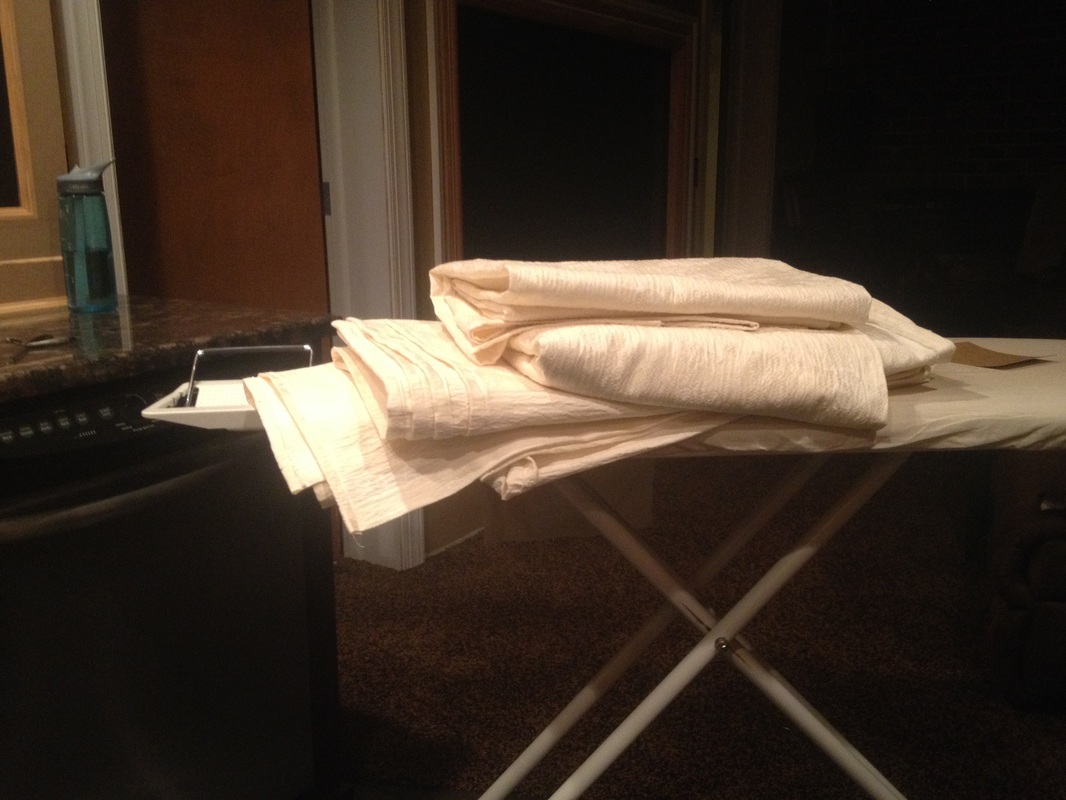 This blog post contains affiliate links to products I used to complete the project. I was not sponsored to write this post and all opinions are my own. If you can hem, you can sew curtains. The decision comes to how you want the curtain to hang. You can sew extended tabs that you see at the top, you can sew tabs on the back of your curtains, or you can sew a large pocket. I went with the large pocket method. Sewing curtains is really great practice for cutting and sewing large pieces of fabric. I suggest searching Pinterest for curtain styling so you can decide how many panels you want, and how you want them to hang. And then you need to measure. Like, measure 5 times. Measure the entire width of the curtain rod/area to hang, then measure from rod to window sill, and rod to floor. Decide how many panels you want, and then decide what width they should be. Add extra length to the curtains and then adjust by hemming later. Did you see my furniture makeover with chalk paint? In high school I decided to paint my quaint off-white, flower decorated furniture set bright red. And then a few years later decided that wasn't really my thing. To match, I had hung thick red curtains. We swapped these out for multiple panels of sheer checker fabric. They weren't really doing it for me either because they were a hassle to pull back, and didn't block out much light. We have bolts and bolts of fabric in our basement, so I picked one out to make curtains. Now, if you do not have a ton of fabric lying around, I highly recommend purchasing curtains. There are a number of DIY tutorials for using flat sheets or drop clothes - these are other decent methods if you can't find a pattern or design that speaks to you. But I don't think that going to the fabric shop to purchase yards of soon-to-be curtains is the most cost effective measures. Definitely one of those times when DIY is not always better. Each of those above is a single curtain panel! They ended up being ~96" long and 54 in wide (entire width of bolt). My trick for cutting large pieces of fabric: gather your pins, scissors, and fabric in a large room with empty floor space. Divide your entire length into thirds or quarters. Measure that amount, and fold your fabric to that level. Then keep folding your fabric - three times, four times - and then cut. Ta da!
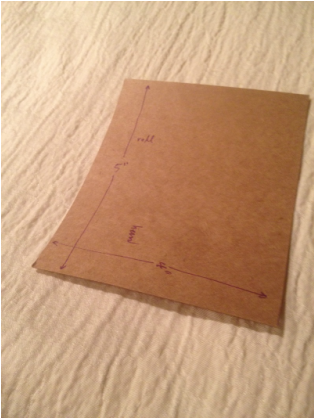
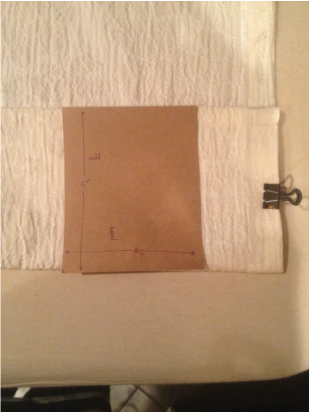
Hem Helpers: cut a piece of cardboard for your top pocket hem ("roll" here - 5") and the bottom hem ("hem" here - 4"). Use it as you iron and fold to make sure your hem is even all the way across.
 Leave questions in the comments!
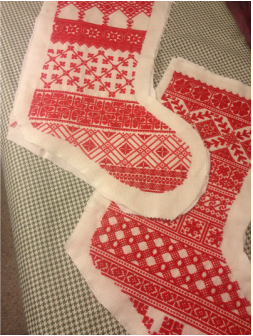
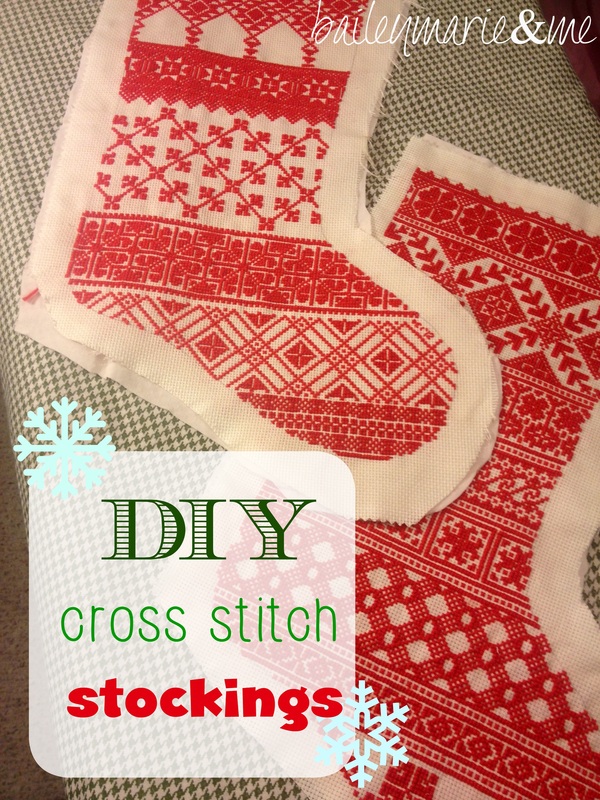
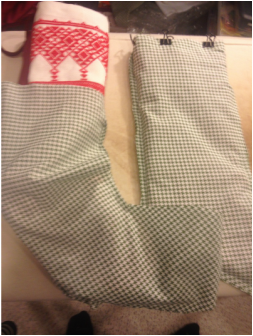
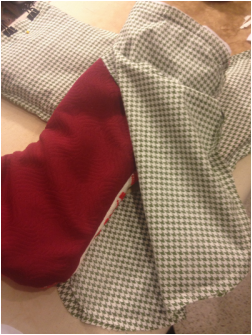
Bailey Hello! You may have seen my Scandinavian-inspired cross-stitch stockings in the past, just waiting to be sewn, finished and hung upon the mantle. Well good news! They have finally found a home.
This post is not meant to be an in-depth tutorial, and assumes intermediate sewing skills. But please feel free to leave any questions or requests for clarifications in the comments and I'll try my best to get back to you in a timely manner.
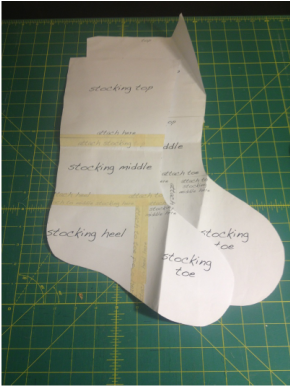
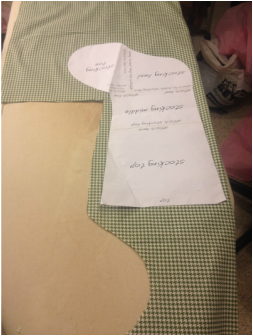
Finishing the StitchingYou'll need a medium weight interfacing or light batting as well as a piece of opaque white fabric to back the cross-stitch portion. Cut the batting and fabric to the large stocking size, and then baste around the edges. 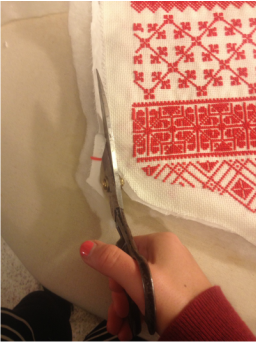 Create the Lining Cut two pieces of lining (large size). Keep in mind what direction the "toe" will go so you have two pieces going the correct way. Stitch these together with 1/2" seam allowance. Set aside.
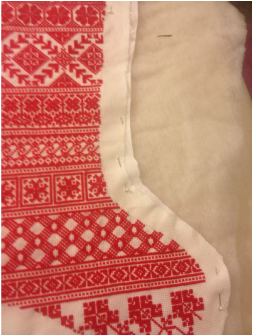
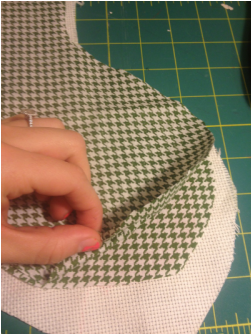
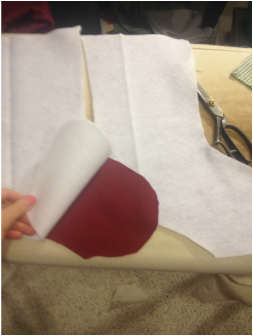
Prep the BackYou only need 1 piece for the backing, facing the correct way as to match up with the stitched front. You will also need a matching piece of interfacing or batting. Baste around the edge of the backing and the batting. Then pin right sides together with the cross stitch, and stitch around the stocking, leaving the top portion open. Don't forget to add your hanging loop!
Putting it all Together You now have two stockings, one of lining and one of the cross stitch + batting + back fabric. Place the cross stitch stocking INSIDE of the lining, right sides facing. Stitch around the top. Pull through the hole you left.
All of Christmas has been put away for quite a while now...so it final product photos may have to wait until next Christmas!
Bailey |
NewsletterSubscribers get first looks at new patterns, sales, giveaways, and more.
Archives
June 2022
Categories
All
Terms of Use: Please link back to my site if you use one of my original tutorials or photos!
|


 RSS Feed
