
|
Update: I have closed my Etsy shop and have linked up the free downloads here. Please comment if you download! Link for instant download at my Bible Study Printables page. 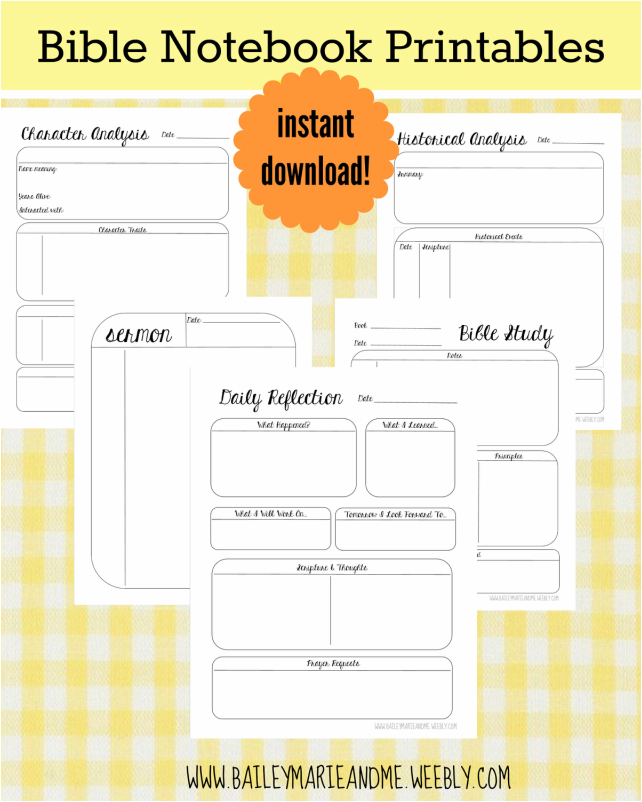
No matter the reason you've found this post, I'm glad you're here! I spent some time thinking over this past Resurrection Sunday about how I can grow closer to God on a daily basis once again - something I've been struggling with. I've missed His presence in my head during the day...stay tuned for a new post soon about how to incorporate Christian music into your day - my go-to method of worship. Thinking about what would help me, and what I would actually use, I developed these printables for a bible notebook of my own. I simply printed these off and glued them into a lined notebook I had on hand. Plus, the black-and-white lends itself nicely to any color additions you may decide to add, depending on your day! Update: I now keep my printouts in a 1/2 inch binder that I can write in. Much less bulky and time consuming than gluing each page on.   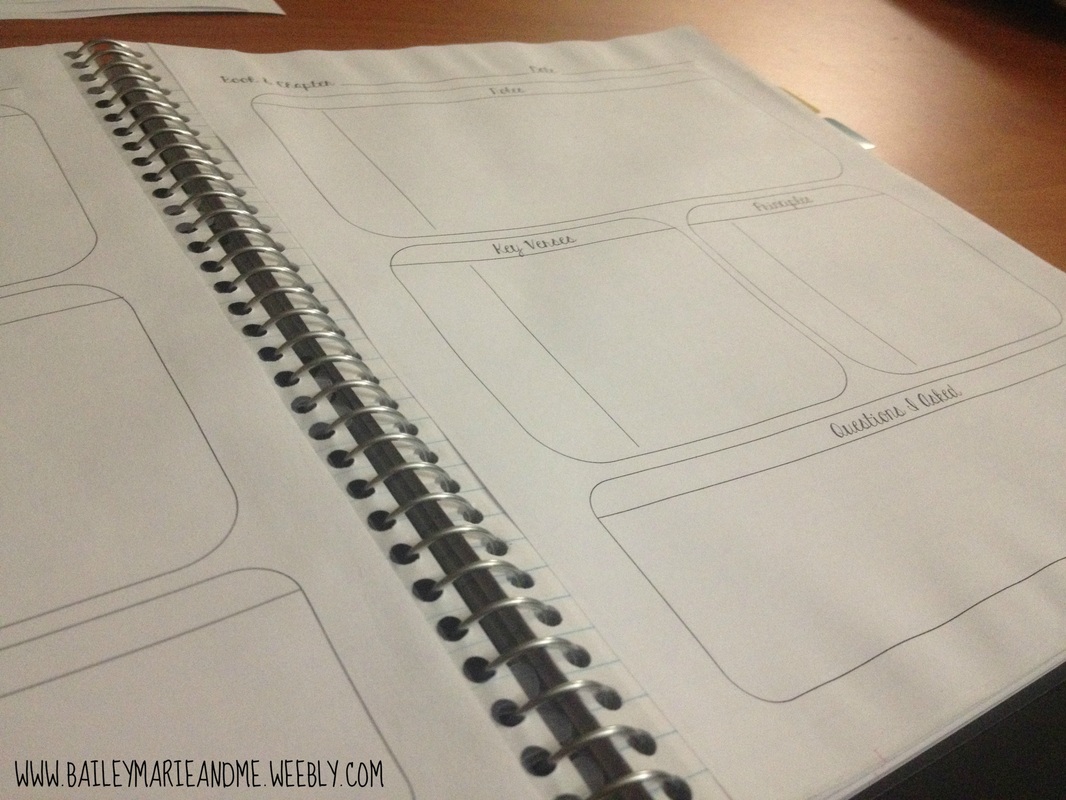 I typically take notes during a sermon in a separate notebook (that looks like a chicken scratched in it) and like to reorganize my thoughts into the sermon printable, organizing key themes with supporting scripture. It's also a way to pull out themes from that Sunday to apply to your week. The bible study printable was developed for book & chapter study. I like to devote an evening to this on Wednesdays, and dive in. Do you ever get some of the people mixed up when reading His Word? It can happen, both in the Old and the New Testament. And don't get me started on lineages! Work it out on paper, instead of chasing your tail in your head, and try the character analysis printable where you dive deeper into one character. I encourage you to utilize any other books you may have or online resources to direct you to additional books they may show up in. Alternatively, you could keep these pages as a "running list" and when you run across this character in the Book, jot down that scripture. Once you have enough, you can start to look it over and ask "What was this person like?" and "What can I learn from them?" and "What is God teaching me through them?". On a similar page, and especially in the Old Testament, it's nice to have a historical background on many of the stories that happen. My pastor often prefaces sermons based on Old Testament scripture with a summary of what was going on at the time because context can help us understand so much more than we would've before. The biblical historical analysis printable is for just that - track Moses' life, track Adam and Eve through the Garden, track the days leading up to Jesus Christ's death on the cross. The topic analysis printable is a running list for you to keep. When you are doing bible study or sermon notes, and there was a theme of pride, forgiveness, trust, etc. start a topic page and add scripture to it. Review it periodically, and/or when you feel like it applies to you or someone close to you. Keep track of these pages on the Table of Contents page. And now to my favorite: the daily reflection printable. This is what started me making all of these because it was truly what I needed to come full circle and see God again. It makes me summarize my day in a small box, and from there I am thinking about all the positives, and what I can work on - looking for the joy in life, looking for where I can practice patience, and apply my prayer requests from the night before. And it ends your day on this positivity, right before you lay down to sleep. Then for scripture & thoughts, I let my Bible fall open on its own, and my eyes choose a chapter, and from there, I read a small section (4-5 verses, those that are grouped). The verses that stand out to me most, I wrote down/summarize, and then pen my thoughts. And lastly, prayer requests, to keep you thinking of others. Love God, love people! Blessings, 
19 Comments
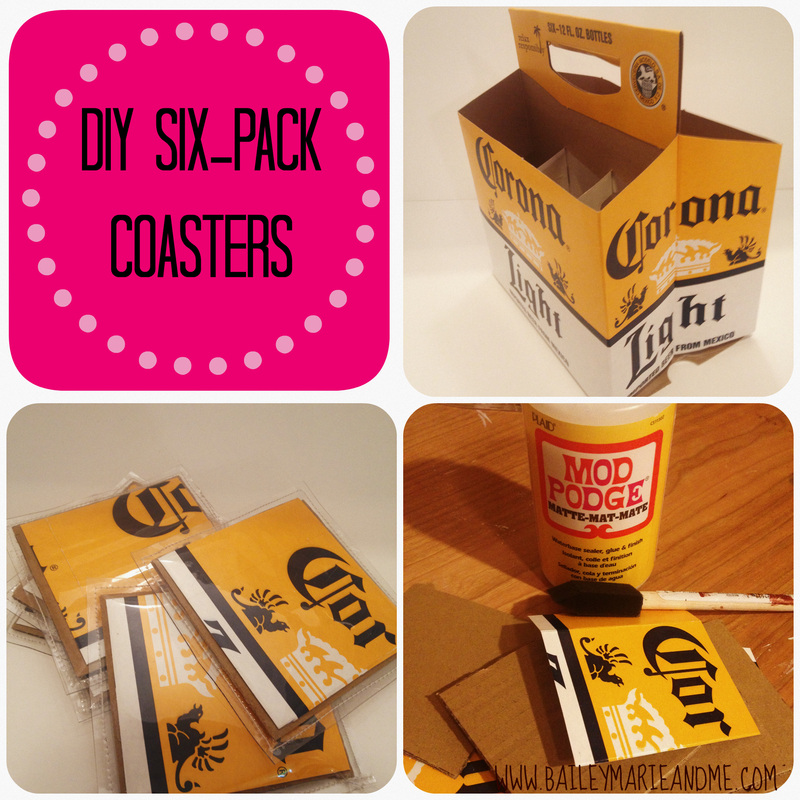
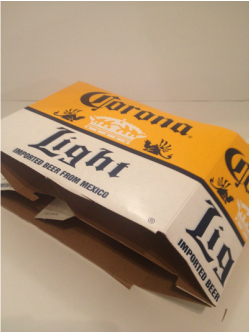
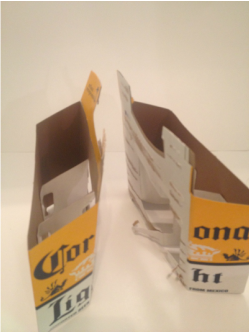
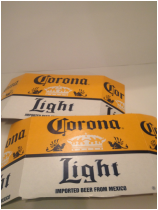
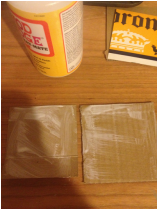
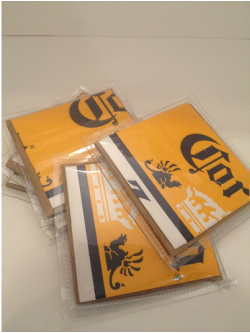
Ever wanted to have some fun, summer, and even "manly" coasters around the house? I made these coasters from the six-pack cardboard of Corona Light last summer and they were a hit! And very easy to make.
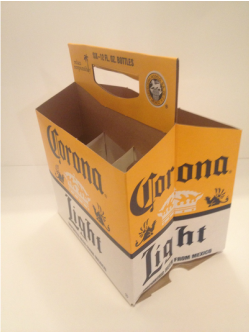
Instructions 1) First we need to disassemble the six-pack to get flat pieces. Carefully cut the bottom off. Then gently peel the sides away from eachother.
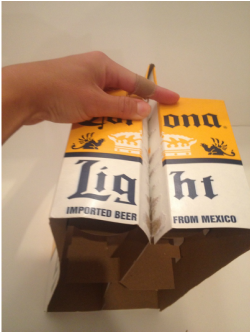
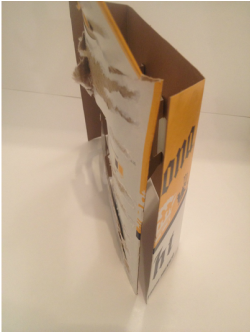
2) Cut off the top handle so you can completely separate the two sides.
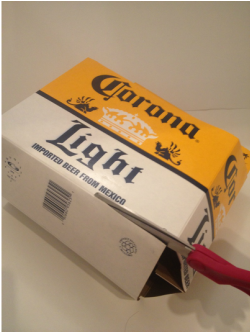
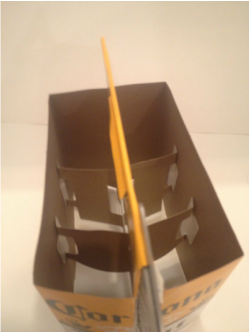
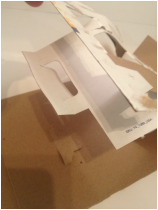
3) Cut down the sides of the center part.
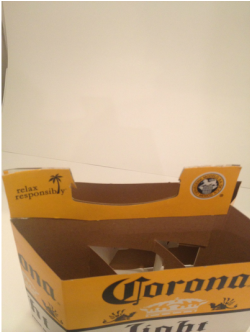
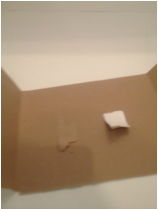
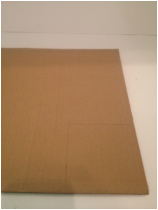
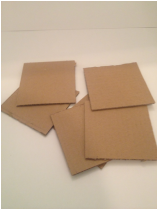
4) Peel back the extra cardboard pieces. Now you have flat pieces!
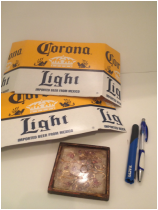
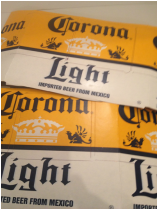
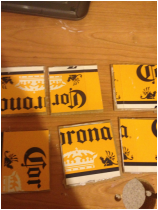
5) Find a coaster the same size that you want these to be (or cut a piece of cardboard to the desired size). Using a pen, trace around the coaster on your cardboard. My goal was to get a bit of blue and white at the bottom because it will translate the whole design to the eye, since you cant get a whole "Corona" on one coaster. Cut out with your scissors (or Xacto knife).
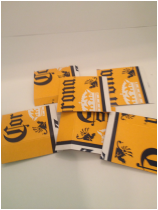
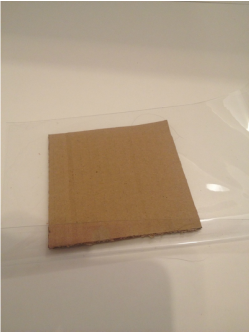
6) Repeat step 5 with your plain cardboard pieces. If you don't want to see cardboard base around the edges, make sure it is the same size as your six-pack pieces. I opted to see a little bit of brown cardboard as a border. Use an Xacto knife for this and your ruler to make the edges straight.
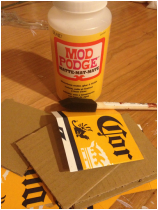
7) Get your Mod Podge ready. Coat the cardboard base with a thin layer, and the back of your six-pack cardboard with a thin layer. Press together, running your fingers along the edges. Repeat for all 6, then let them dry for about 1 hour.
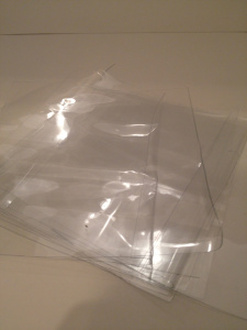
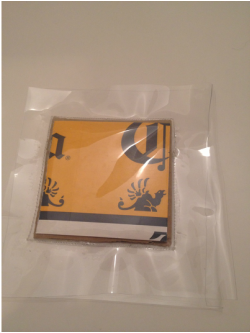
8) While your coasters dry, cut your vinyl. Take a cardboard square (I had extras) or your coaster, and measure onto your vinyl. You want to add about 1/2 inch to 1 inch around since you'll be sewing right up next to the cardboard (if you have a zipper foot) or about 1/4" away with a regular foot. And you want space to pin! Pins leave permanent holes in vinyl. Or you can use binder clips. Cut 12 vinyl squares (2 per coaster).
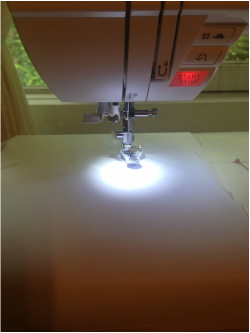
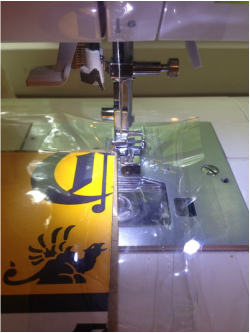
9) Making sure your coasters are dry, get ready to sew. Prep your sewing surface by taping a piece of computer paper over the plastic, and put masking tape on the bottom of your sewing foot so the vinyl won't stick. Even still, you'll have to be a bit more pushy guiding your vinyl through but the paper and tape make a big difference. Switch your stitch length to 3.0. Sandwich the coaster between two pieces of vinyl, and pin or binder clip the edges.
10) Sew right up against the edges, trim and you're done! (Ignore that I don't have the paper down when sewing my vinyl...demo shot!)
I hope you enjoyed this tutorial! Have you ever done a similar project? What did you do differently? What do you think about working with vinyl? Blessings,  I have finally found some time to work on my blog! Please explore my pages - I hope they are now easier to navigate. Wondering what's new? Check it out... Click the photos to go to the page.
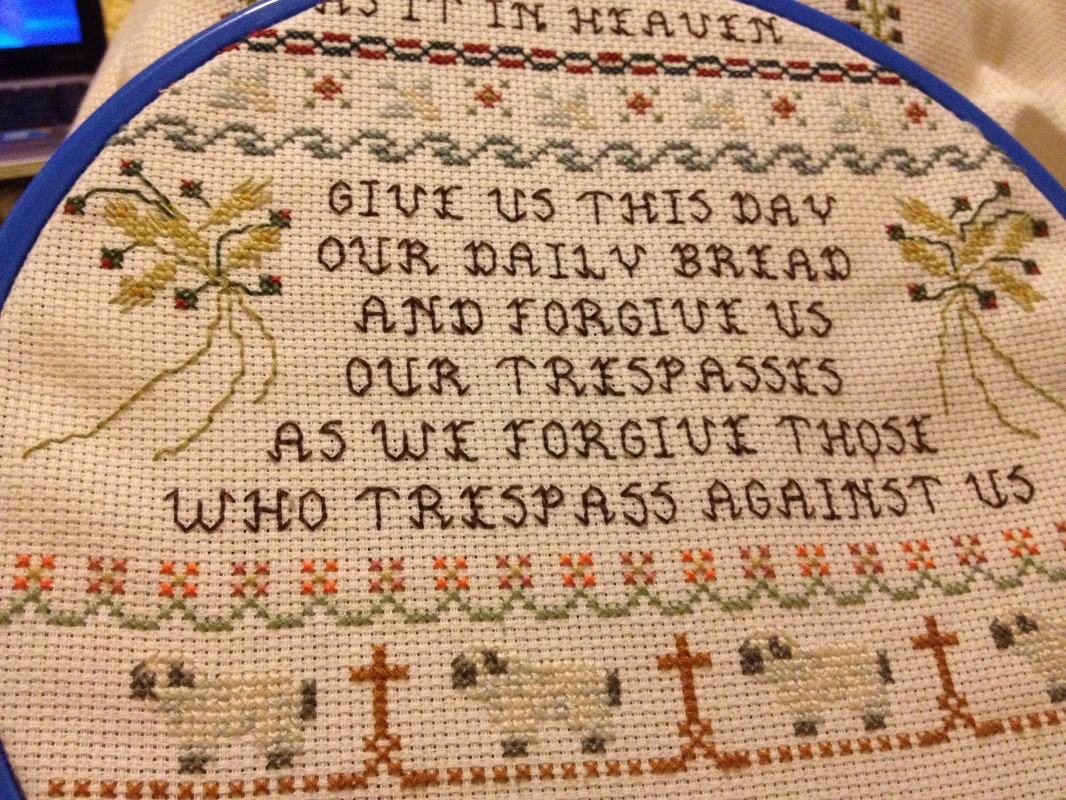
Anything you'd like to see? I'm itching for blog post ideas! Also, check back soon for photos of my most recent cross-stitch projects. Blessings, 
I have not created any free printables myself or designed any unique organizational systems. All ideas posted here link back to the original site. Links can be found by clicking most images as well as the hyperlinks in the post.
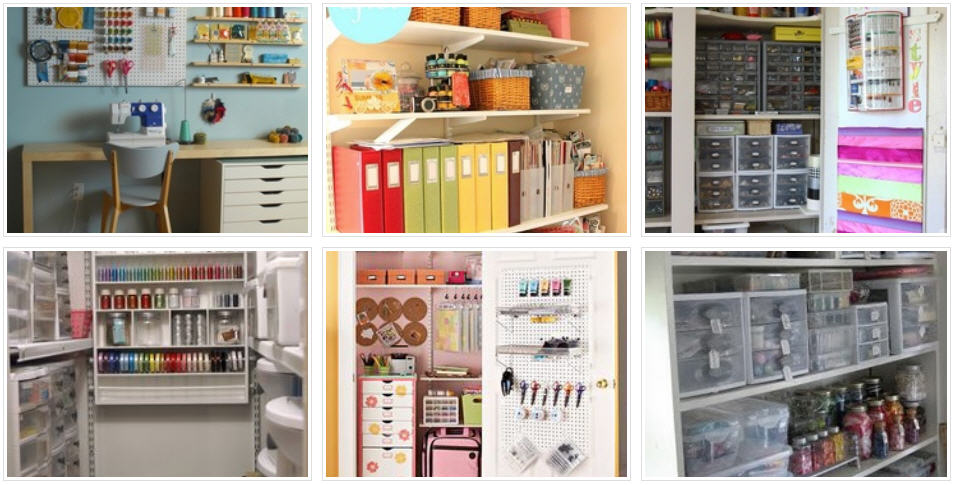
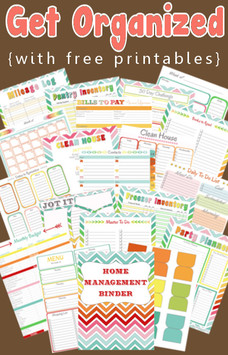
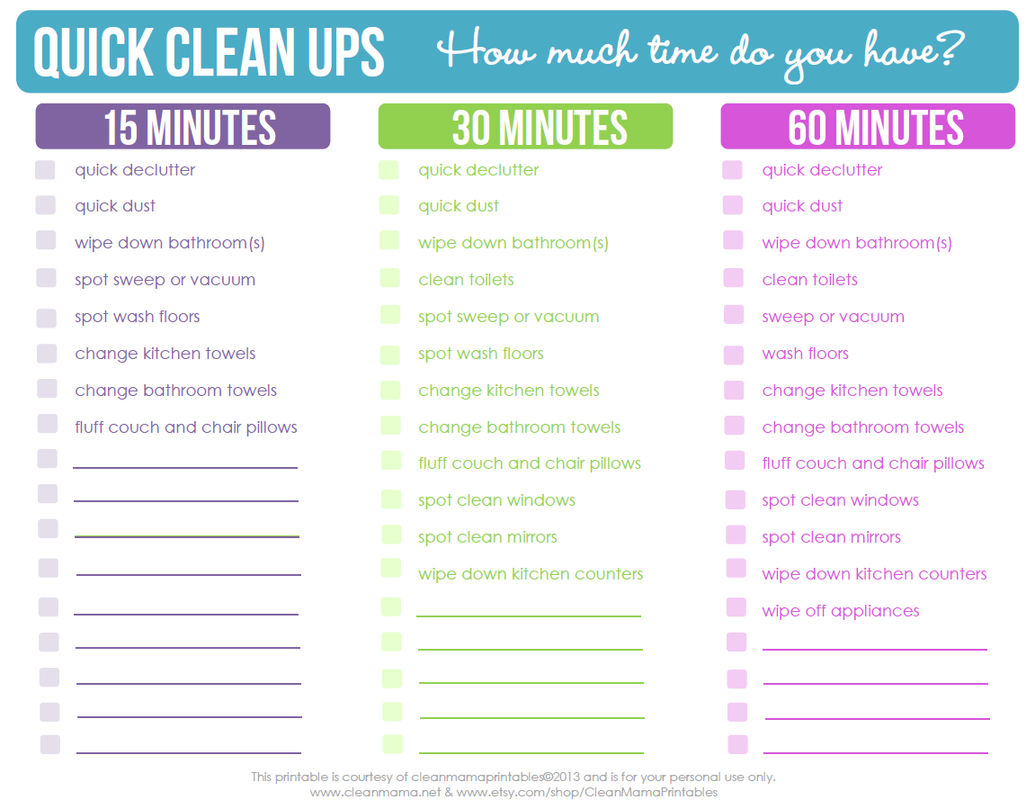
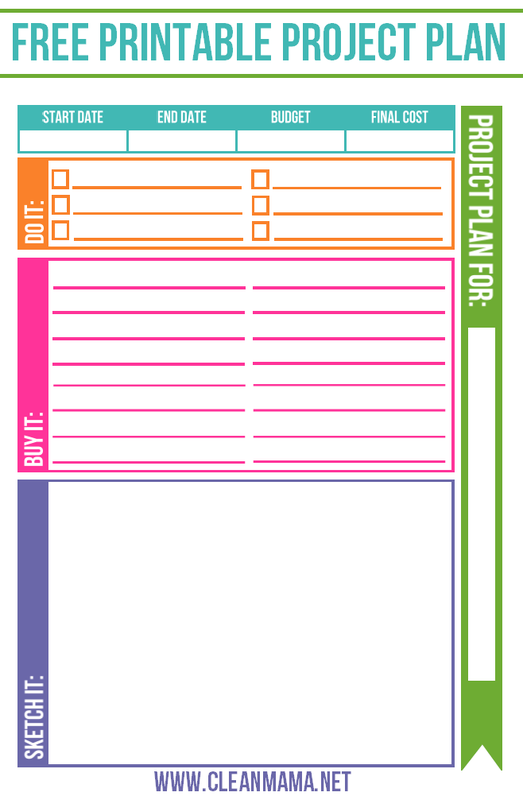
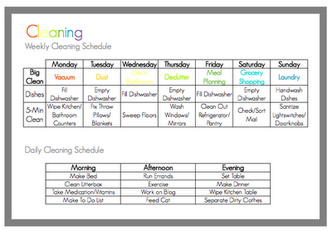
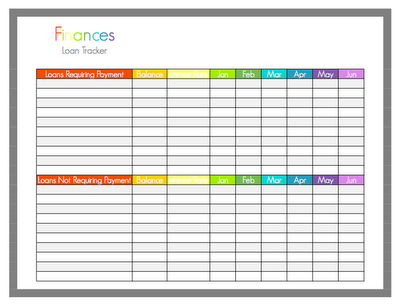
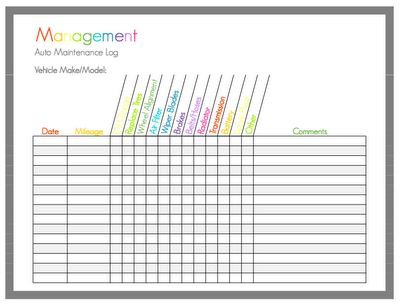
Here's a sneak peak of just eight of the thirty one printables she has available for you to download. (Click to go!) 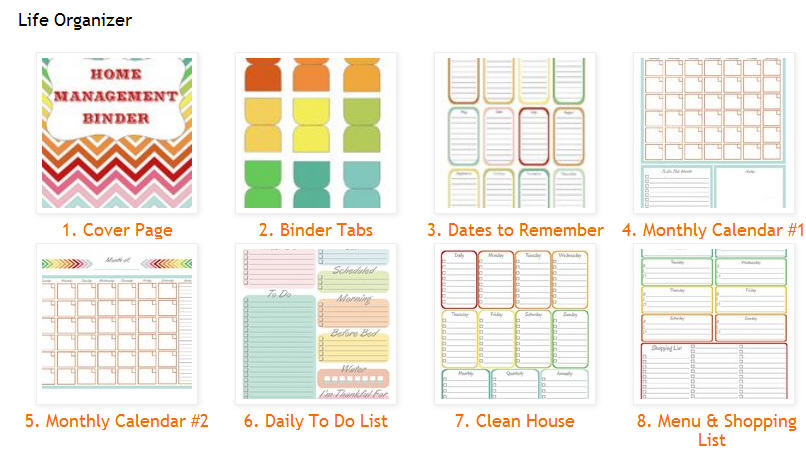
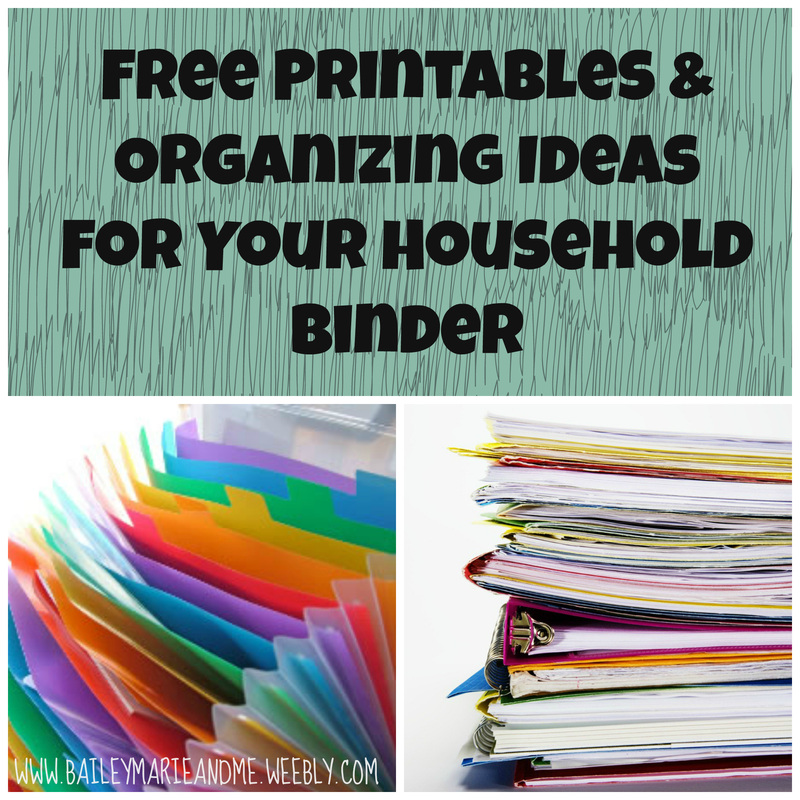
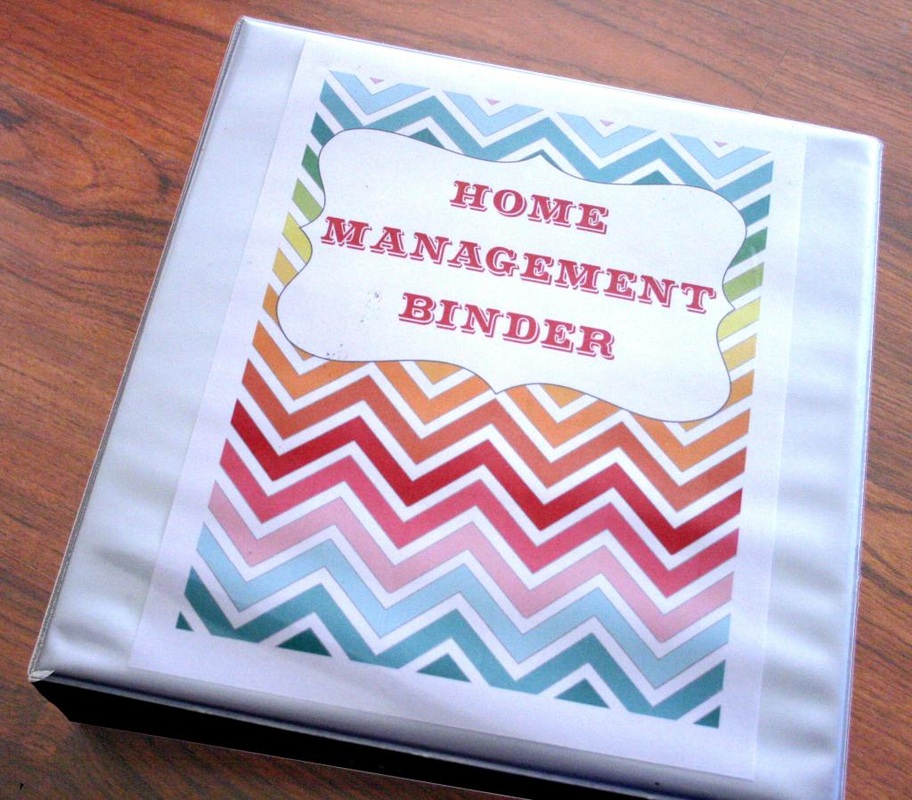
If you're thinking..."Cool printables. But I want to know HOW TO MAKE an organized home binder." Well do I have some sweet treats for you!
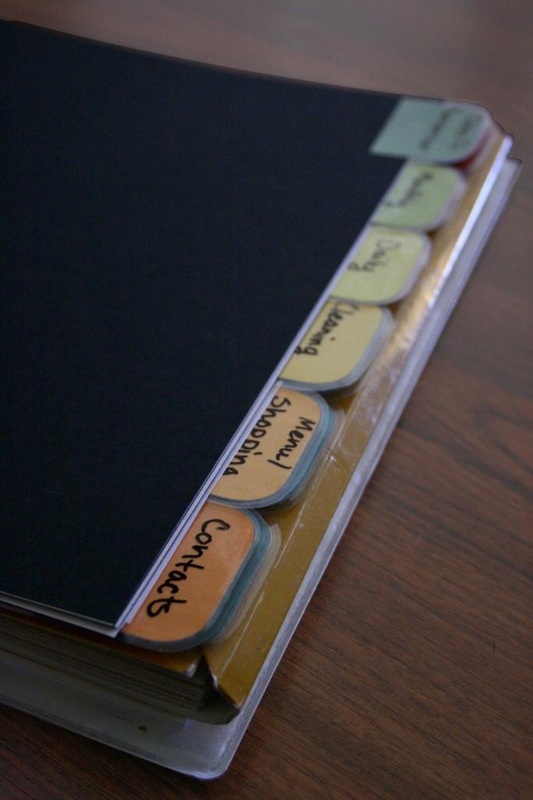
Here's a quick summary of what you'll find. For a break-down of specific printables she includes in each subcategory, visit her page!
Phew. That's all I got today. Interested in seeing something more? Something specific? Do you have a management binder? Leave your link in the comments! Blessings, 
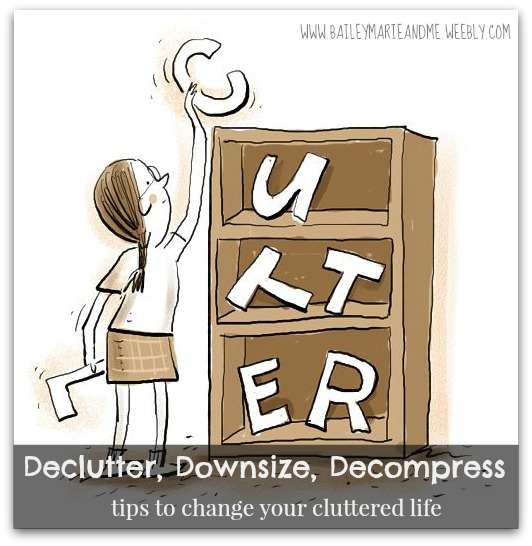
but this time I'm serious.
and when I'm serious, I make a new Pinterest board. 1. Declutter The first step in the process. I plan to start bringing home unnecessary things over the next few months before I officially have to move out and start "practicing" a decluttered, downsized life. This article at StyleatHome.com recommends thinning out your belongings 3 months before a downsizing move. But as I'm sure we all know, the first step to actually cleaning up can be daunting, which is why we typically never get around to it. - Make a list. What rooms do you want to de-clutter? I find breaking it down into even the parts of the room can help. Such as the closet, under the bed, top of the dresser, dresser drawers, bathroom counter, bathroom cabinets, etc. And it gives you something to cross off! - Little at a time. Set aside time each day (max 45 minutes) to clean up whichever part on your list. Remember WHY you're doing it. For me, coming home to a clean room makes me feel great inside. Put on some music, shut the door, and get to work! Jesenia over at TheLatinaHomemaker.com recommends starting with your surface areas - that means the counters, any clothes flung where they don't belong, etc. because it gives you that instant gratification and the OOMPH you need to move on to those scary drawers and closet corner. - What goes, what stays? Probably the hardest part of all. There's a number of tips on keeping only a certain amount of hangers in your closet, etc. and having your kids donate old toys each Christmas. But, I think it's all best addressed in the "Downsize" step. A word about trash. Remember to reuse, recycle, sell and donate. Half-used cleaning supplies may be needed at a local shelter. Donate wire hangers to Goodwill instead of filling your landfill. Just something to keep in mind :) 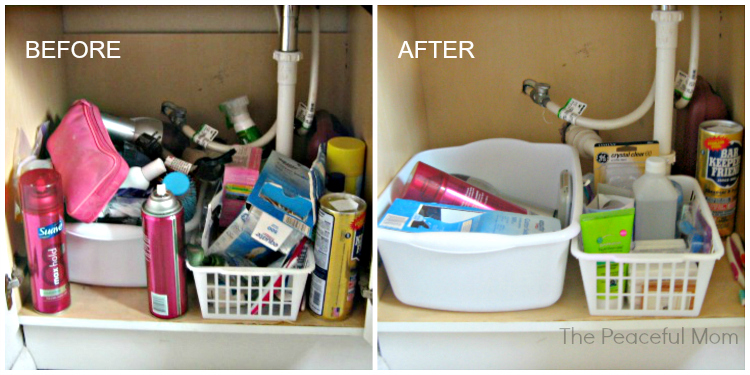 2. Downsize
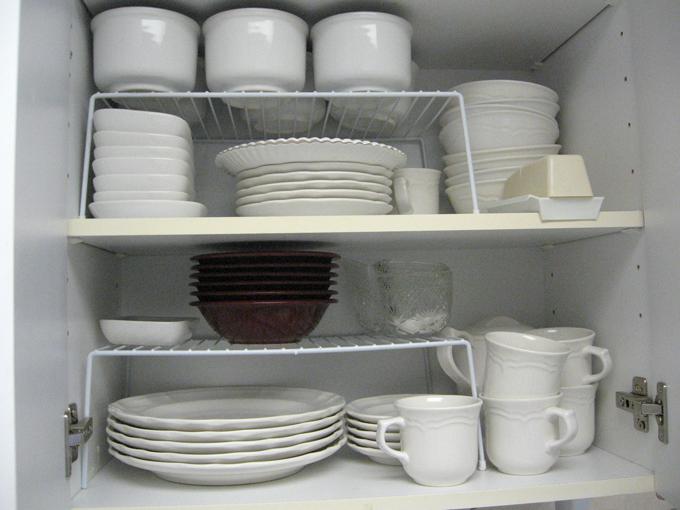
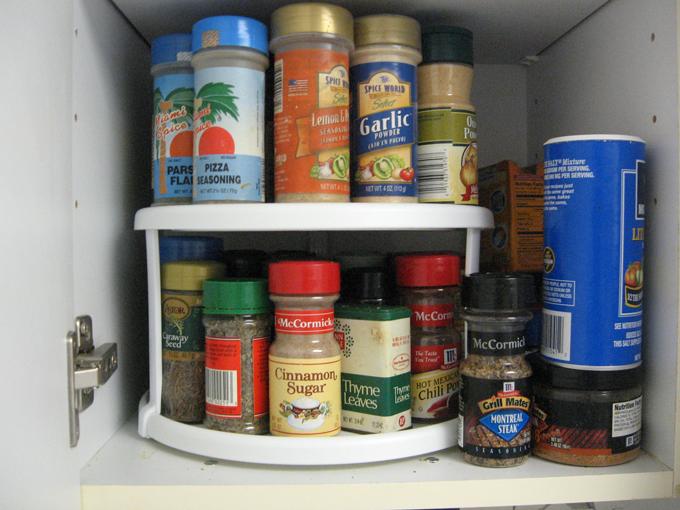
- Kitchen. One spatula, half a set of dishes, one wood spoon, one set of silverware. All your cookware should be multipurpose and not redundant. 4-cup and 8-cup coffee maker? Nope. Utilize lazy susans, plate stackers, and pull out drawers. I love having a bin in my fridge that holds all my stuff. It really helps separate from my roommate's foods.
Having trouble parting with goods from guilt of impulse buys, nostalgia of half-completed projects, or feelings of obligation for gifts you didn't want? Check out this article at FrugalBeautiful for tips on how to deal with each type of item. I like these quotes from Lindsay at LifeHacker in her article 8 Things you Can Discard to Downsize Your Life: On Clothes in the Bottom 1/3 of your Dresser. >> "You don't need a T-shirt in order to prove you went to that conference, worked at that tech company, or volunteered at said event." On Memorabilia. >> "That cheap medal you got for completing the half marathon two years ago, the eiffel tower shot glass someone brought you from Paris, that copy of your college graduation announcement that you've saved. You don't need any of these things. Because guess what? Without them you'll still remember what it felt like to train for that half marathon or to have graduated from college. None of those memories are going anywhere. Donate or recycle this stuff — you won't miss it." 3. Decompress You did it! Clutter is emotionally draining. To make a decluttered, downsized lifestyle stick you need to figure out why its important for you. Small carbon footprint, better for the environment? A better role model for your children, a less materialistic life? For me, at this point in my life, it's feeling better. And less materialistic. Rejoice in your accomplishment and hold on to lessons you have learned - keep in mind what you have in your closet for your next shopping trip, make up practical rules for keeping your wardrobe in check. Utilize storage space for things you don't use as much (out of season clothes, pregnancy clothes, holiday dishes and servingware). Figure out what works for you. Make a plan, if that's what works for you. Make a list! Do what you need to do :) Blessings,  |
NewsletterSubscribers get first looks at new patterns, sales, giveaways, and more.
Archives
June 2022
Categories
All
Terms of Use: Please link back to my site if you use one of my original tutorials or photos!
|


 RSS Feed
