
|
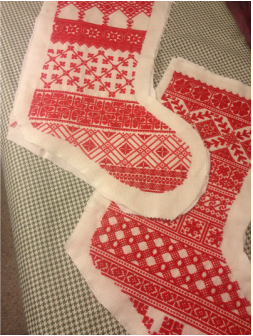
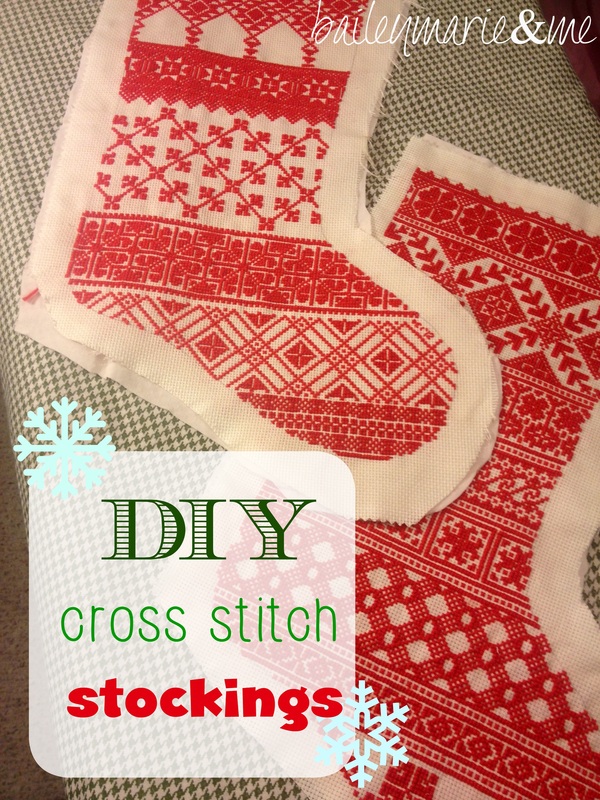
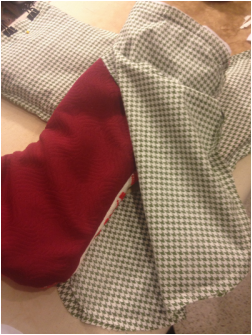
Hello! You may have seen my Scandinavian-inspired cross-stitch stockings in the past, just waiting to be sewn, finished and hung upon the mantle. Well good news! They have finally found a home.
This post is not meant to be an in-depth tutorial, and assumes intermediate sewing skills. But please feel free to leave any questions or requests for clarifications in the comments and I'll try my best to get back to you in a timely manner.
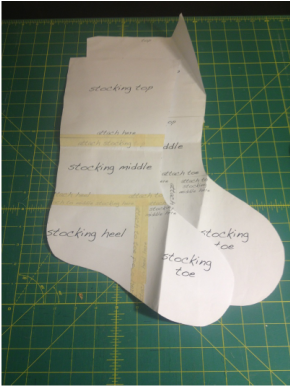
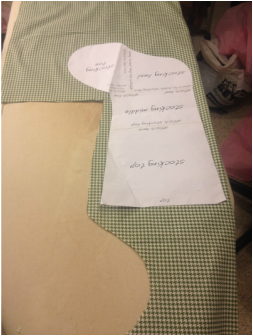
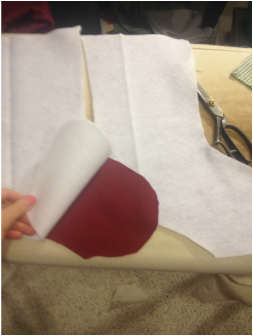
Finishing the StitchingYou'll need a medium weight interfacing or light batting as well as a piece of opaque white fabric to back the cross-stitch portion. Cut the batting and fabric to the large stocking size, and then baste around the edges. 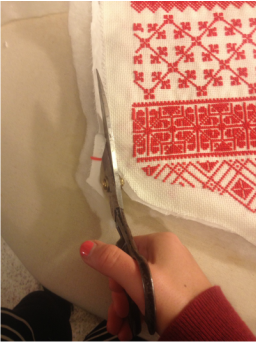 Create the Lining Cut two pieces of lining (large size). Keep in mind what direction the "toe" will go so you have two pieces going the correct way. Stitch these together with 1/2" seam allowance. Set aside.
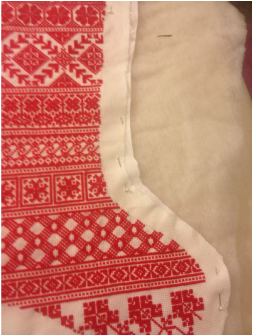
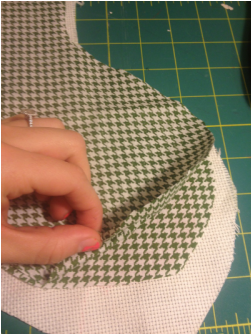
Prep the BackYou only need 1 piece for the backing, facing the correct way as to match up with the stitched front. You will also need a matching piece of interfacing or batting. Baste around the edge of the backing and the batting. Then pin right sides together with the cross stitch, and stitch around the stocking, leaving the top portion open. Don't forget to add your hanging loop!
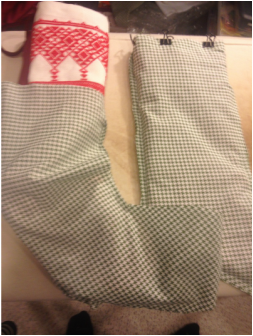
Putting it all Together You now have two stockings, one of lining and one of the cross stitch + batting + back fabric. Place the cross stitch stocking INSIDE of the lining, right sides facing. Stitch around the top. Pull through the hole you left.
All of Christmas has been put away for quite a while now...so it final product photos may have to wait until next Christmas!
Bailey
3 Comments
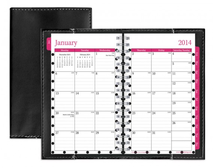
The Struggle to Find the Perfect Fit Since being in school the past 17 years, I can promise you I have gone through my share of planners. While I may not have been too worried about it in my younger years (pre-K planner, anyone?) I consistently do better when I have a routine and know what’s coming up. Forward planning. To achieve that, writing everything down (not in my iPhone) is the best at keeping me on track. But, in the past few years, I hit some bumps in the road where the planner I was using just wasn't working. As an intern, I thought a pocket sized one would be best – it could fit in my lab coat, and was easy to reference. But, I found I never used it. So that didn’t do me much good huh? I've also ordered some planners from Etsy and May Designs. They were either too big, didn't have the right layout, or were too small!
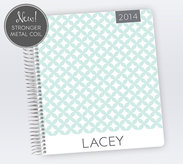
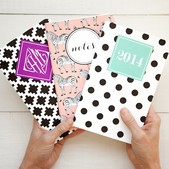
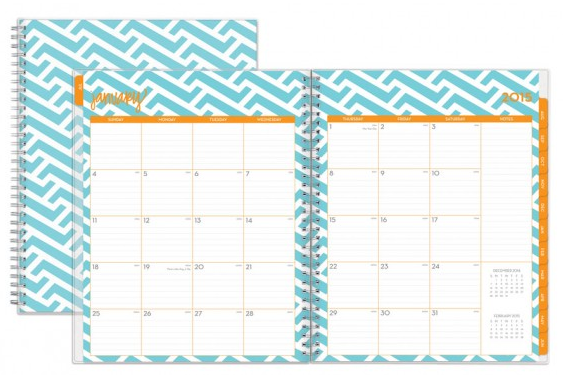
The above planners are of superb quality. Blue Sky planners are an incredible value, and come in a variety of sizes. I have bought mine at Target. Plum Paper Designs provides you with more room, customizable pages AND cover, and very high quality wire coil and plastic protector. Lastly, May Designs is so much fun - they also do stationary and photo books and more, and it's fun to customize. I have chosen to stop using these planners not because of overall usefulness or quality, but because they did not work for me at that time. I highly encourage you to explore their websites (click the image) and see if they work for you!
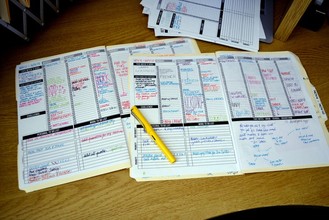
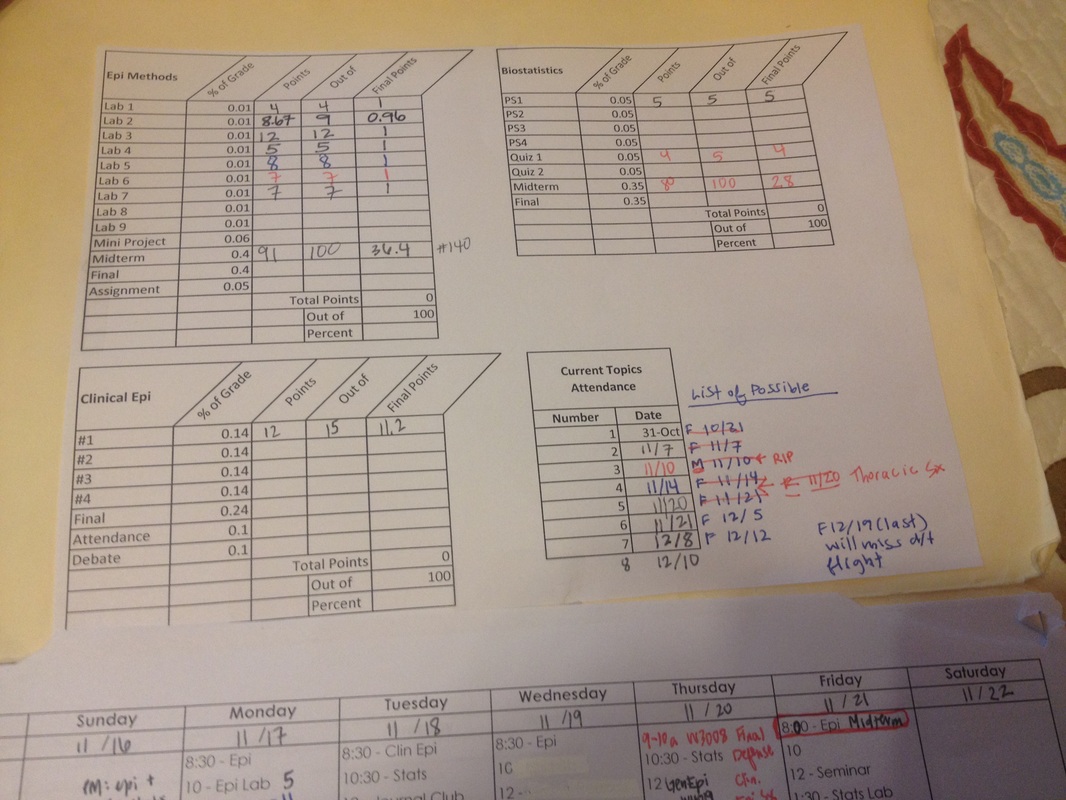
From my numerous “planner hunts” I had an idea of what I like and what I don’t. I don’t like when the days go across the top and are divided into morning/afternoon/evening. I wanted plenty of space to write. I did like when they were listed vertically, and I could split the box between schedule (left) and to-do (right). I even had printed my schedule with classes in place and blank spots, then glued them into my spiral planner. This helped to alleviate my particularities I had worrying that constantly rewriting the same schedule would lead to messy penmanship. Do you ever worry about things like that? Or is it just me...
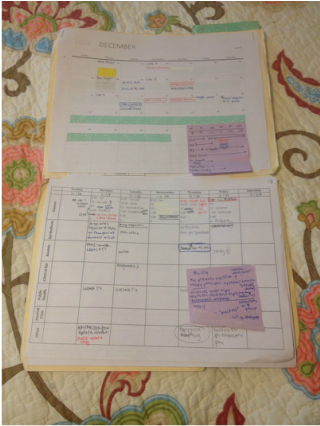
The Manila Vanilla Planner @ Bailey Marie & Me
Phew! That was a long post. I will be providing an update to this system as I am planning an overhaul. Keep checking in!
- Bailey
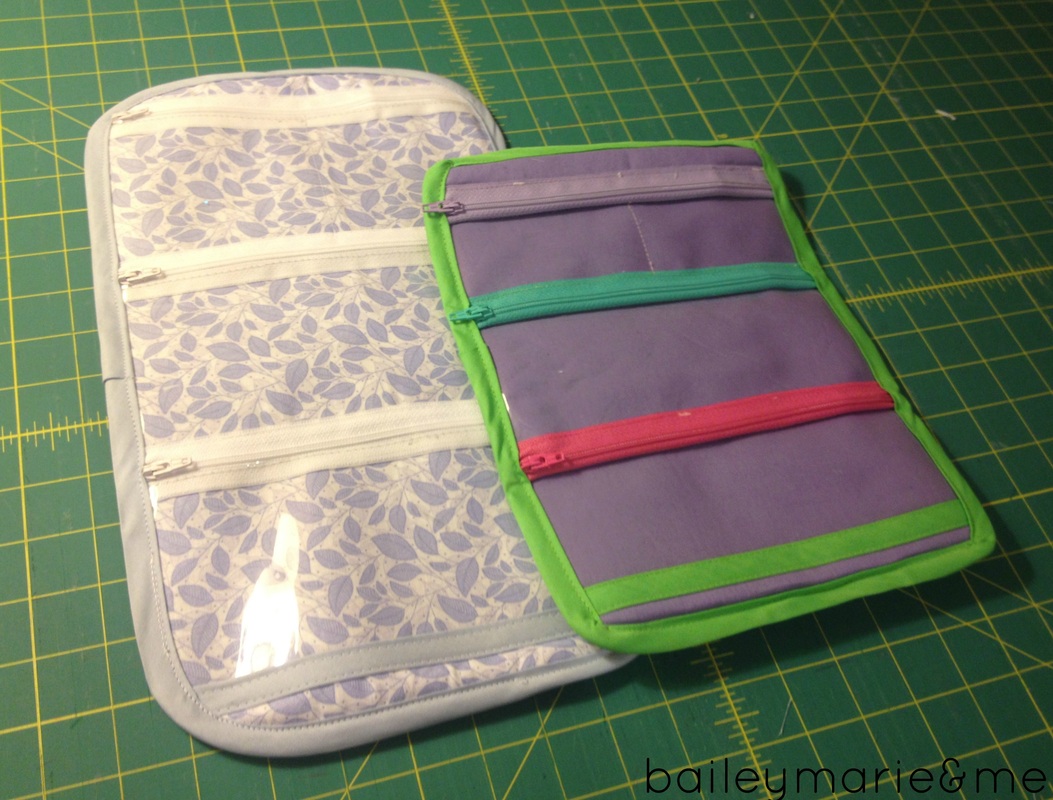
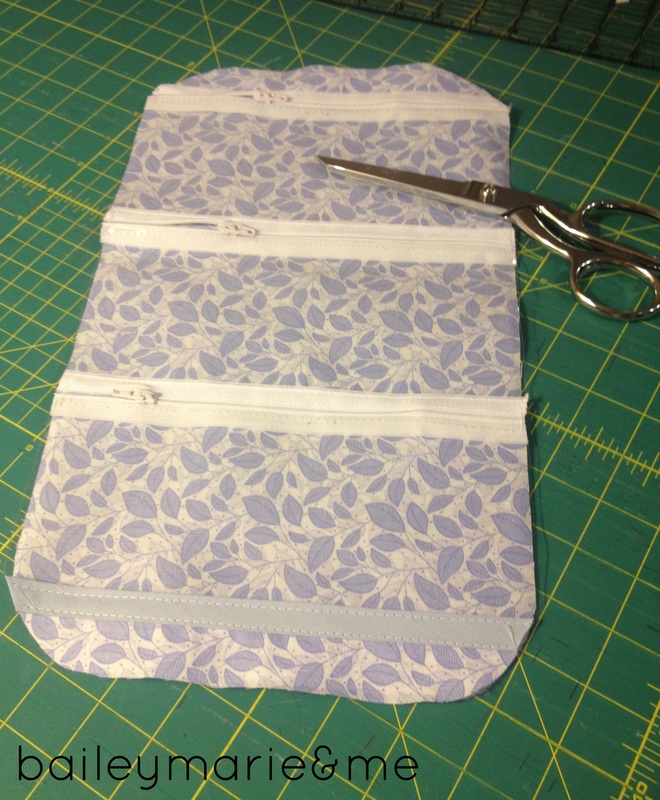
You can see how the zippers lay much flatter in the purple/blue one. I laid the vinyl on top of the zipper instead of right sides together. I wasn't a huge fan of this because you have to be careful that the vinyl is close to the teeth but not so close that it prevents you from using the zipper. Important- the edges of your vinyl need to be VERY straight! I'm usually a bit willy-nilly when I cut my vinyl but this time I wanted it to be as perfect as possible. I cut a large square of vinyl and laid it on my gridding. Using masking tape, I delineated the 4" and 8.5" marks for as many pieces as would fit (you need 3 total). I used a pen to make an arrow to indicate which edge of the masking tape I should cut from. It wasn't perfect-perfect, mainly because some of the vinyl was bent from being folded, but it worked out pretty well! Another option would be right sides together for every piece, then top stitch the bottom edge of zipper to lay flat. And then to attach to the fabric top stitch the top edge. 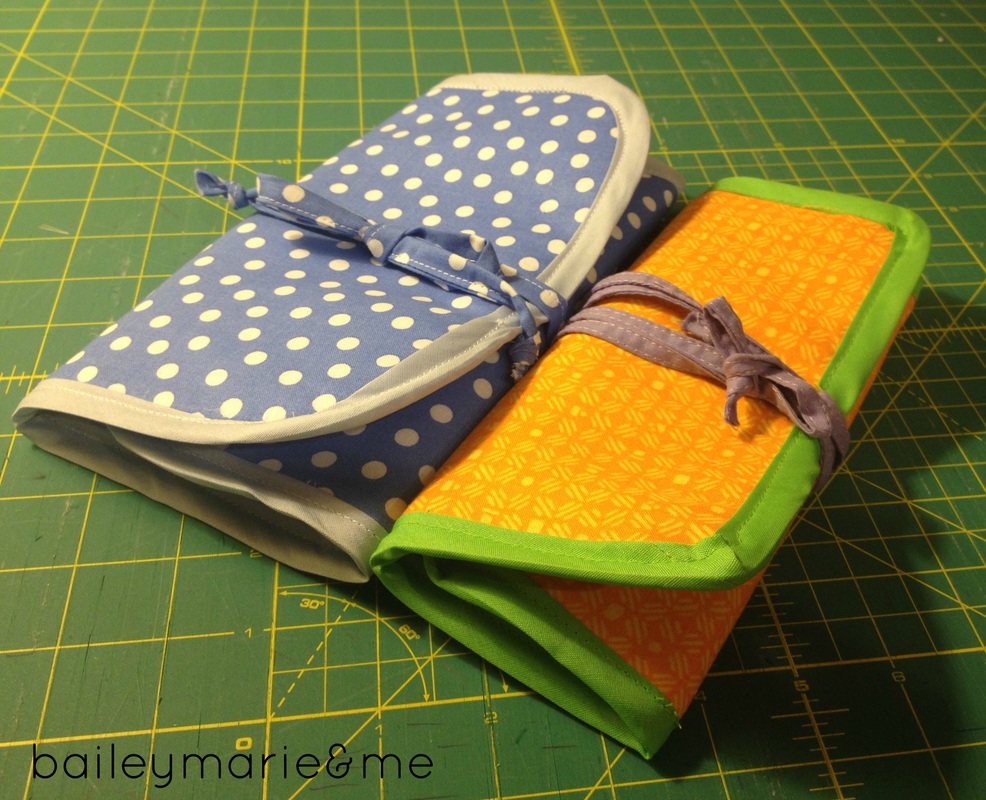
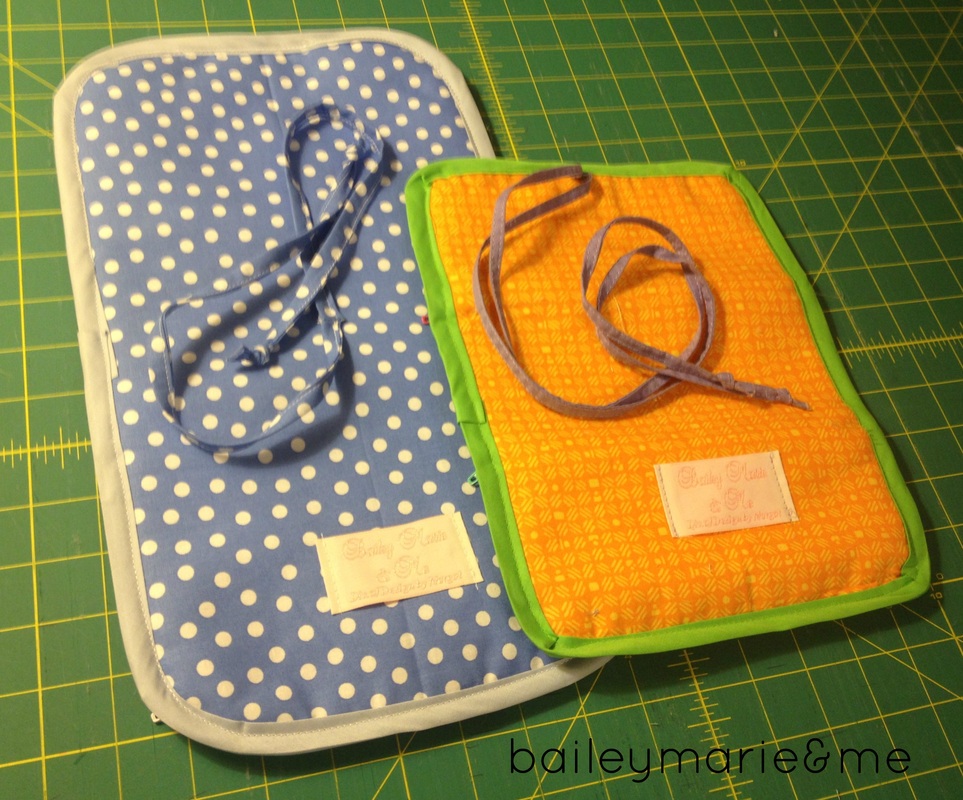
I didn't like how long and how thin the straps were on the orange one, or where they were located. It didn't make sense to me. So I made them thicker (1.5" wide, then folded). I ended up sewing it to the middle (measure!) of the back piece. So, if I had planned to do this from the beginning I would have just made one long piece. I also decided to do this after I had put everything together, so I carefully hand sewed the straps on. 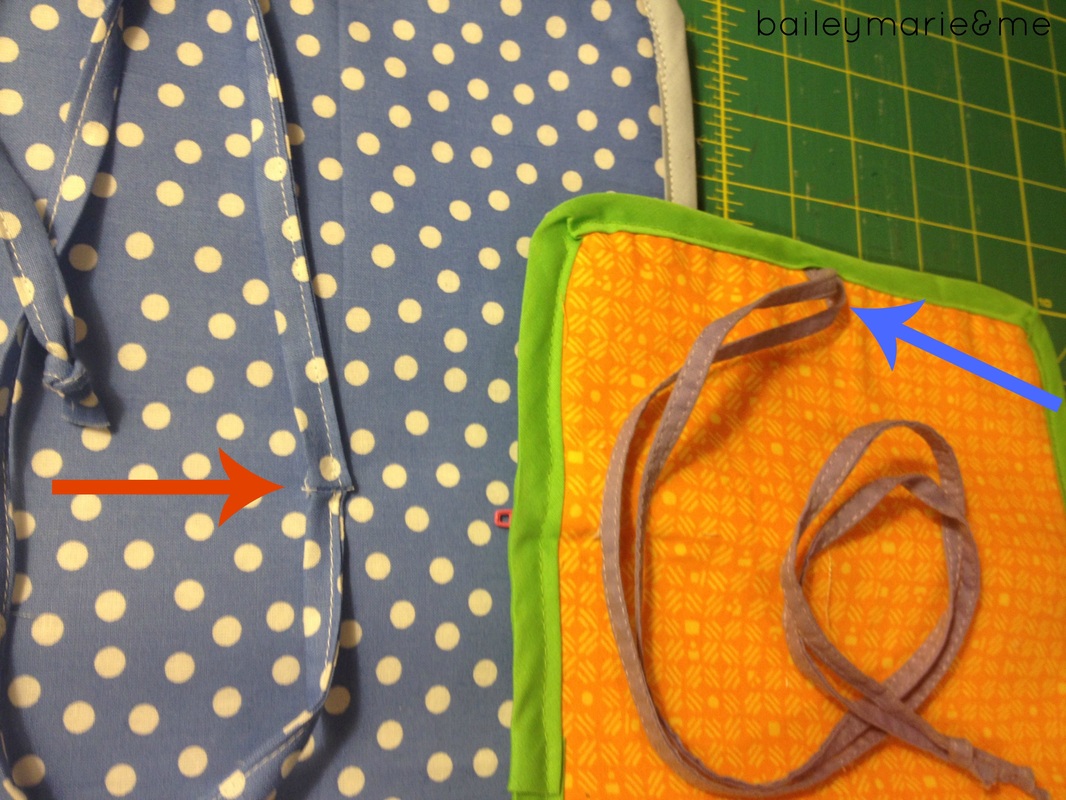
If you want to do straps like the blue one, cut a piece of fabric 1.5-2" wide by 30" long (you avoid having to join two pieces like mine). Then stitch to the center of the piece before you bias sew the edges down. Do you find yourself measuring twice-cutting once and sewing extra carefully when you're sewing a gift for someone versus sewing for yourself? 
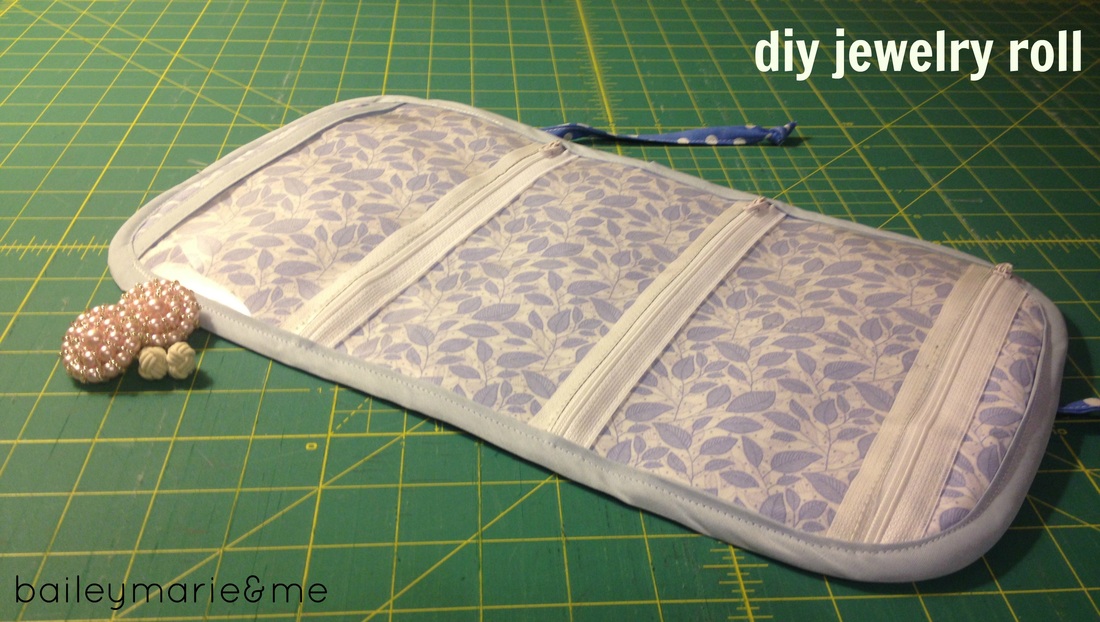
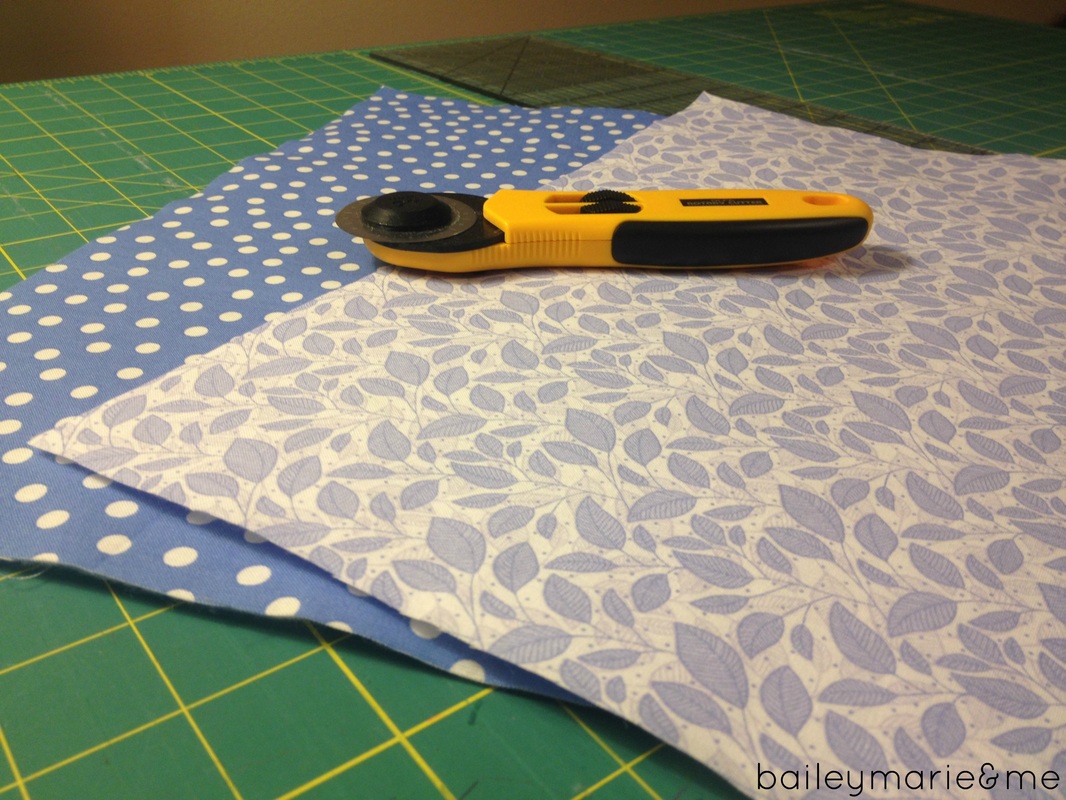
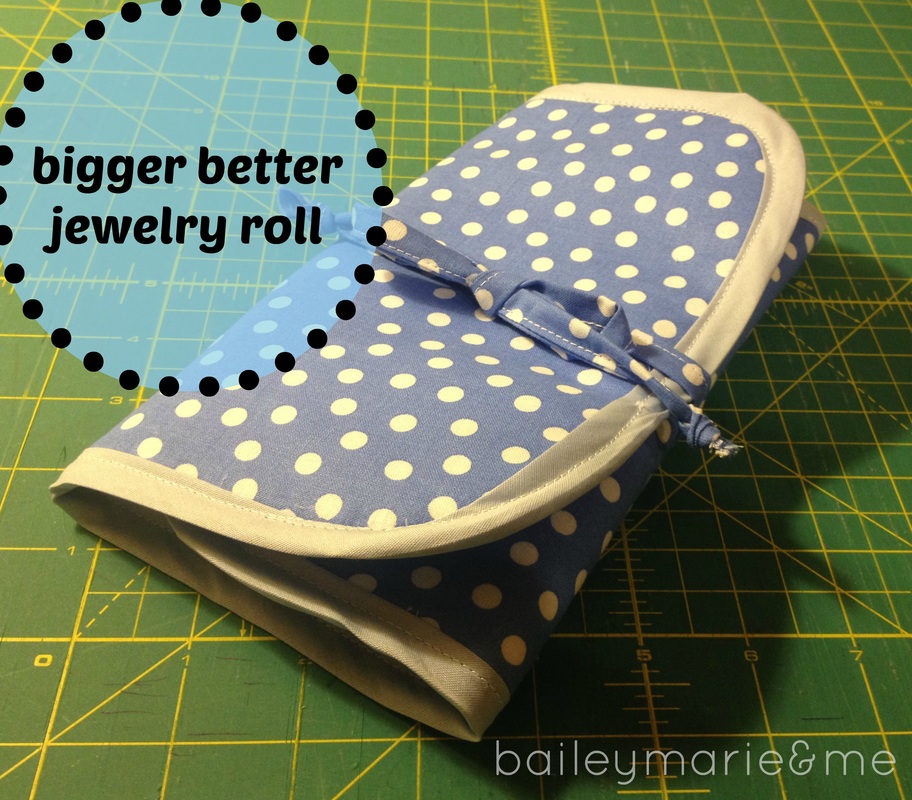
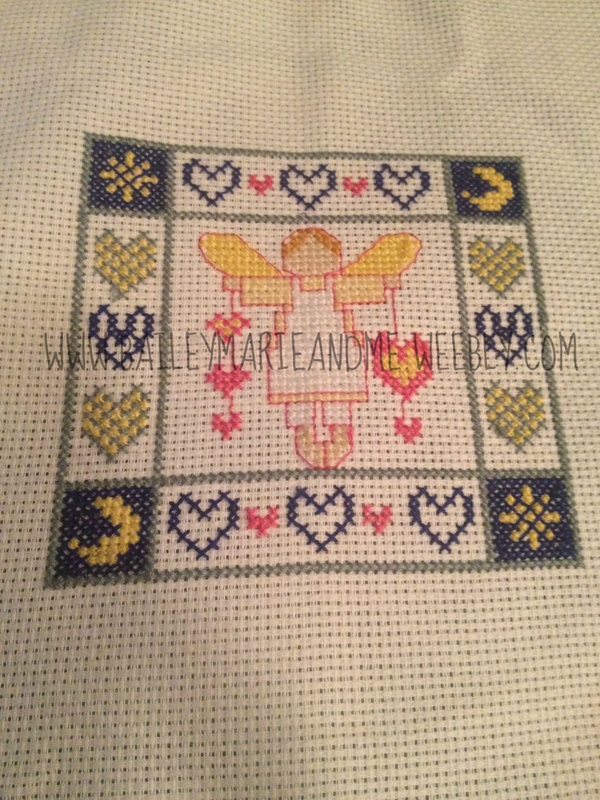
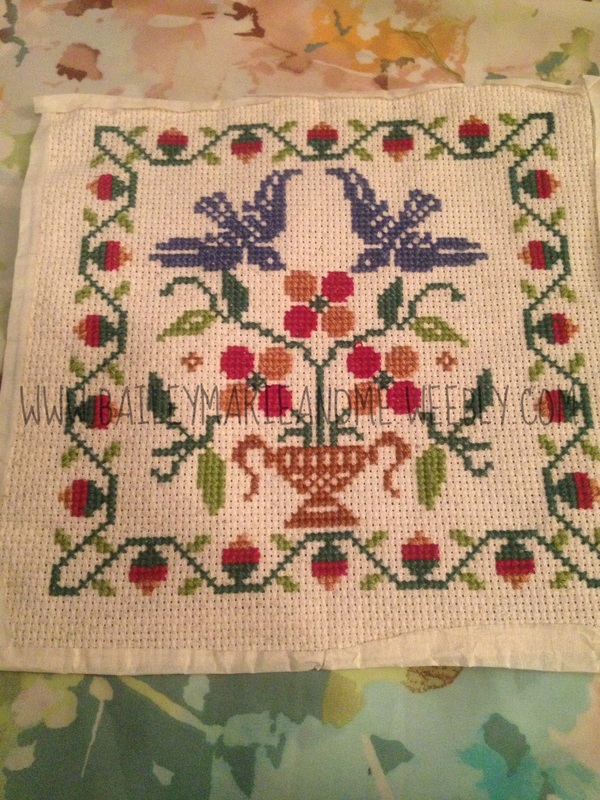
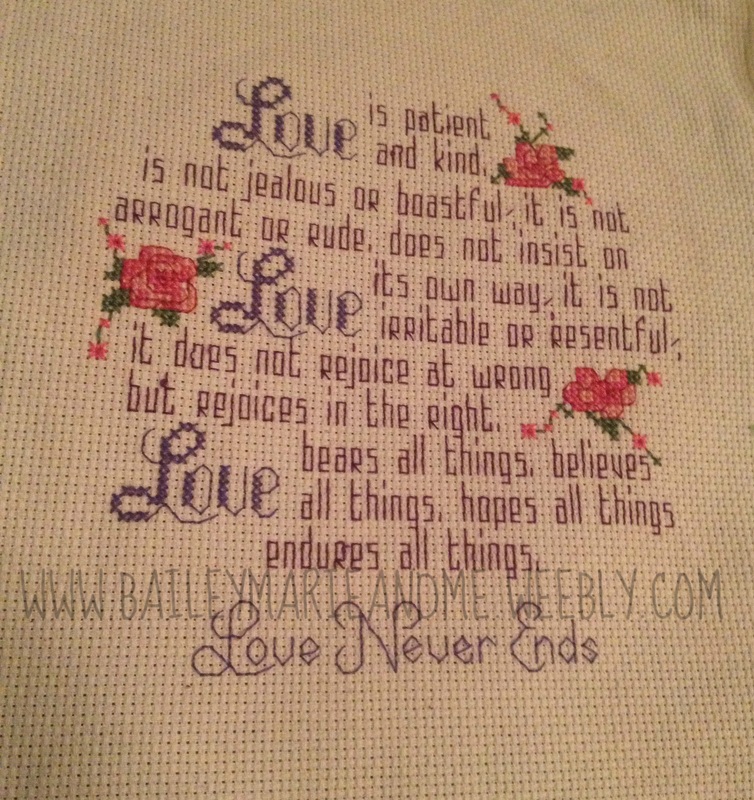
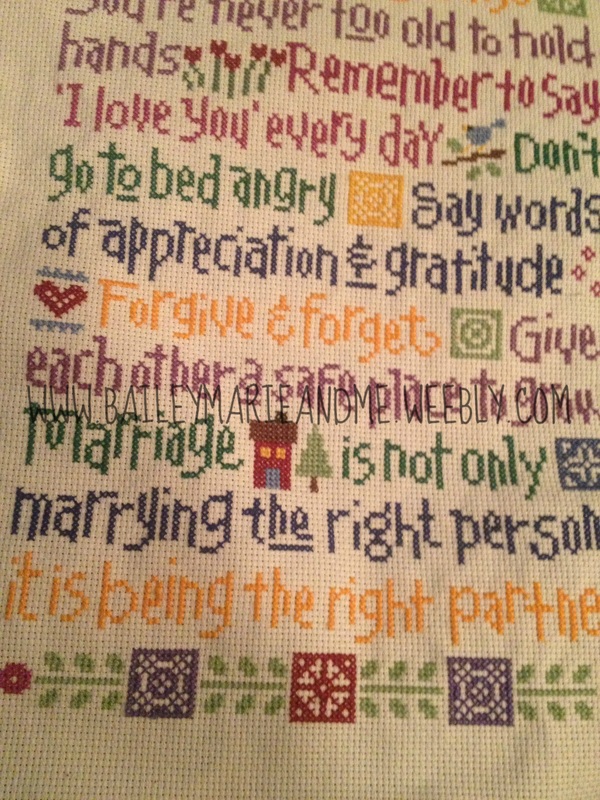
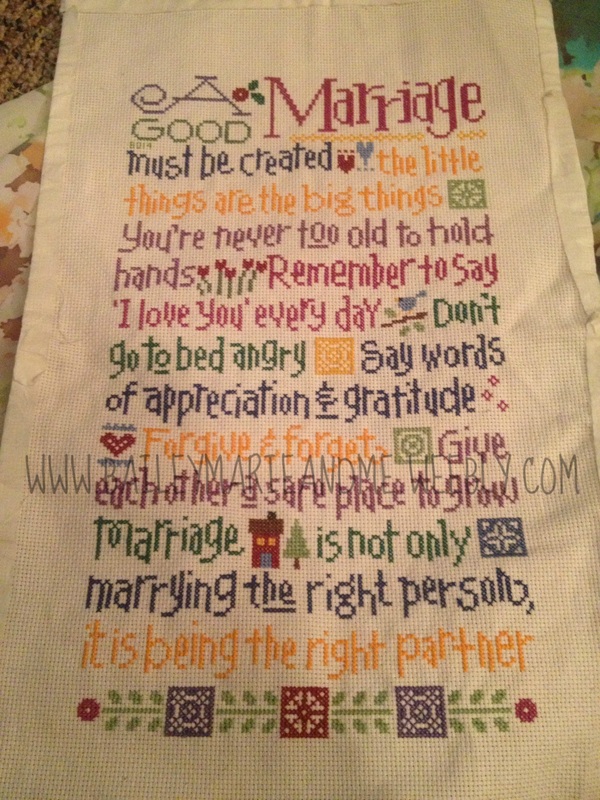
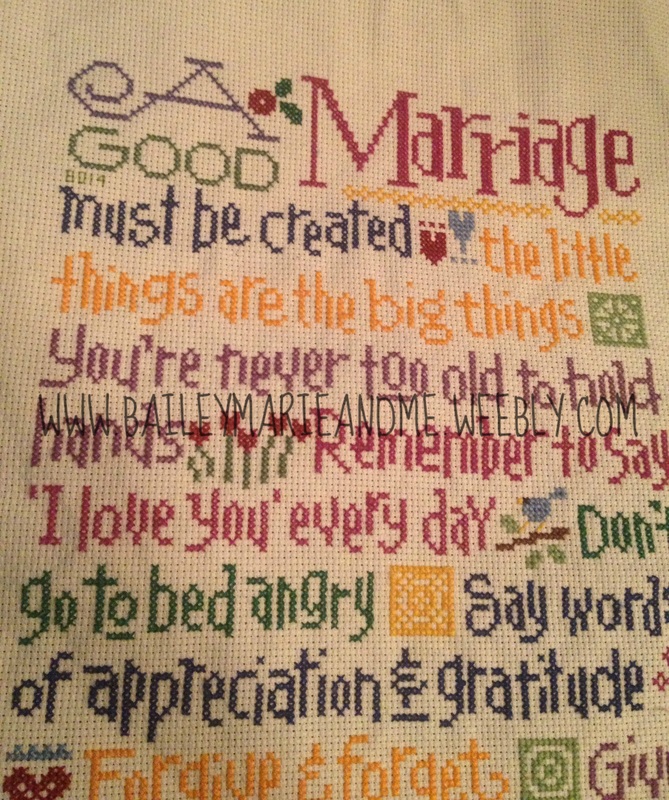
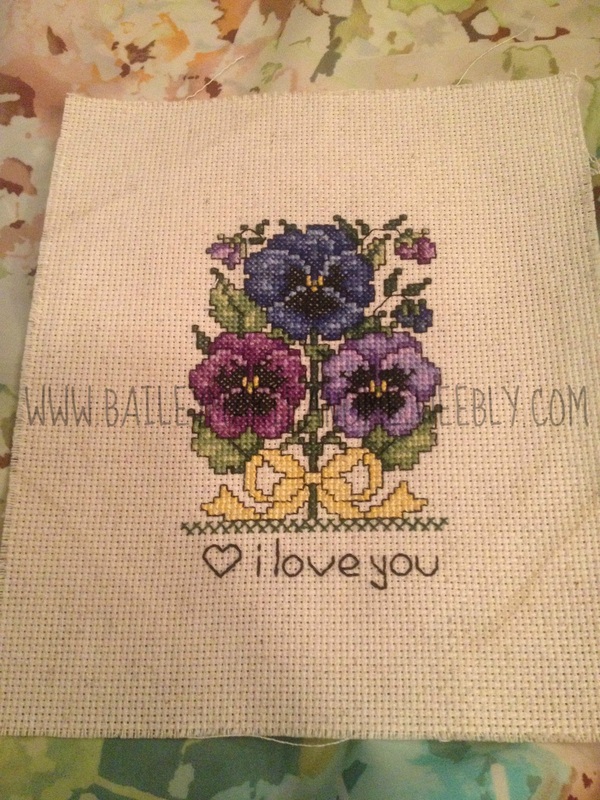
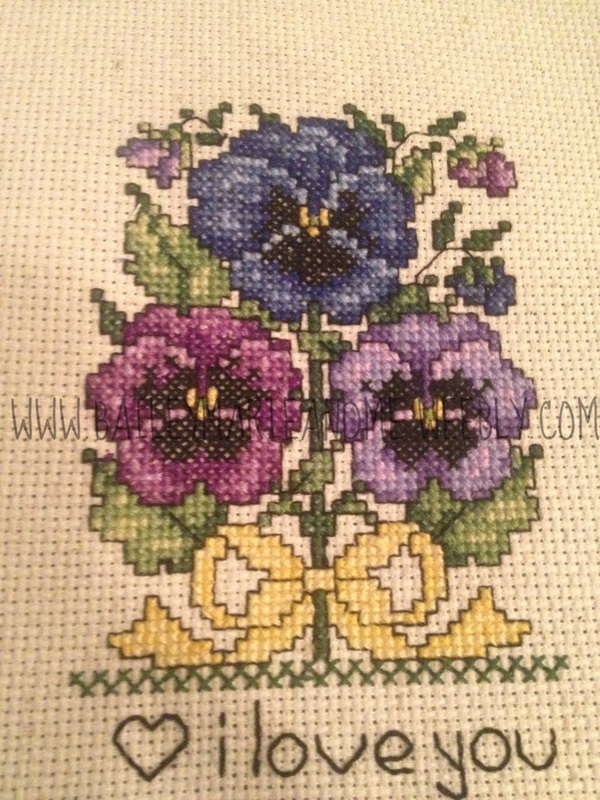
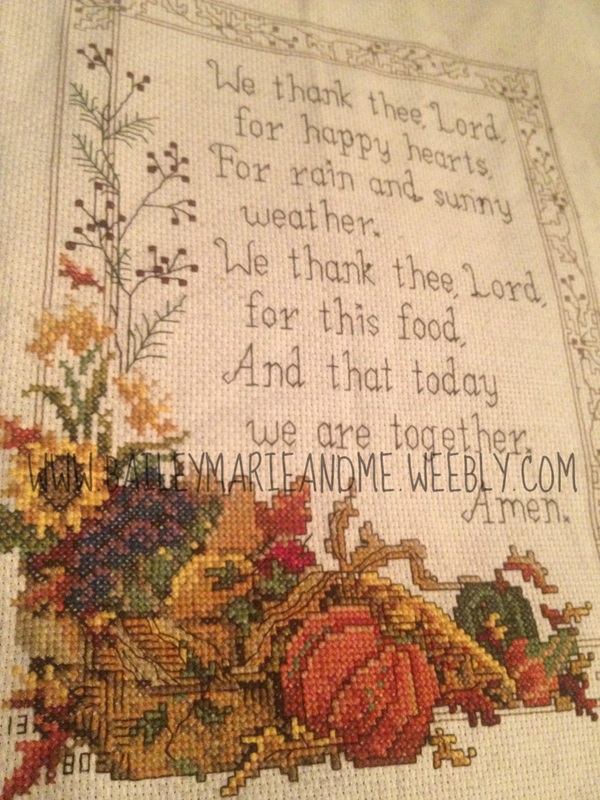
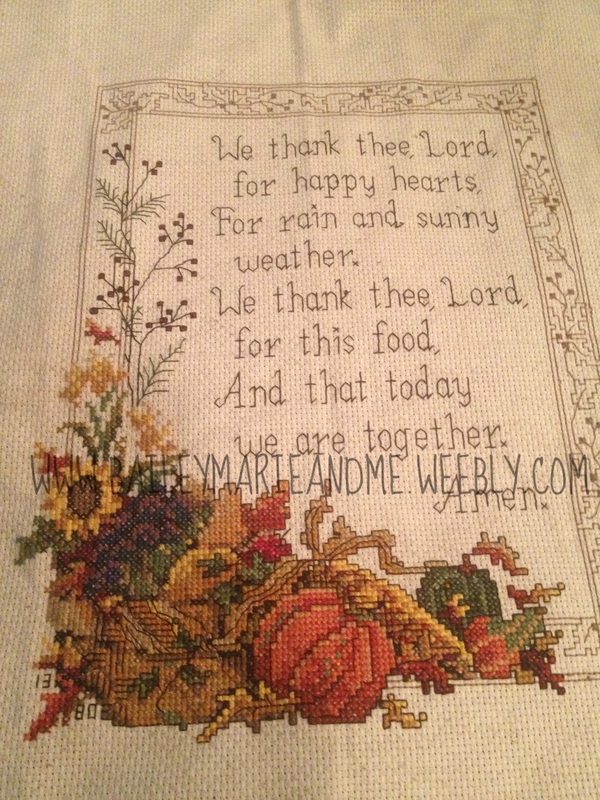
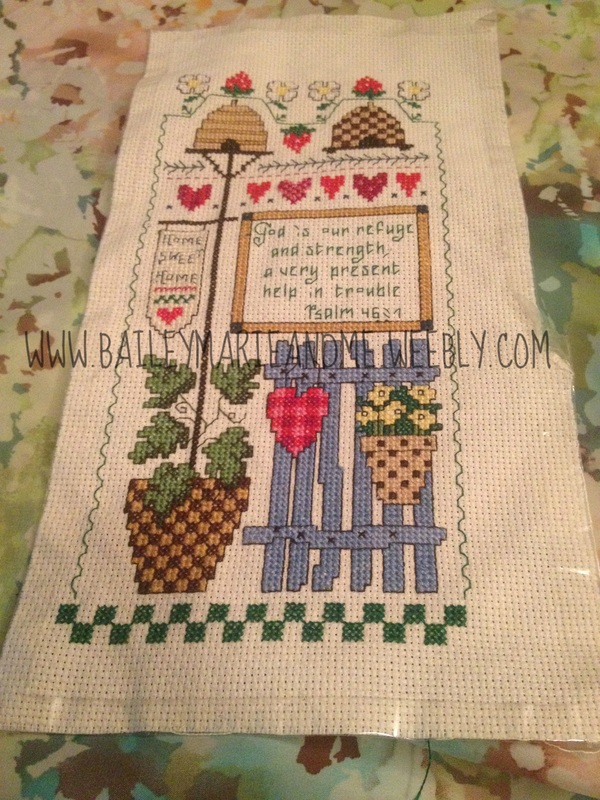
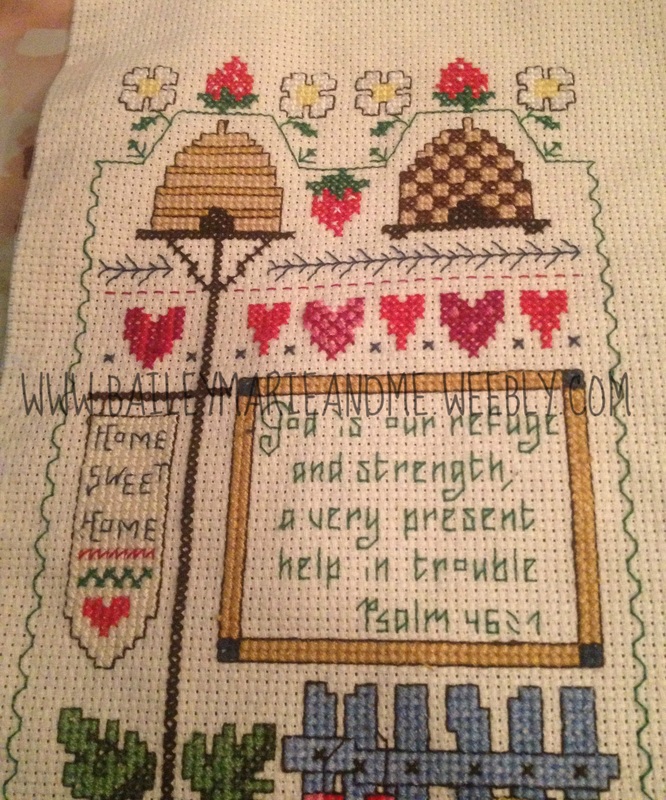
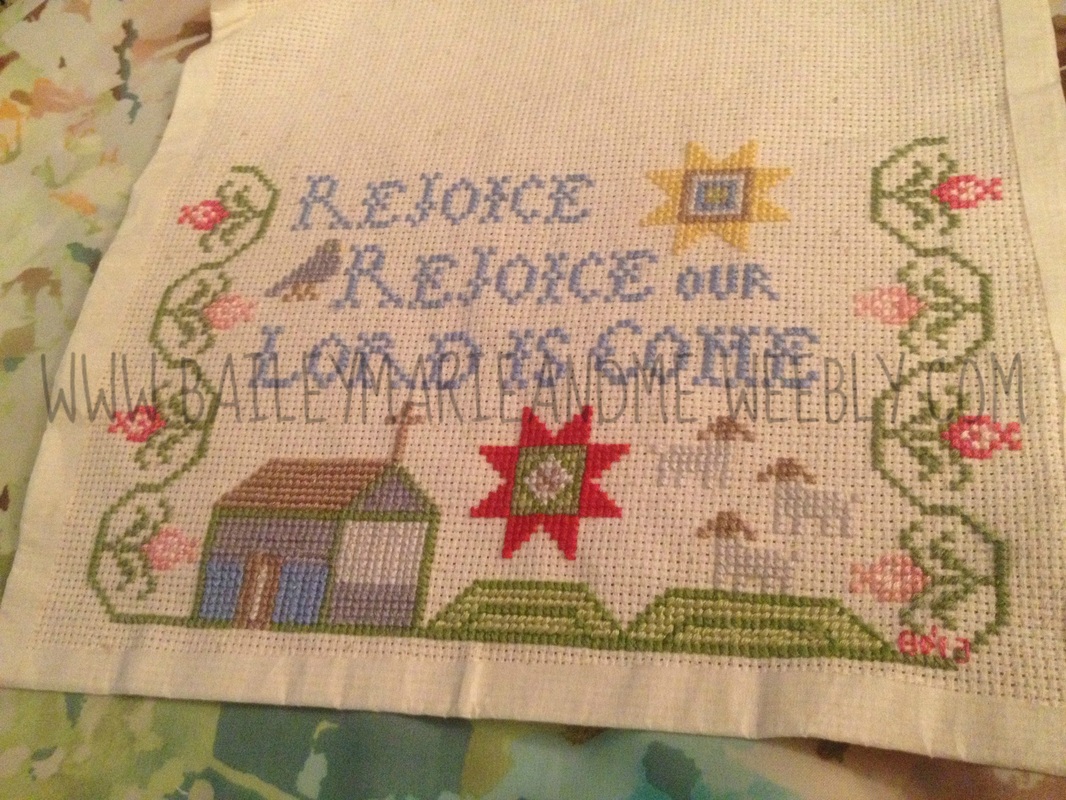
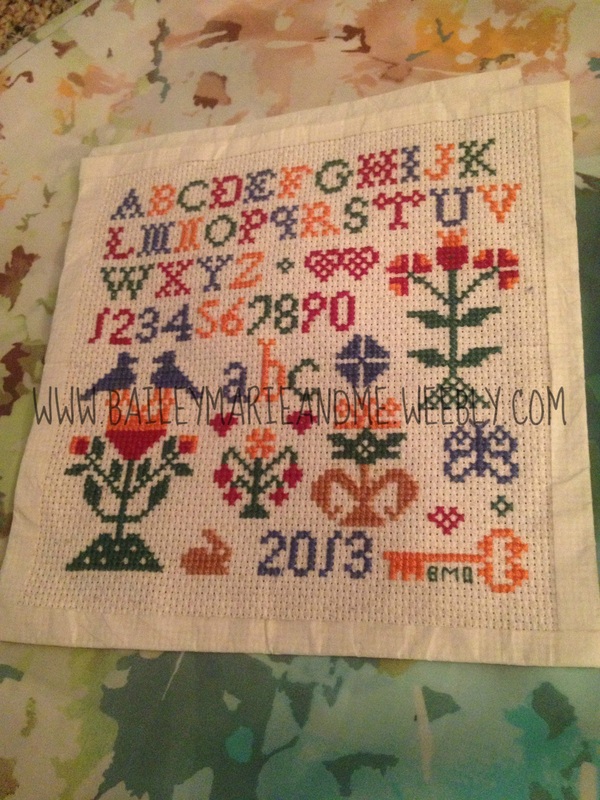
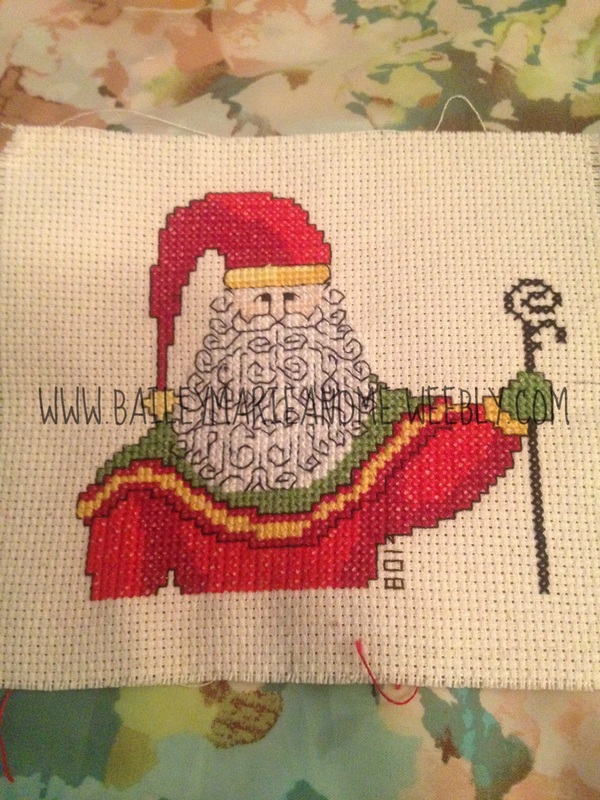
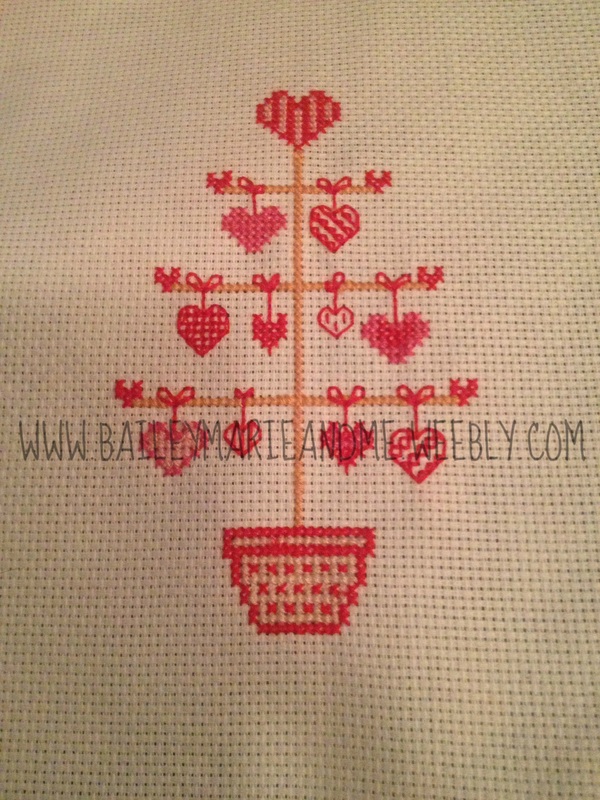
![DIY Jewelry Roll [ Bailey Marie and Me]](/uploads/2/4/8/5/24852402/6675013_orig.jpg) I picked up some adorable fat quarters at the store the other day (on a whim - I'm so bad!) and when I stumbled across this tutorial I knew exactly what they'd be used for. If you're familiar with bias tape, zippers, and vinyl, then you're good to go on this project. Definitely not for a beginner, however. Tutorial here by the way, from Haberdashery. ![DIY Jewelry Roll [ Bailey Marie and Me]](/uploads/2/4/8/5/24852402/423630_orig.jpg) ![DIY Jewelry Roll [ Bailey Marie and Me]](/uploads/2/4/8/5/24852402/2717366_orig.jpg) ![DIY Jewelry Roll [ Bailey Marie and Me]](/uploads/2/4/8/5/24852402/116130_orig.jpg) Looking back over the tutorial (I glanced at it for measurements before I dove in, multitasking with Hulu) I realize I did my vinyl + zipper right sides together, which left it looking uneven. Two fixes for this: 1) Cut my vinyl straighter like Haberdashery and sew it like hers, so it lays flat or 2) Make one large vinyl-zipper piece with right sides together, then top stitch down. I've also seen a number of other designs for jewelry rolls - specifically ones with"ring rolls" and those with clasps for long necklaces. I think incorporating those into this design would make a great gift for someone who wears that type of jewelry! (I don't). It measures ~8 x 10 with cutesy rounded corners and 3 vinyl zip pockets. I chose to divide the smaller one (1.5" tall) into two pockets for earrings, and the other two are big enough for watch, bracelet, etc. What do you think?  I've been meaning to post photos of my latest cross stitch projects. Enjoy! Enjoy! 
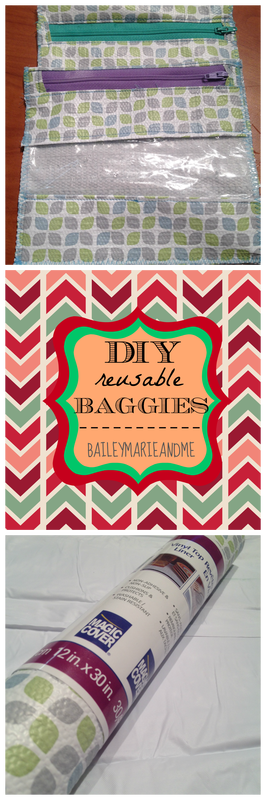
  I chose to use zippers instead of Velcro. Why? I've made vinyl Velcro bags before, that were subject to daily use, and the good Velcro didn't hold up - and by that I mean the Velcro survived but took down my fabric. In the words of another blogger, it also makes for quiet snacking when its snack time in your car's back seat.  And what is the lining, you ask? Well here's what you shouldn't use (not food safe):
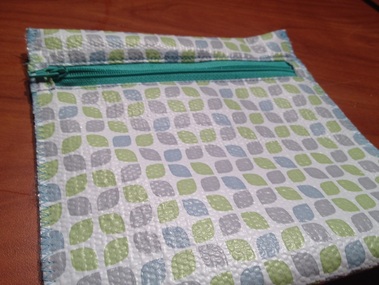
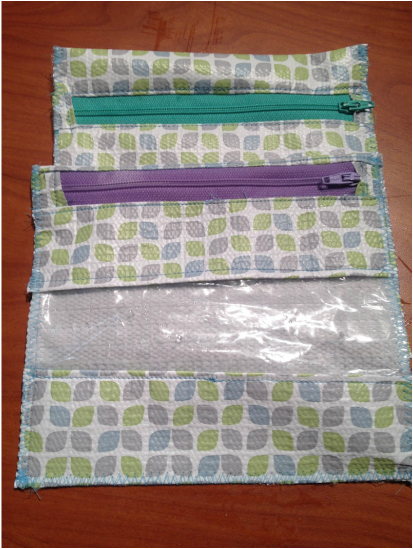
 I'm not going to do a full-blown tutorial because its a zipper pouch - there are a ton of tutorials for flat zipper pouches on various blogs. But I'll give you a quick overview of what I did.
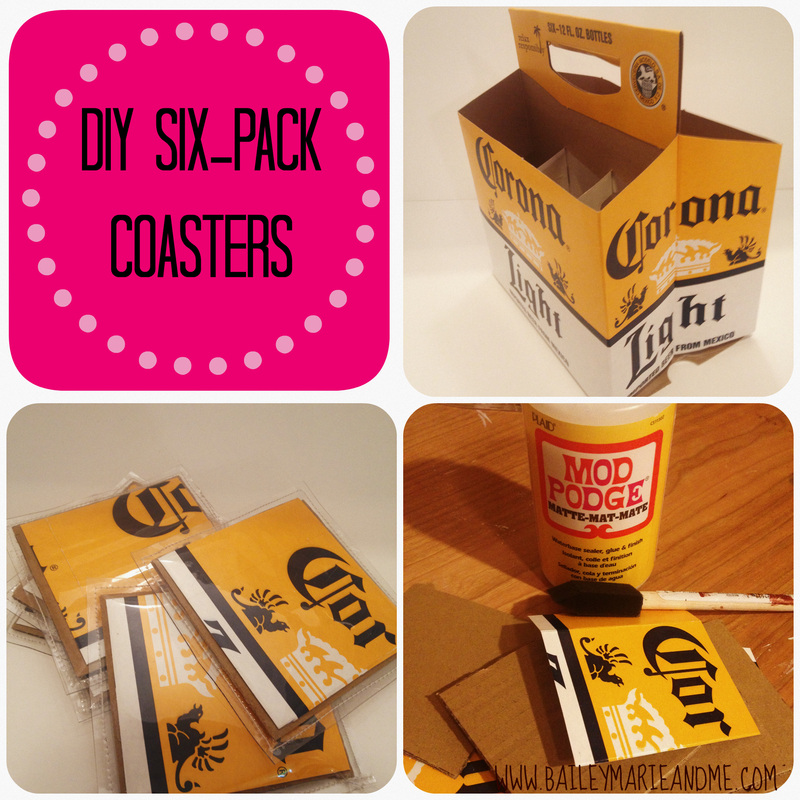
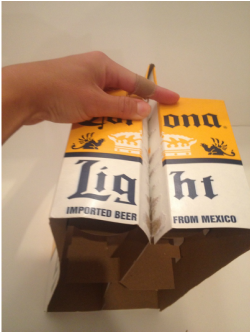
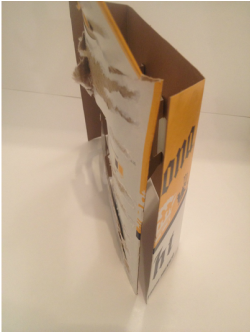
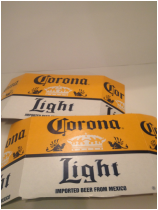
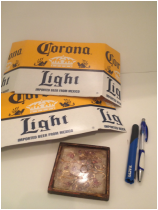
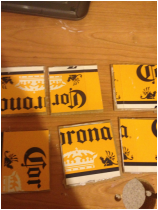
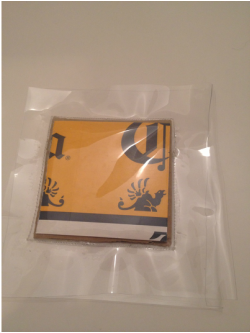
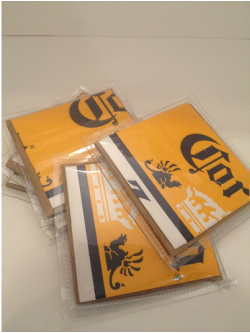
For the peek-a-boo bag: Same instructions as the solid bag, but your front piece will have a plastic window. You have two options - you can cut a rectangle that will be the back and the bottom panel of the front piece, or you can cut a square for the back, and two rectangles for the front. The window is from Ziploc plastic as well. And you will also cut a full Ziploc plastic lining for the inside. To assemble the front, line the plastic against the right side of the shelf liner, straight stitch. Then, fold the hem of the shelf liner towards the shelf liner side, and stitch on the back (looks like top stitch from the front). Repeat for other side. Continue assembling the bag the same way as the solid bag. If you used two separate panels then remember to zig zag stitch the bottom.  Will you try out this project? Link me to your photos, if you do!  Ever wanted to have some fun, summer, and even "manly" coasters around the house? I made these coasters from the six-pack cardboard of Corona Light last summer and they were a hit! And very easy to make.
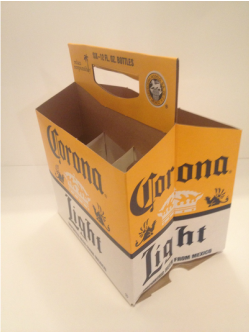
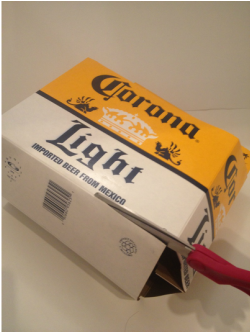
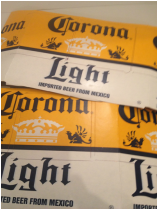
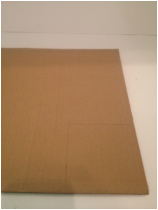
Instructions 1) First we need to disassemble the six-pack to get flat pieces. Carefully cut the bottom off. Then gently peel the sides away from eachother.
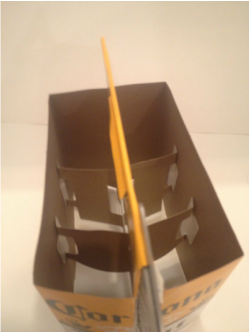
2) Cut off the top handle so you can completely separate the two sides.
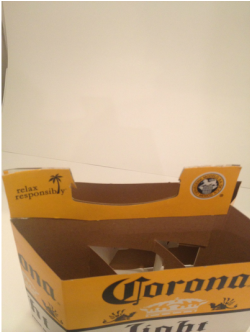
3) Cut down the sides of the center part.
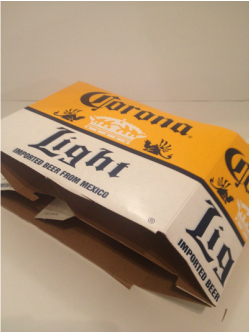
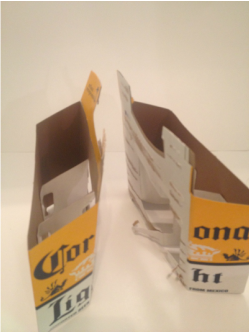
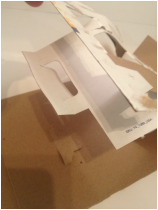
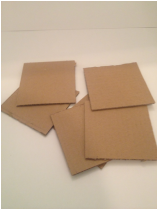
4) Peel back the extra cardboard pieces. Now you have flat pieces!
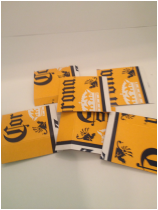
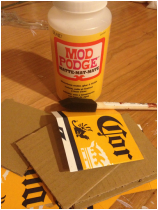
5) Find a coaster the same size that you want these to be (or cut a piece of cardboard to the desired size). Using a pen, trace around the coaster on your cardboard. My goal was to get a bit of blue and white at the bottom because it will translate the whole design to the eye, since you cant get a whole "Corona" on one coaster. Cut out with your scissors (or Xacto knife).
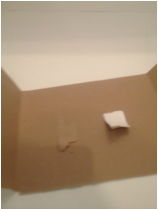
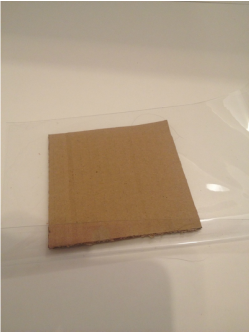
6) Repeat step 5 with your plain cardboard pieces. If you don't want to see cardboard base around the edges, make sure it is the same size as your six-pack pieces. I opted to see a little bit of brown cardboard as a border. Use an Xacto knife for this and your ruler to make the edges straight.
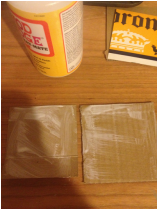
7) Get your Mod Podge ready. Coat the cardboard base with a thin layer, and the back of your six-pack cardboard with a thin layer. Press together, running your fingers along the edges. Repeat for all 6, then let them dry for about 1 hour.
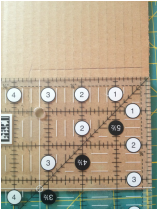
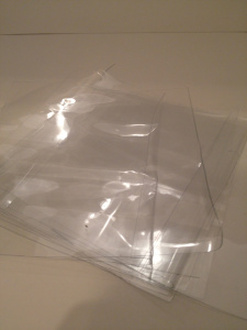
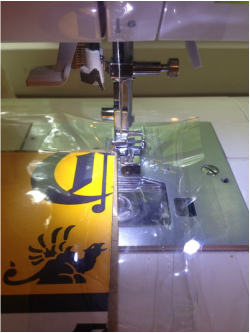
8) While your coasters dry, cut your vinyl. Take a cardboard square (I had extras) or your coaster, and measure onto your vinyl. You want to add about 1/2 inch to 1 inch around since you'll be sewing right up next to the cardboard (if you have a zipper foot) or about 1/4" away with a regular foot. And you want space to pin! Pins leave permanent holes in vinyl. Or you can use binder clips. Cut 12 vinyl squares (2 per coaster).
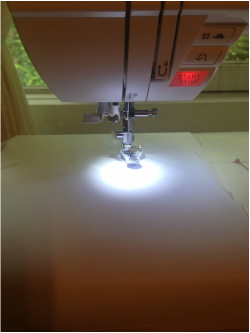
9) Making sure your coasters are dry, get ready to sew. Prep your sewing surface by taping a piece of computer paper over the plastic, and put masking tape on the bottom of your sewing foot so the vinyl won't stick. Even still, you'll have to be a bit more pushy guiding your vinyl through but the paper and tape make a big difference. Switch your stitch length to 3.0. Sandwich the coaster between two pieces of vinyl, and pin or binder clip the edges.
10) Sew right up against the edges, trim and you're done! (Ignore that I don't have the paper down when sewing my vinyl...demo shot!)
I hope you enjoyed this tutorial! Have you ever done a similar project? What did you do differently? What do you think about working with vinyl? Blessings,  |
NewsletterSubscribers get first looks at new patterns, sales, giveaways, and more.
Archives
June 2022
Categories
All
Terms of Use: Please link back to my site if you use one of my original tutorials or photos!
|


 RSS Feed
