
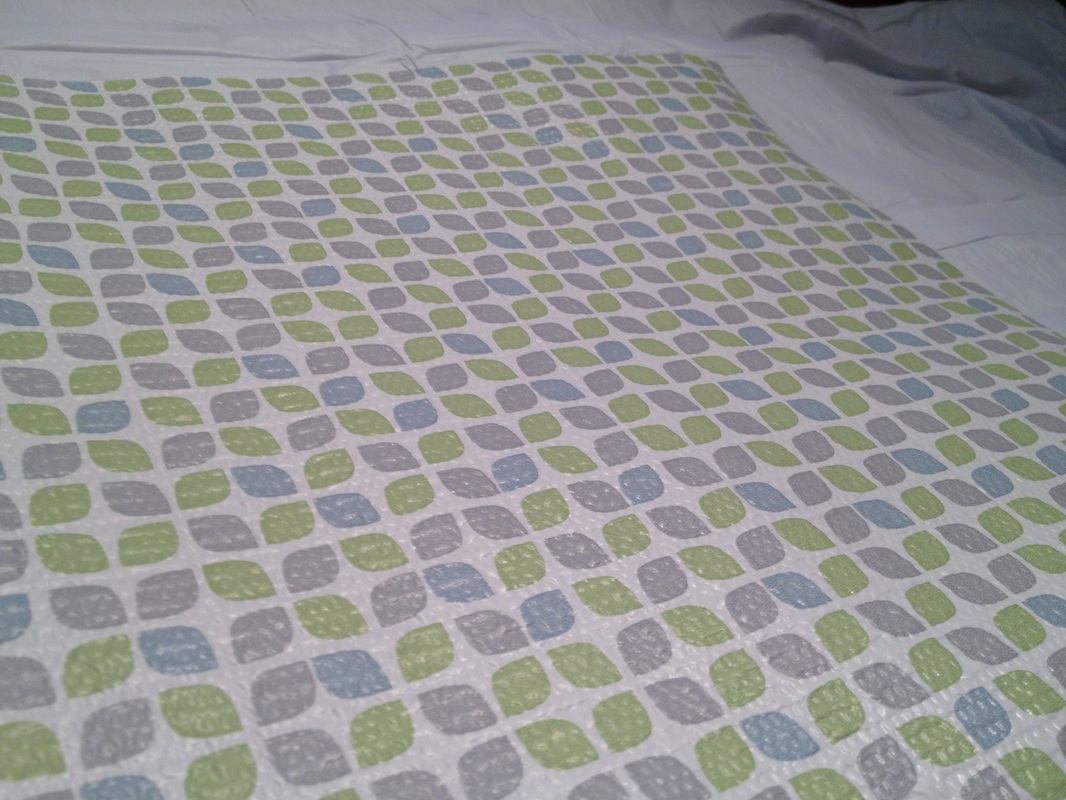
  I chose to use zippers instead of Velcro. Why? I've made vinyl Velcro bags before, that were subject to daily use, and the good Velcro didn't hold up - and by that I mean the Velcro survived but took down my fabric. In the words of another blogger, it also makes for quiet snacking when its snack time in your car's back seat.  And what is the lining, you ask? Well here's what you shouldn't use (not food safe):
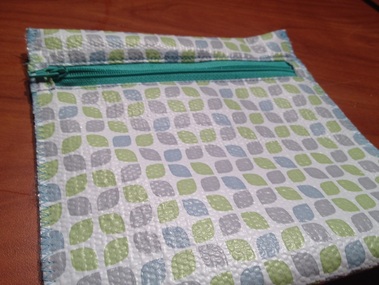
 I'm not going to do a full-blown tutorial because its a zipper pouch - there are a ton of tutorials for flat zipper pouches on various blogs. But I'll give you a quick overview of what I did.
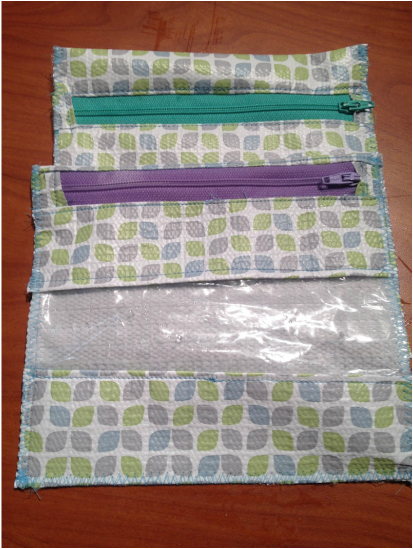
For the peek-a-boo bag: Same instructions as the solid bag, but your front piece will have a plastic window. You have two options - you can cut a rectangle that will be the back and the bottom panel of the front piece, or you can cut a square for the back, and two rectangles for the front. The window is from Ziploc plastic as well. And you will also cut a full Ziploc plastic lining for the inside. To assemble the front, line the plastic against the right side of the shelf liner, straight stitch. Then, fold the hem of the shelf liner towards the shelf liner side, and stitch on the back (looks like top stitch from the front). Repeat for other side. Continue assembling the bag the same way as the solid bag. If you used two separate panels then remember to zig zag stitch the bottom.  Will you try out this project? Link me to your photos, if you do! 
0 Comments
Leave a Reply. |
NewsletterSubscribers get first looks at new patterns, sales, giveaways, and more.
Archives
June 2022
Categories
All
Terms of Use: Please link back to my site if you use one of my original tutorials or photos!
|
 RSS Feed
