
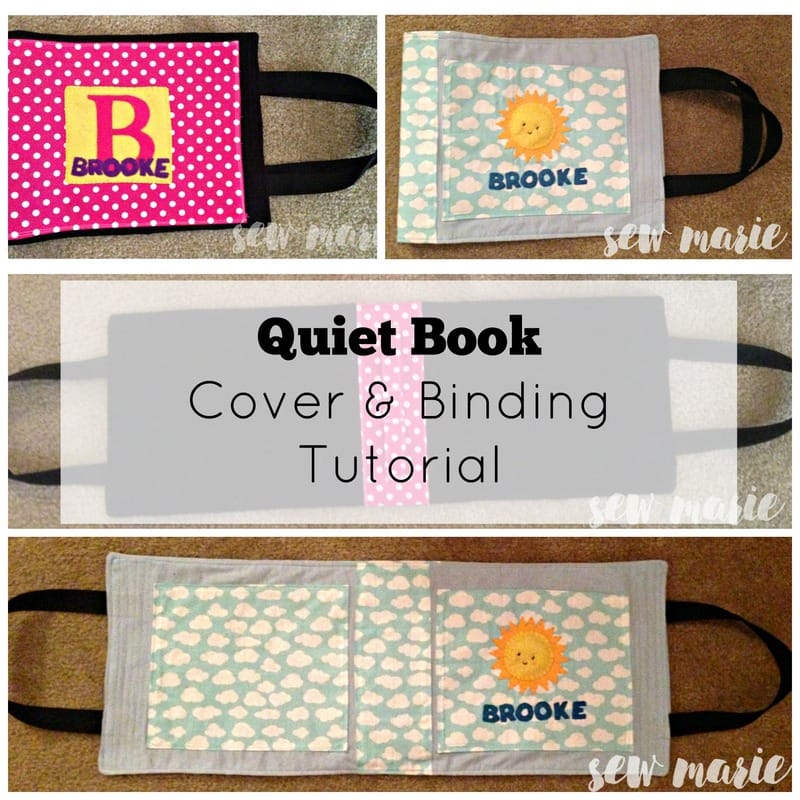
 Quiet books seem to be getting more and more popular on Pinterest and Etsy. Some want to do it themselves, some just like looking at them, and some are in the market to buy a crafty quiet book for their little one. If you've looked at enough online, you'll notice a few major blogs that have shared hundreds of ideas, as well as tutorials on how they chose to bind their book. I did a decent amount of research to decide what I would do for my quiet book pages. Size of quiet book pages First, I had already decided (and created) my quiet book pages on full 9" x 12" felt sheets. I did try to leave an inch or two on one side of the design knowing it would need to be bound. Others have done their designs on 9" x 9" or 8" x 8" squares, and then mount them to 9" x 12" felt. Using this square pattern allows you to use scraps of non-felt fabric for the background. You can see in the photo below the 9" x 12" landscape oriented pages, with grommets and reinforced binding strip on one side. You'll also see that my cover has plenty of room for this! Prepping the pages For my quiet book binding on the pages, I stitched around the edge of the pages together using a zig-zag stitch. Then I stitched about 1.5" in from the edge. I approximated the first one, and then used it as a guide for the rest. I chose this amount because it worked with the blank margins I allowed for while sewing the pages together. I installed grommets (1/4") with traditional anvil and punch, 2 per page. I used a piece of cardstock, hole punched where I wanted them (about 2 inches from each side) and marked through the cardstock template so they were the same on every page. 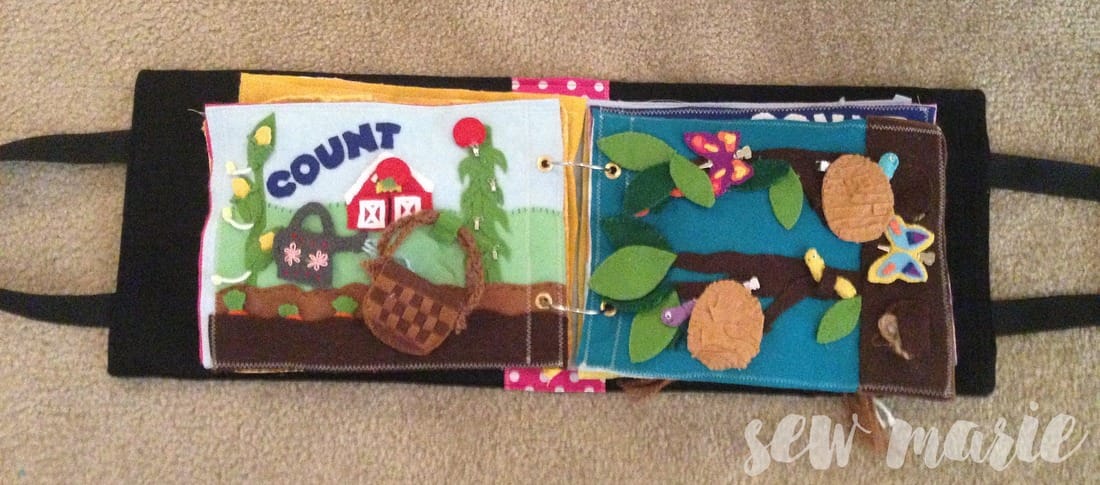 Using binder rings I planned on using binder rings from the start, but hadn't decided how to attach them to the book. Some people install button holes or grommets in the center of their cover, and the binder rings show through to the other side. Other people do a strip of binding inside, like I did, with buttonholes that the rings slip through. And finally, you can see how I did mine (below), I folded a scrap piece of fabric lengthwise multiple times and stitched, then zig-zag stitched it down allowing for room to slip the binder rings under. This way was very simple, looks fine, and meant no more grommets! 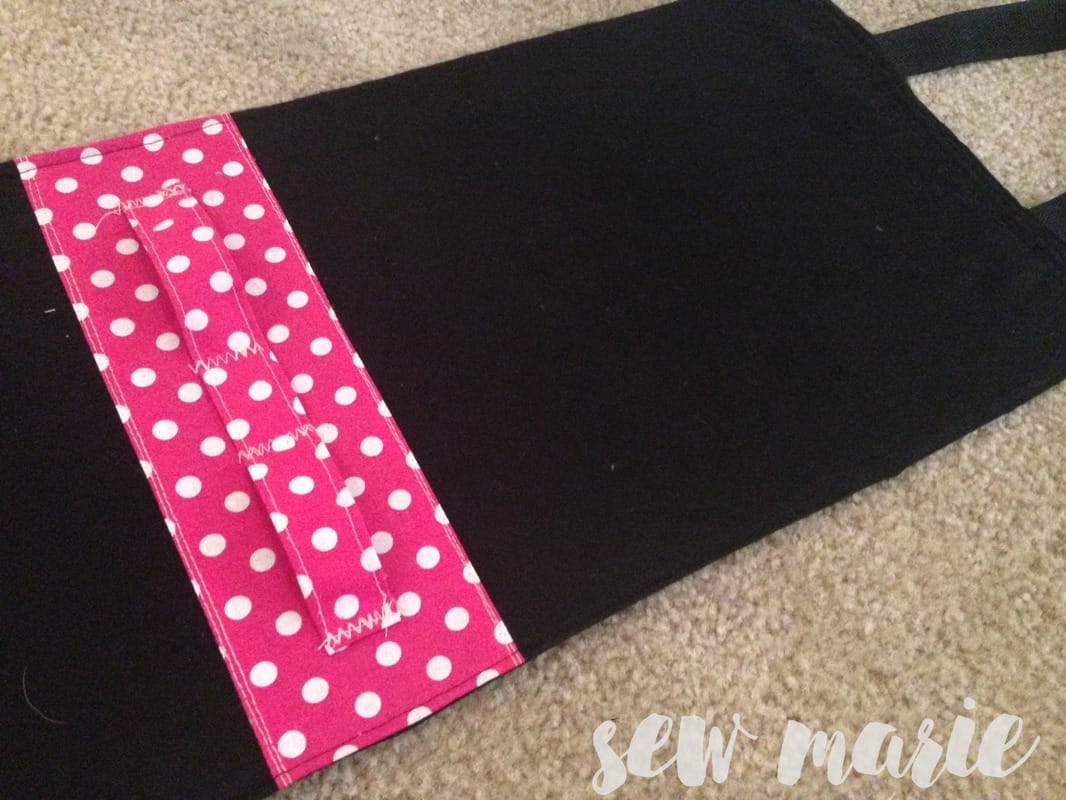 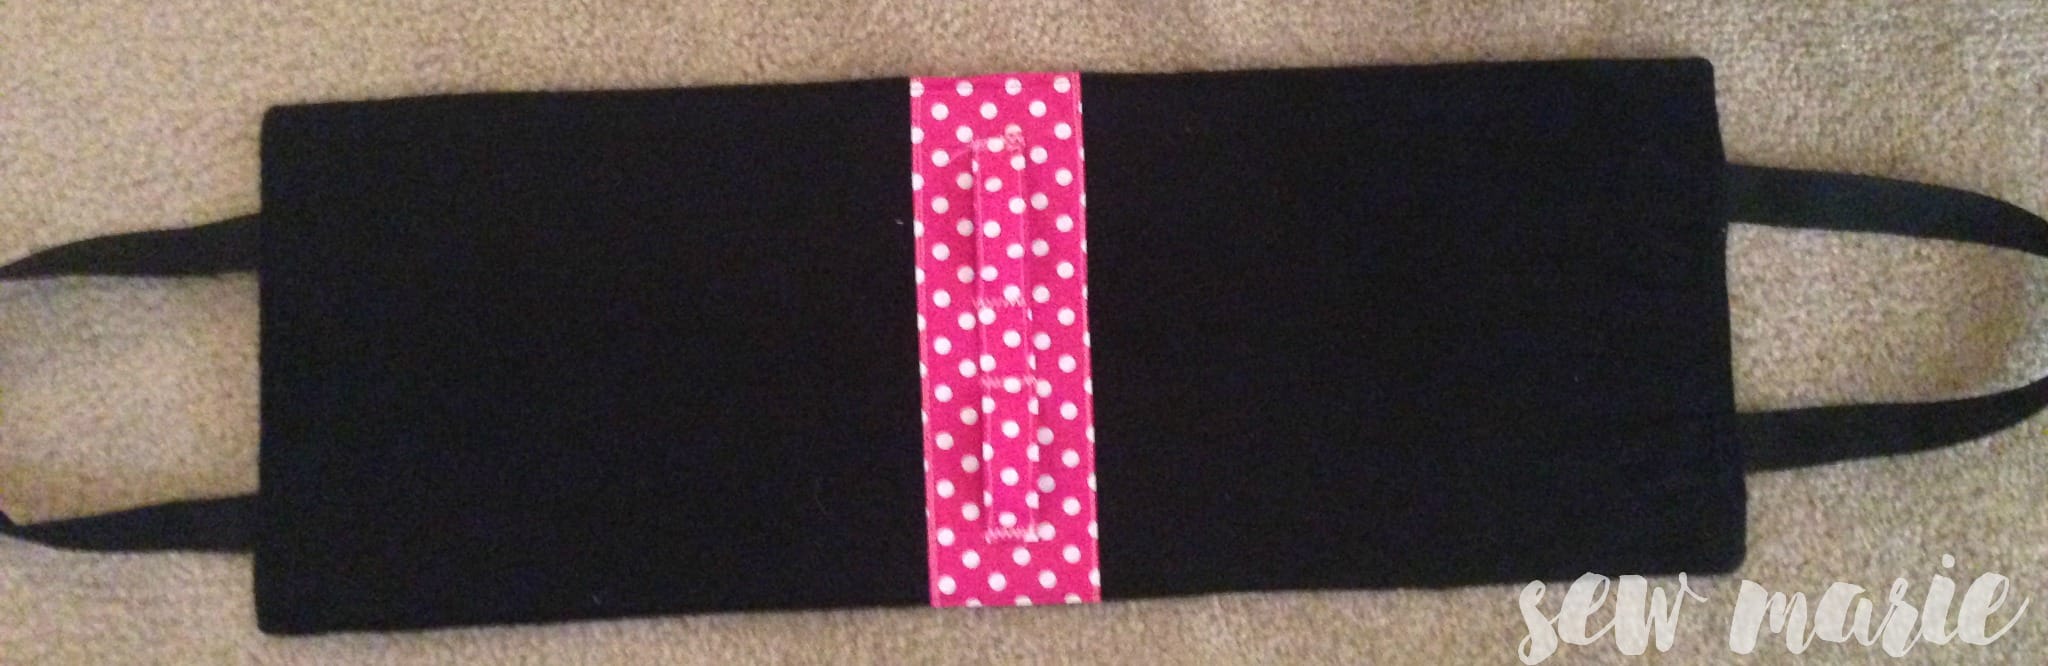 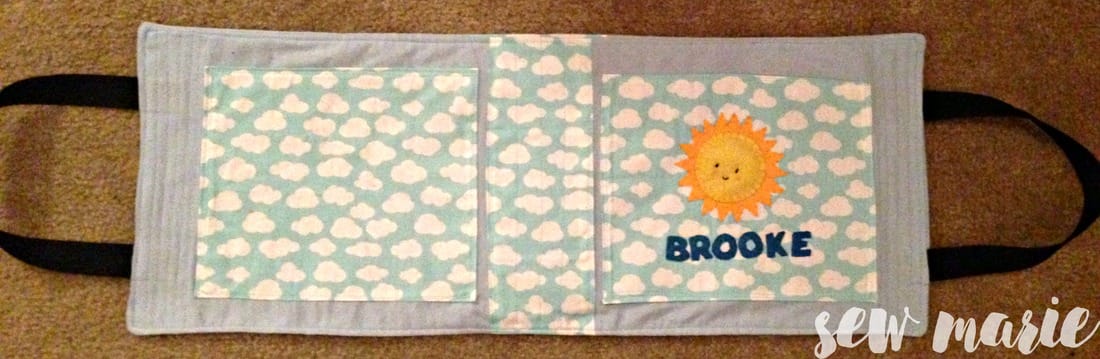 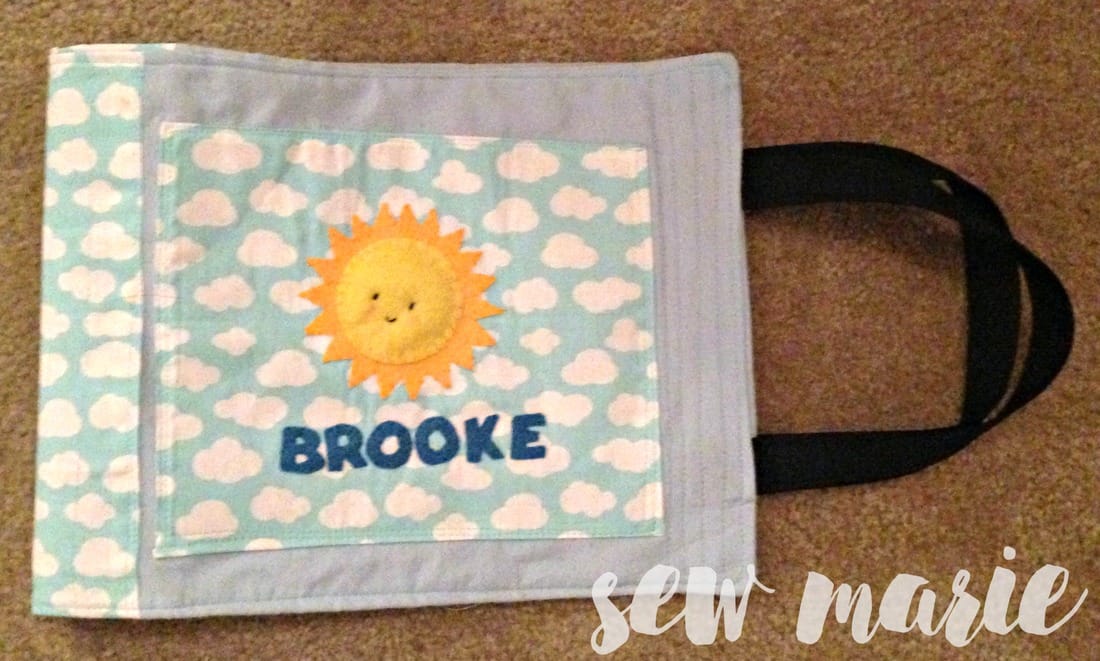 Above you can see the second cover I did, in blue flannel. I Used a matching light blue cotton fabric with clouds on it. With the lighter color fabric (versus the black and pink version) you can see the reinforcement lines I used to secure the handles. You could also do these on the binding. I used sheets of fusible interfacing (double-sized) to secure the squares on the front and back cover, as well as the outside and inner binding. I ironed a hem and stitched around to secure.
I hope you enjoyed my quiet book covers! Please comment with any questions you have about my pattern, inspiration, measurements, or materials,. Bailey
0 Comments
Leave a Reply. |
NewsletterSubscribers get first looks at new patterns, sales, giveaways, and more.
Archives
June 2022
Categories
All
Terms of Use: Please link back to my site if you use one of my original tutorials or photos!
|
 RSS Feed
