
|
With the COVID-19 pandemic going on, and CDC's recommendation that we all wear masks in public, the number of cloth masks tutorials has EXPLODED! I've been sewing masks for a donation group (Carolina Masks Project) that coordinates requests from health care facilities as well as other groups, like doctor's offices with staff, halfway houses and shelters, and home-bound veterans.
I've adapted two styles of masks to find what works best for me. The first is a pleated mask with darts that fits great over the face, and expands large enough to cover an N95. It is adapted from a mask designed by a nurse, and I adapted it to have a filter pocekt so that it can be used as a regular cloth mask (rather than just an N95 cover). The second mask is a pleated rectangular mask, often called a surgical mask, because it mimics the disposable surgical masks. The pleated design is key for flexibility in fit - it allows the mask to go up to the bridge of the nose and down under the chin. The other type of mask being made is the curved style - I haven't been making this one. Putting the tutorials in a blog post would take forever! I created PDFs that you can easily download and print for reference. Feel free to share them. They are for personal and donation use only! Click READ MORE.
I was home over Spring Break, basking in the glory of our fully stocked craft room and thought that making some pillow covers would be harmless in prepping for our new home this summer. I spent time on Pinterest looking for inspiration - I wanted neutral but interesting.
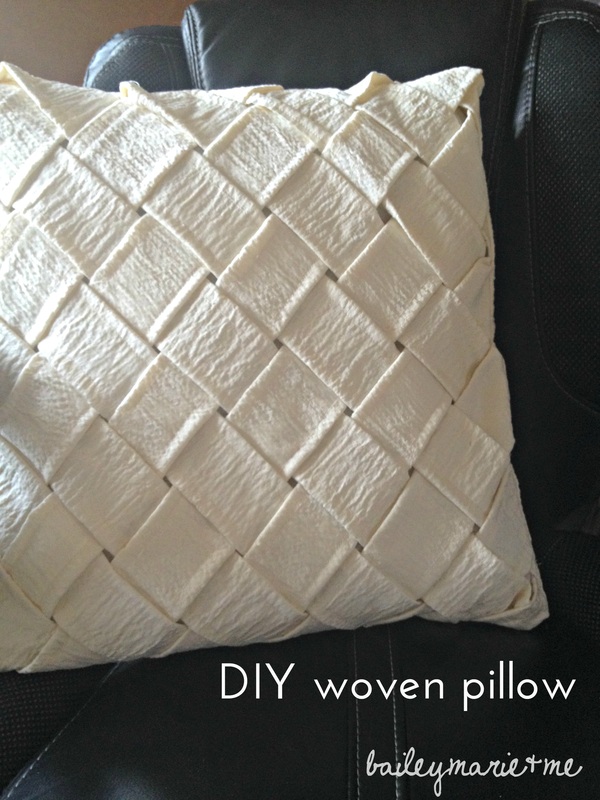
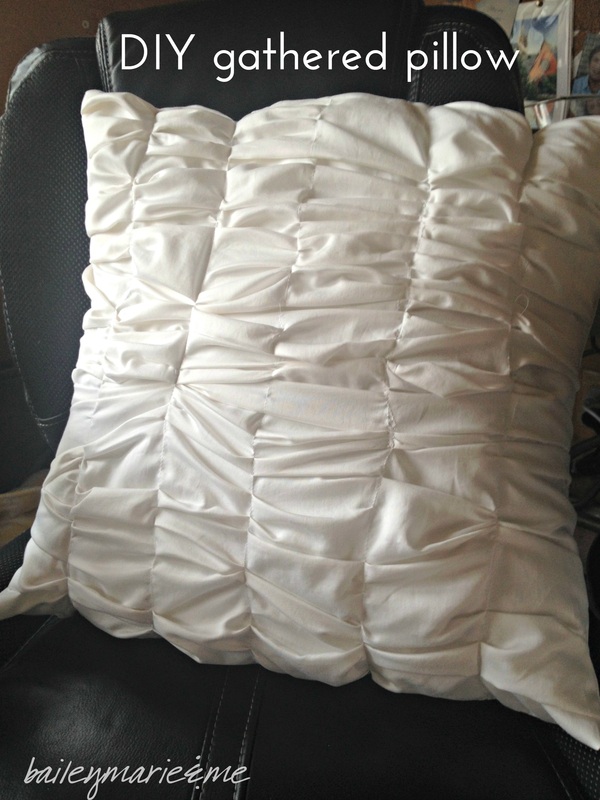
Gathered Pillow - I cut apart a soft pillowcase and marked 5 lines down the square. Then I zig-zag stitched crochet cord through, and pulled to gather the fabric. These gathers didn't stay very well though and ended up uneven. I ended up gathering the fabric as I sewed it with straight stitch. You don't want to make gathers and push it through because the sewing foot will straighten the fabric. Make a gather and pinch it together as it goes through the sewing. If a row comes out not gathered enough, just go back through! For the back, I did an envelope so that it looks nice but can be interchanged. Let me know if you need help with that! Woven Pillow - Using the same fabric as my curtains, I cut 3" strips that were very long lengthwise, and then hemmed each side. Using my pillow form as a size guide, I laid strips diagonally, cutting them as I needed. Then I wove them, pinned, and stitched around the edges. Flipping the piece over, I did long running stitches to further secure the woven pieces. Then I attached it to an envelope back. This pillow form is much flatter than the gathered pillow form, which is why the latter looks a bit fuller. Do you use pillows to add a splash of texture or color to your rooms? Bailey There are a lot of guides for machine quilting out there, but that may be where most of the information on sewing large projects stops. My sewing machine has an attachable quilting table, but I've never used it. After sewing curtain panels 90+ in long (and also a few basic quilts) I have come up with a few tips that help, from measuring and cutting to sewing and finishing. 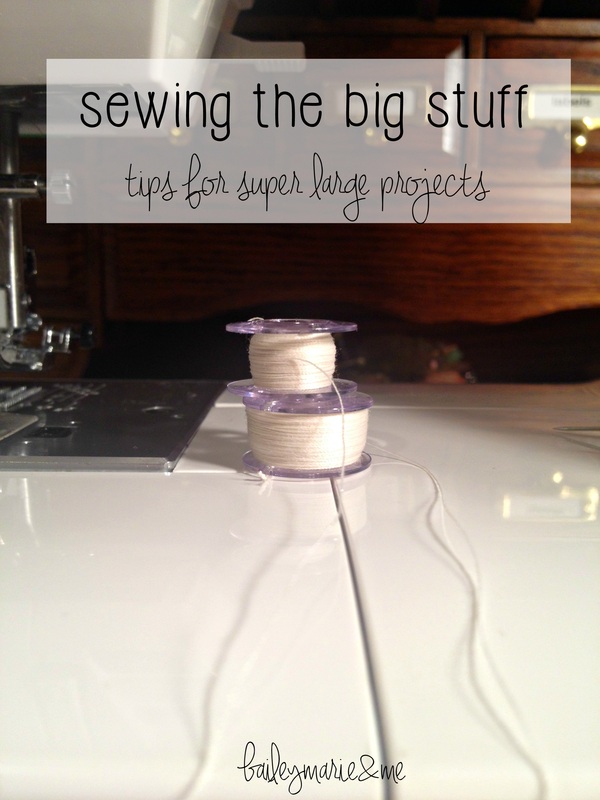 1. Wind up extra bobbins! You do not want to let out a sigh of relief after a 100 inch hem only to realize your bobbin ran out a few stitches in. 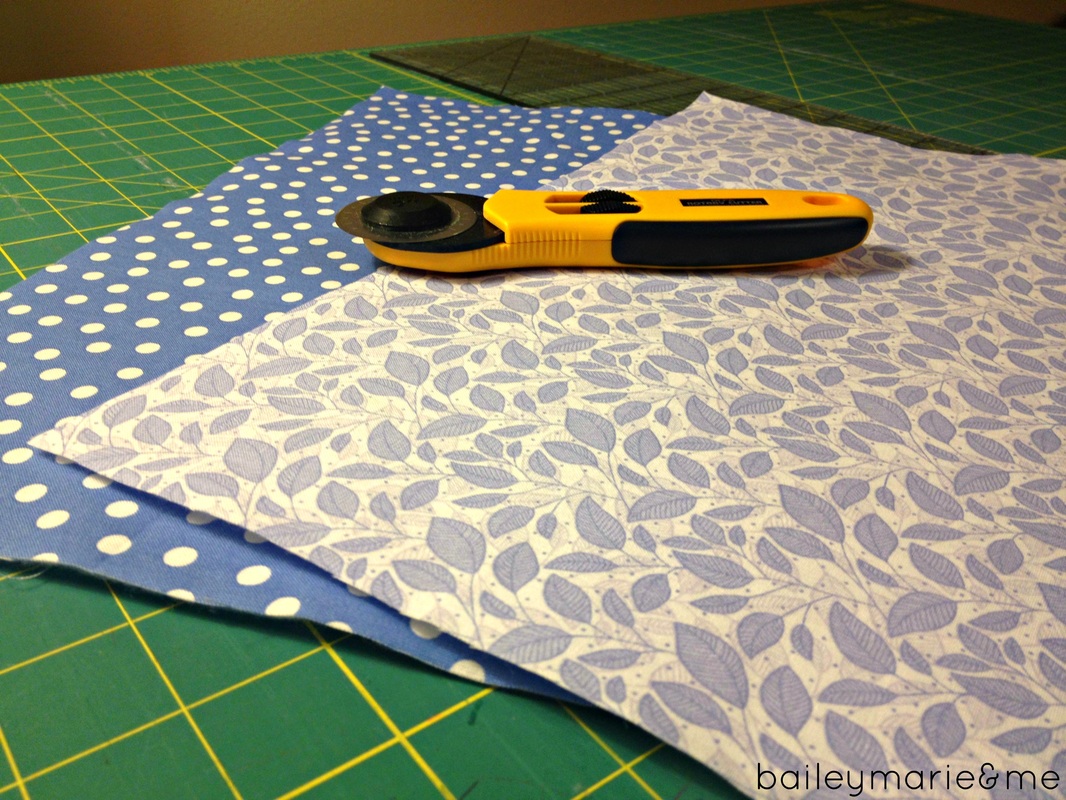 2. Don't stress too much about straight lines. Add a few inches to your measurements - and measure 3 times because those flexible tape measures can be squirrely. To me, a large project means too large to cut rotary on a mat. This means you need sharp scissors and a big open space! Also...vacuum your floor first. Divide your total length into thirds or fourths, measure out that length, and then carefully fold your fabric so it is easier to cut.
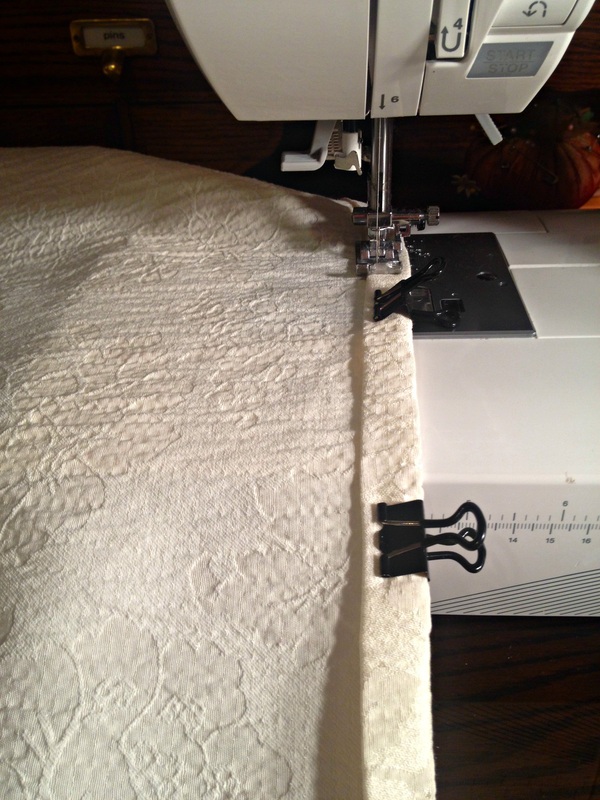
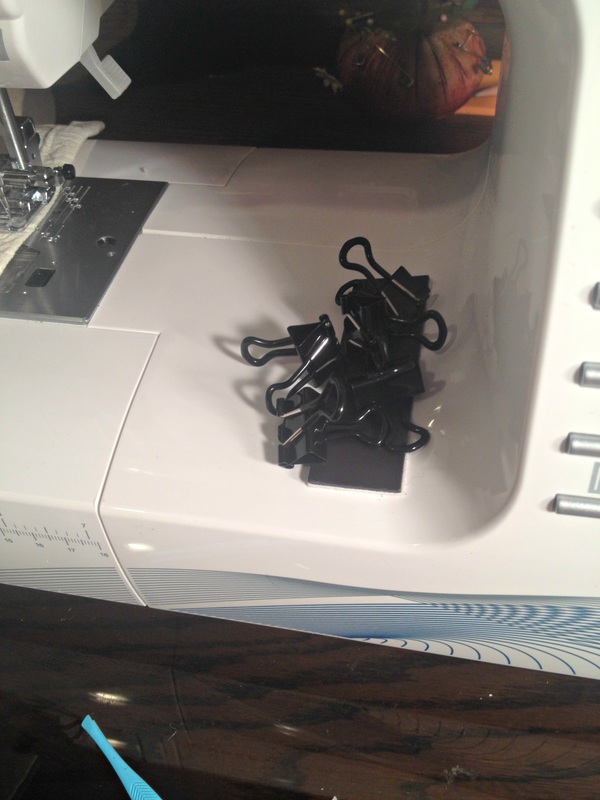
3. Skip the pins. I swear by these binder clips - the ones with plastic coating. Believe me, you'll wish you got the ones with plastic coating when your fingers are numb. I used 3M tape to adhere a kitchen magnet to my sewing machine where I can throw pins and binder clips as I sew. Highly recommended! 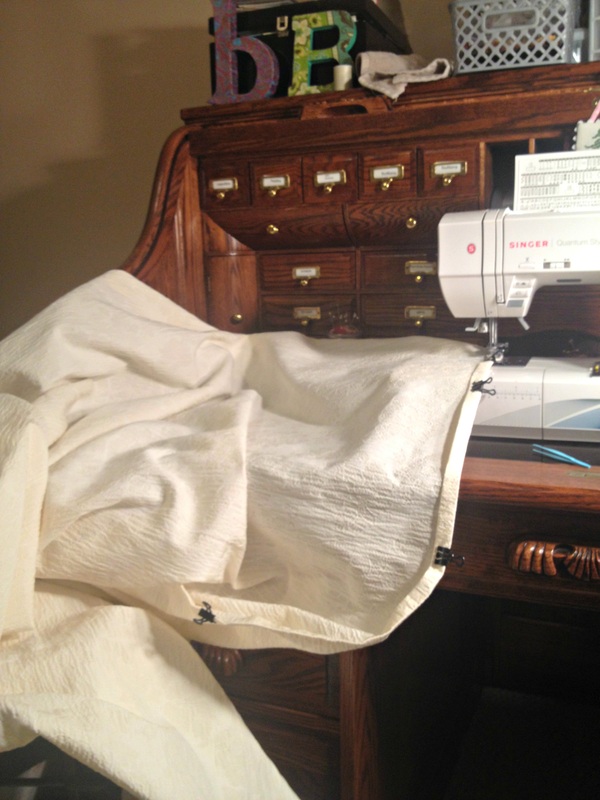 What large projects have you undertaken?
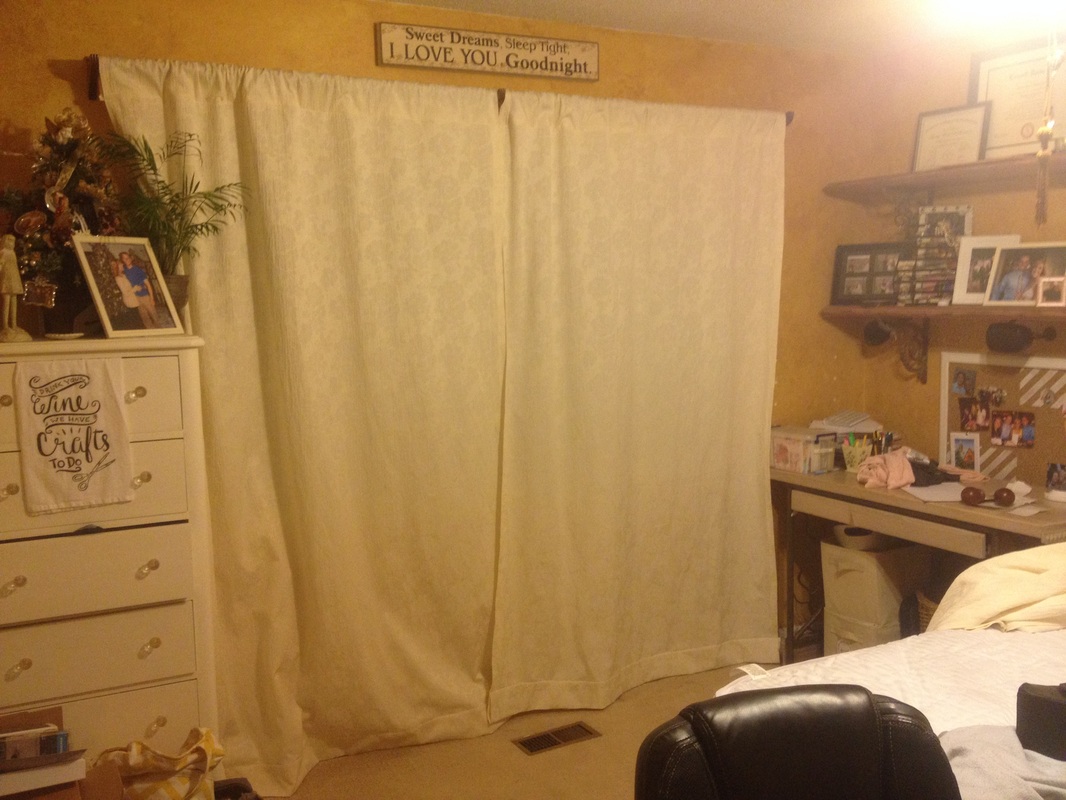
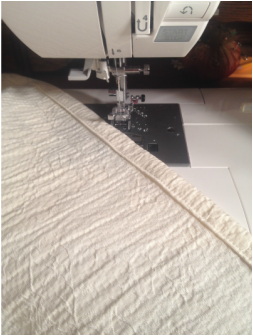
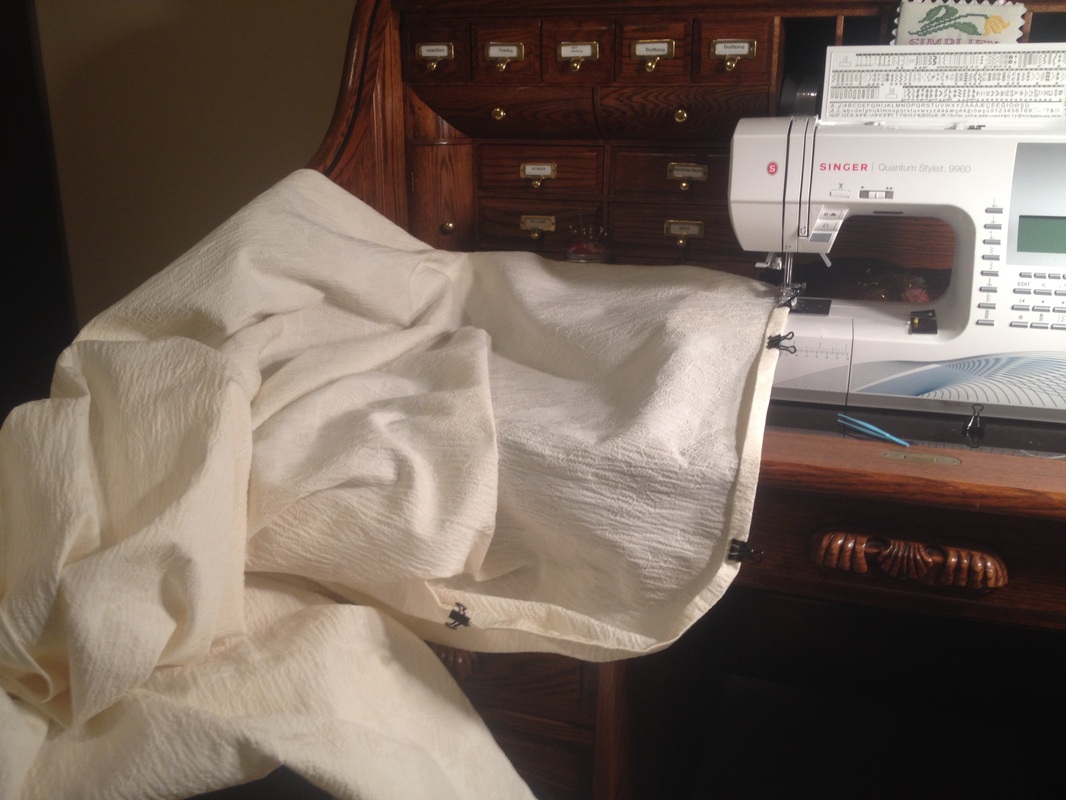
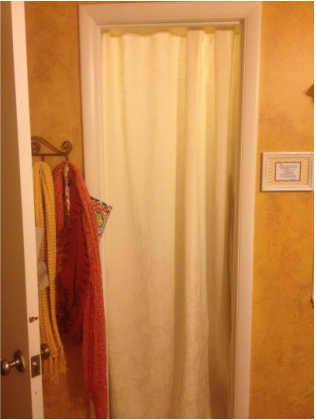
-Bailey 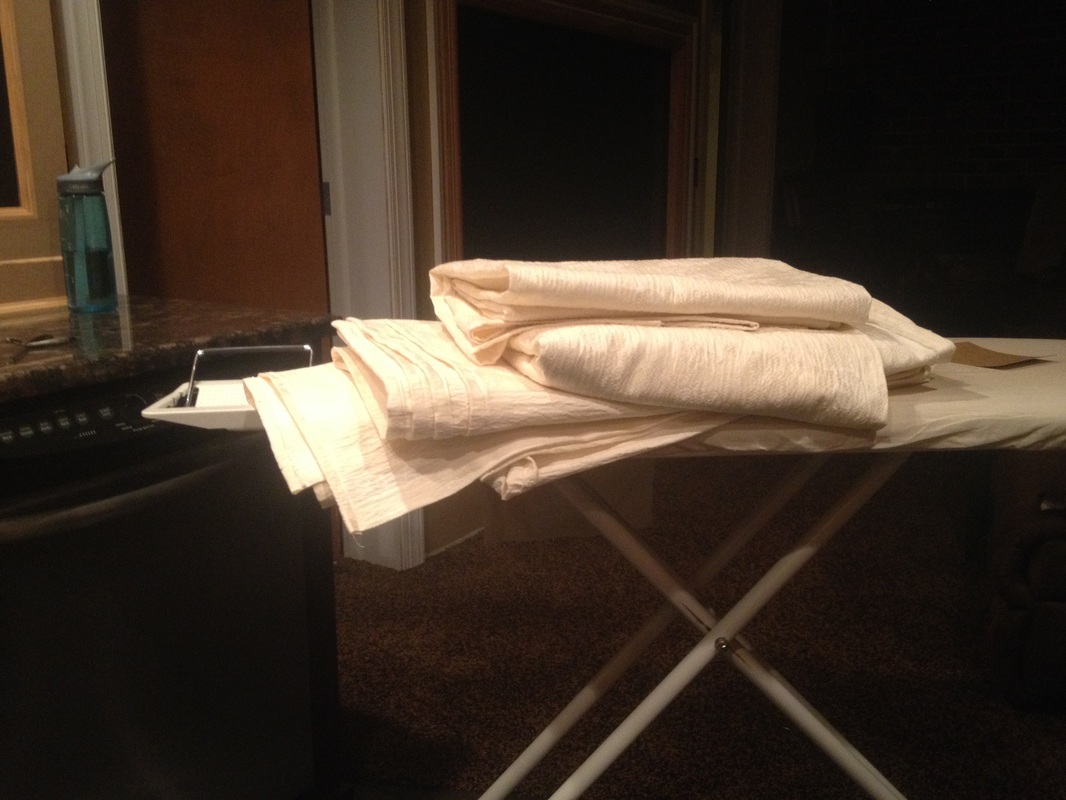 This blog post contains affiliate links to products I used to complete the project. I was not sponsored to write this post and all opinions are my own. If you can hem, you can sew curtains. The decision comes to how you want the curtain to hang. You can sew extended tabs that you see at the top, you can sew tabs on the back of your curtains, or you can sew a large pocket. I went with the large pocket method. Sewing curtains is really great practice for cutting and sewing large pieces of fabric. I suggest searching Pinterest for curtain styling so you can decide how many panels you want, and how you want them to hang. And then you need to measure. Like, measure 5 times. Measure the entire width of the curtain rod/area to hang, then measure from rod to window sill, and rod to floor. Decide how many panels you want, and then decide what width they should be. Add extra length to the curtains and then adjust by hemming later. Did you see my furniture makeover with chalk paint? In high school I decided to paint my quaint off-white, flower decorated furniture set bright red. And then a few years later decided that wasn't really my thing. To match, I had hung thick red curtains. We swapped these out for multiple panels of sheer checker fabric. They weren't really doing it for me either because they were a hassle to pull back, and didn't block out much light. We have bolts and bolts of fabric in our basement, so I picked one out to make curtains. Now, if you do not have a ton of fabric lying around, I highly recommend purchasing curtains. There are a number of DIY tutorials for using flat sheets or drop clothes - these are other decent methods if you can't find a pattern or design that speaks to you. But I don't think that going to the fabric shop to purchase yards of soon-to-be curtains is the most cost effective measures. Definitely one of those times when DIY is not always better. Each of those above is a single curtain panel! They ended up being ~96" long and 54 in wide (entire width of bolt). My trick for cutting large pieces of fabric: gather your pins, scissors, and fabric in a large room with empty floor space. Divide your entire length into thirds or quarters. Measure that amount, and fold your fabric to that level. Then keep folding your fabric - three times, four times - and then cut. Ta da!
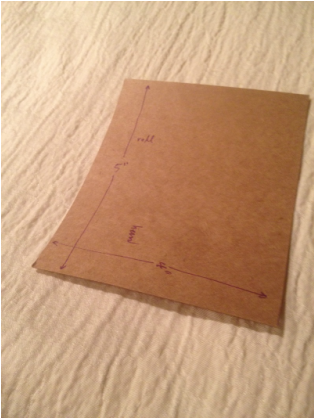
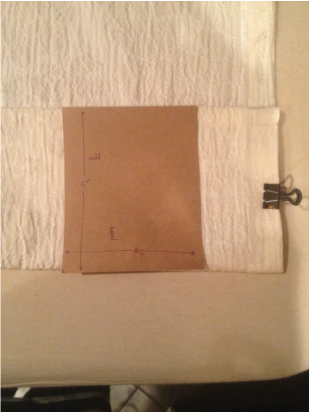
Hem Helpers: cut a piece of cardboard for your top pocket hem ("roll" here - 5") and the bottom hem ("hem" here - 4"). Use it as you iron and fold to make sure your hem is even all the way across.
 Leave questions in the comments!
Bailey |
NewsletterSubscribers get first looks at new patterns, sales, giveaways, and more.
Archives
June 2022
Categories
All
Terms of Use: Please link back to my site if you use one of my original tutorials or photos!
|


 RSS Feed
