
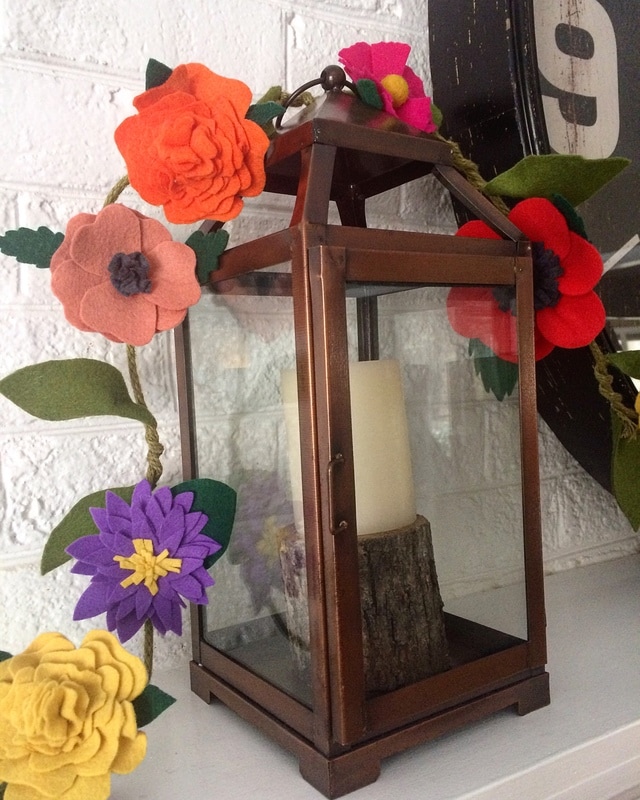
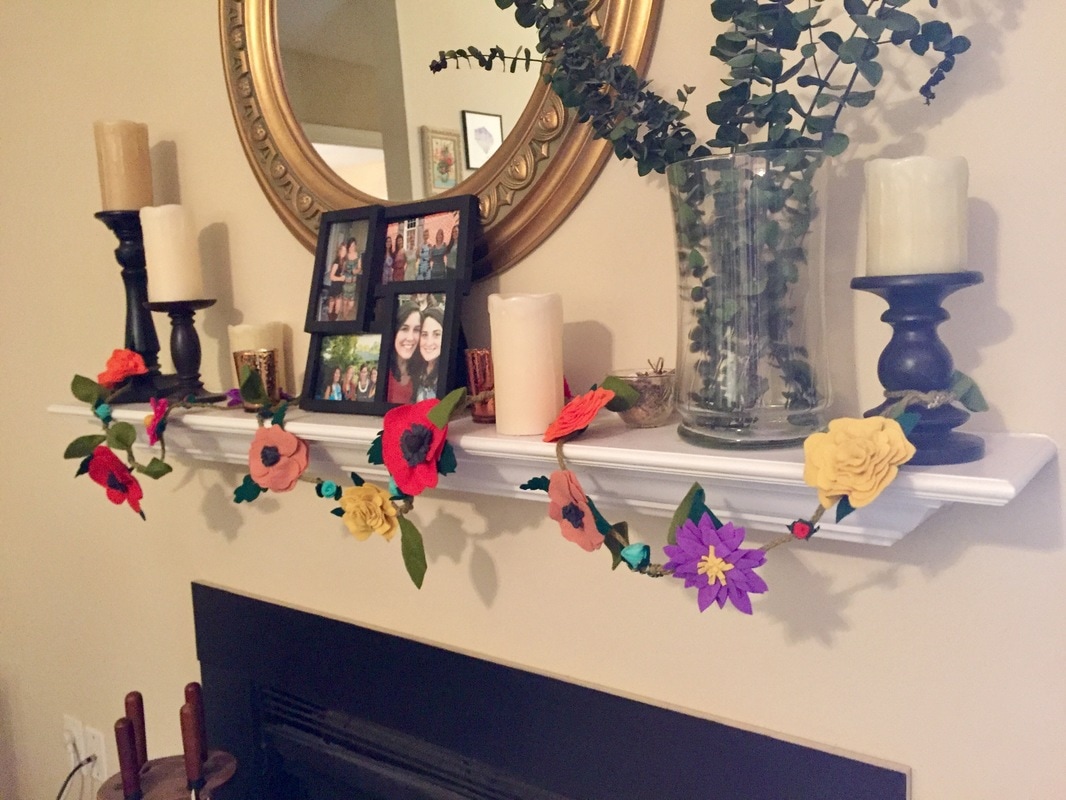
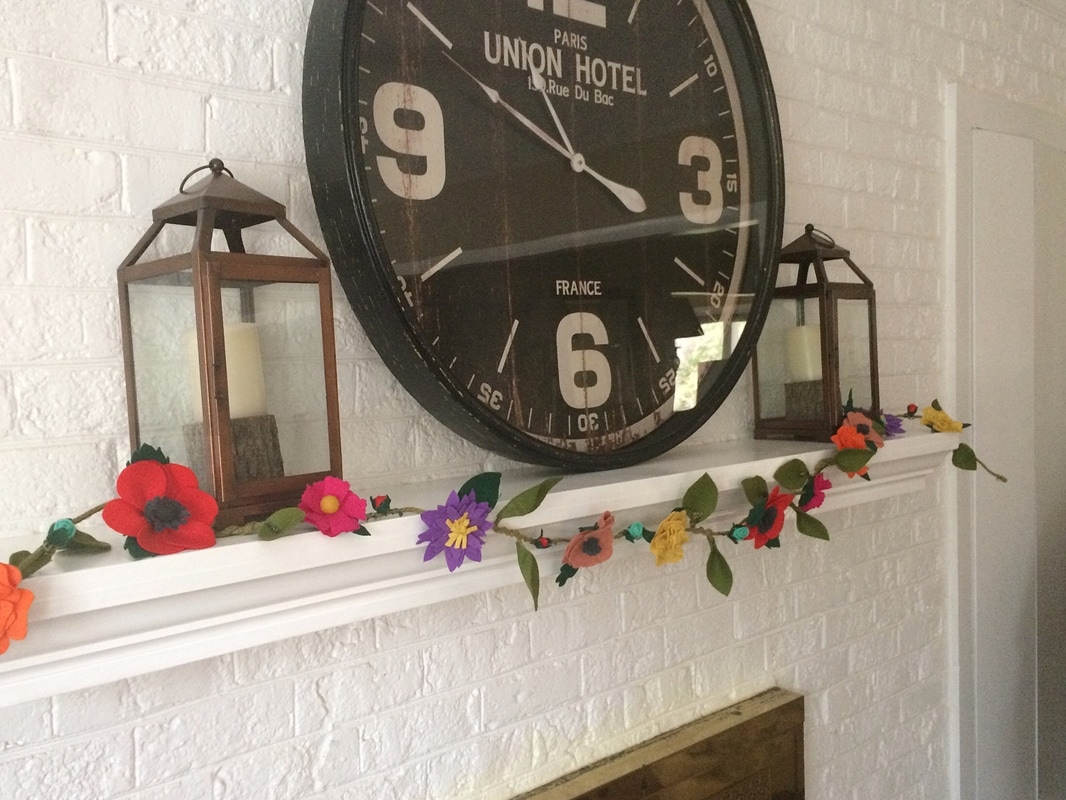
   I had so much fun making this garland...playing with the different colors of green, using felt scraps to make teeny tiny rose buds, and arranging all of the flowers and laves along the awesome wired cotton jute I found at Hobby Lobby.
These are made to order and are listed in my shop. Thanks for stopping by! Bailey
0 Comments
I have a black thumb. No joke. My attempt at regrowing butter lettuce ended with a moldy ball of roots. I have friends that can keep their curling ferns alive in their windowless cave of an office - and aloe vera can't even survive this anti-Midas touch. Solution? Faux plants! But what's even better than your typical fake plant? A soft adorable felt one! 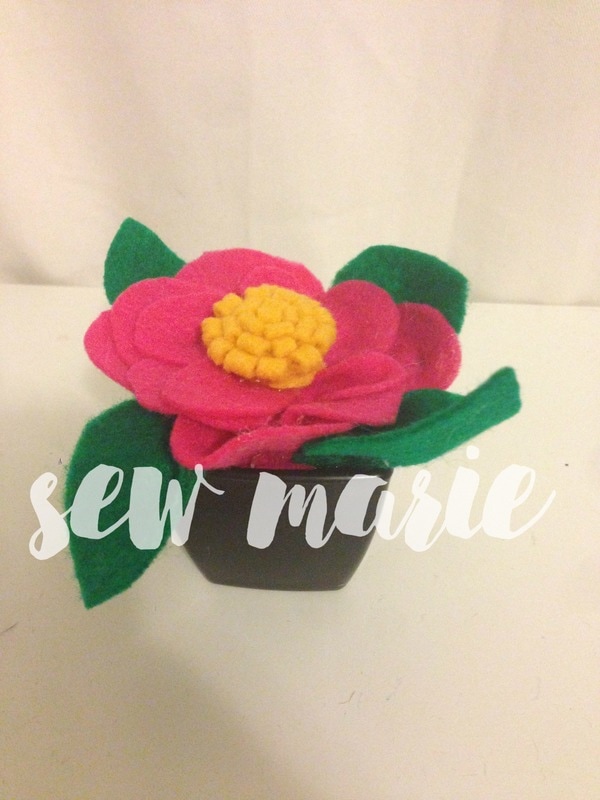 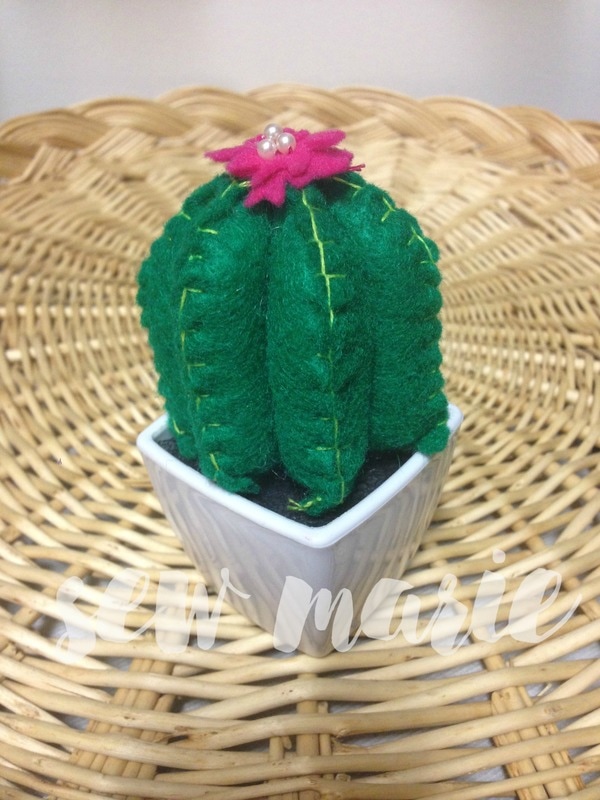 These cuties will brighten up your desk, make your coworkers "Ooh" and "Ahh", and finally shut that lady up to crows about her oxygen recycling plants. We get it - plants love you.
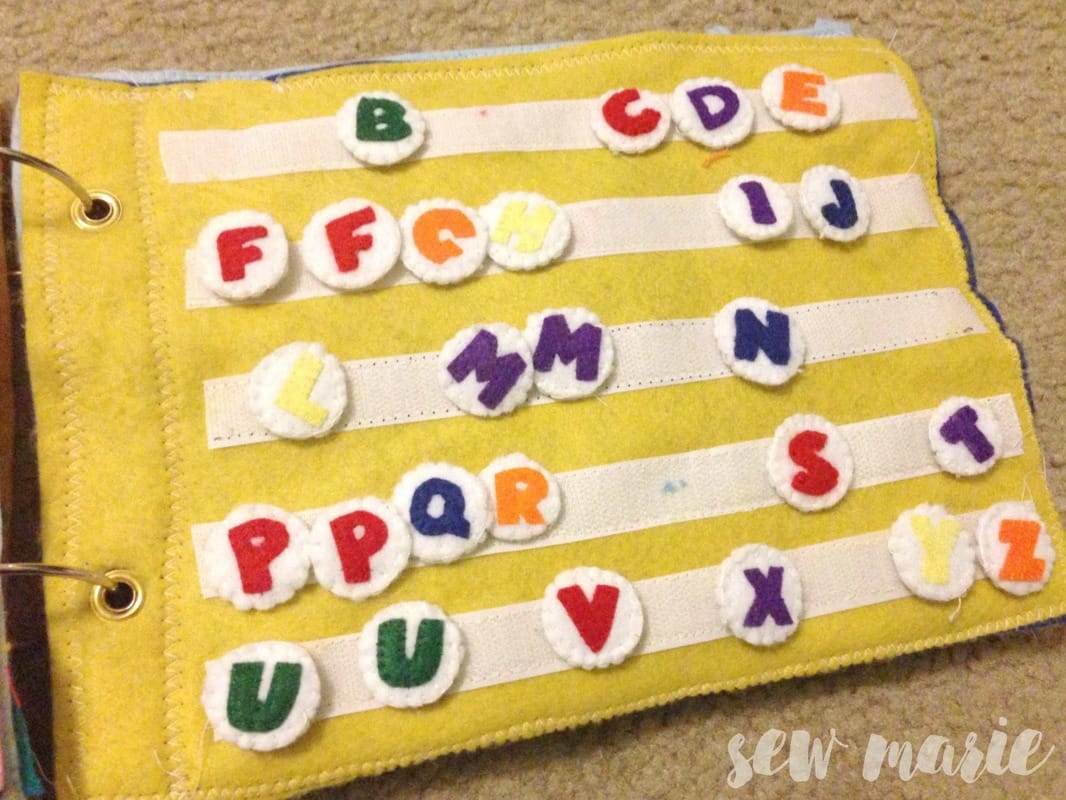
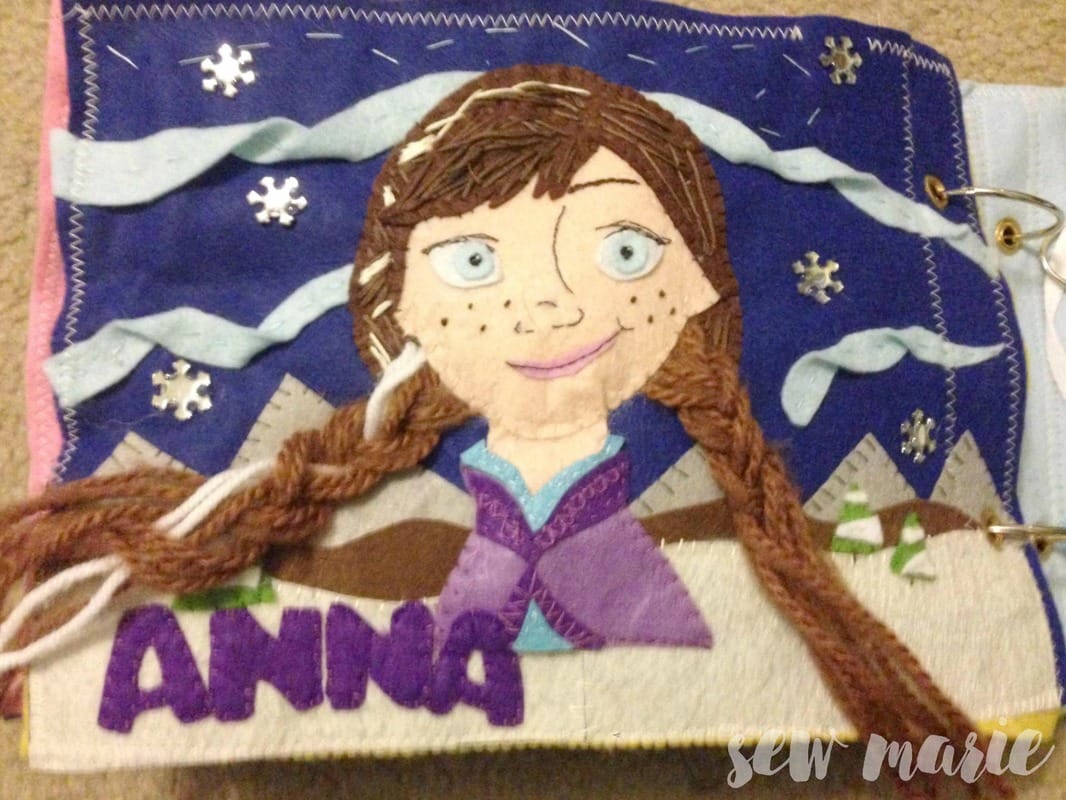
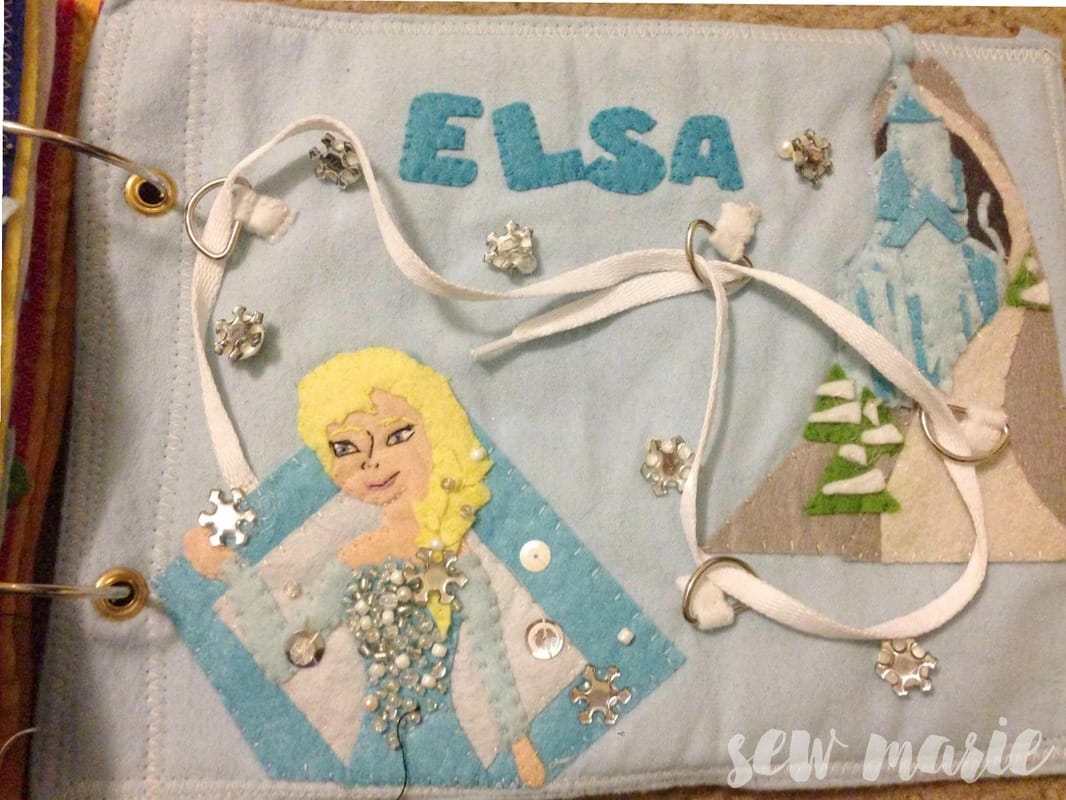
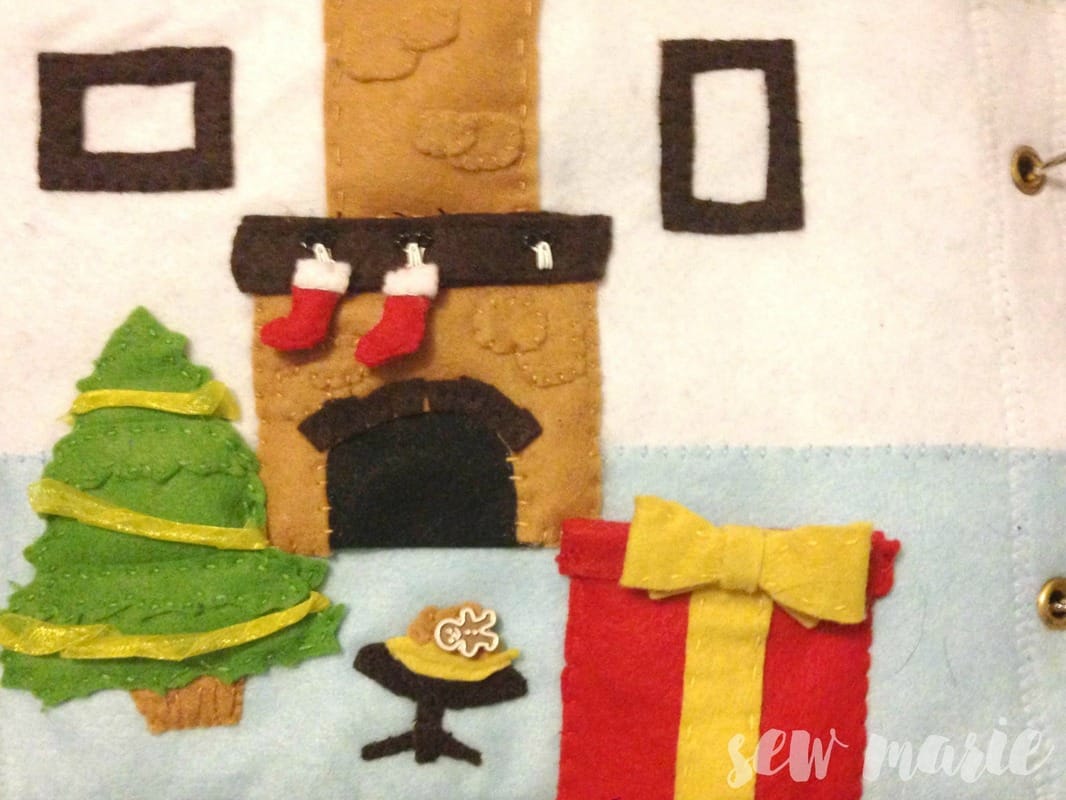
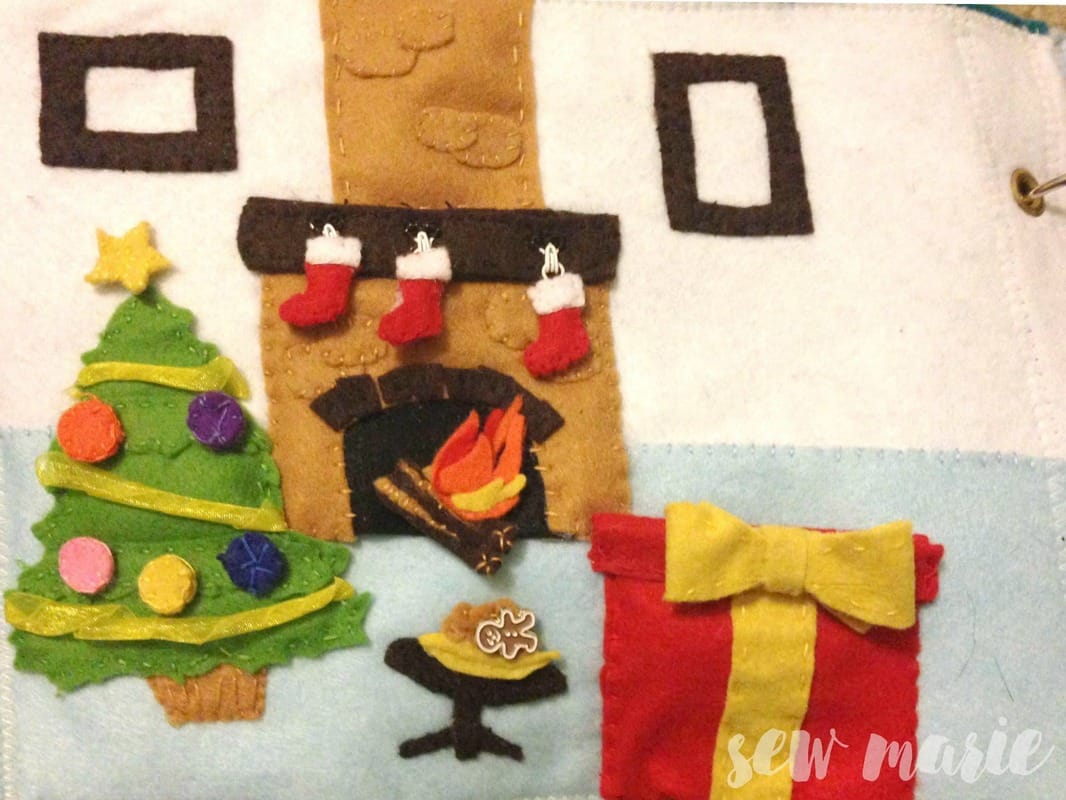
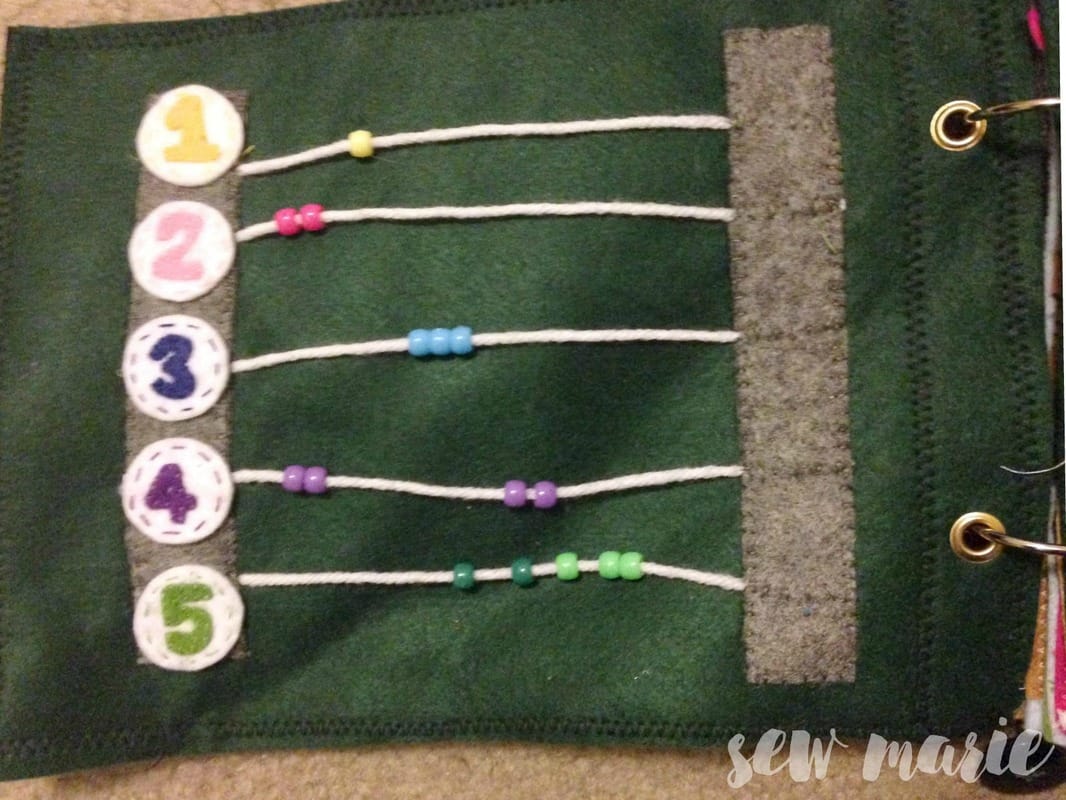
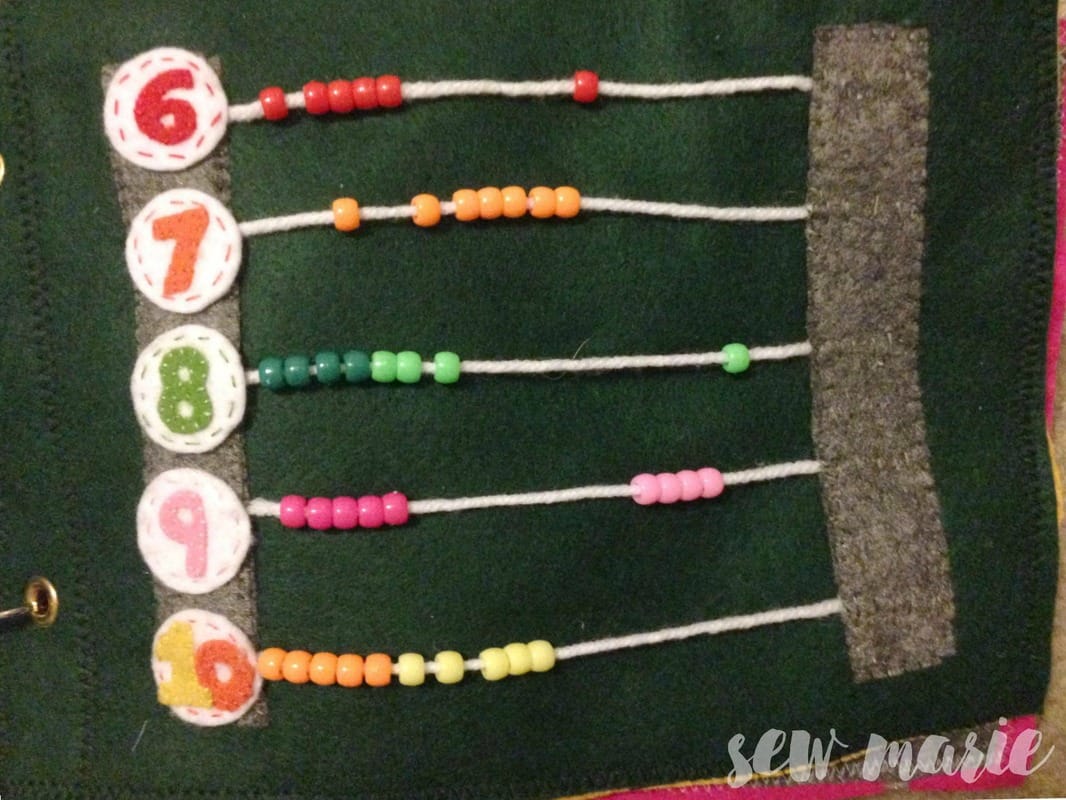
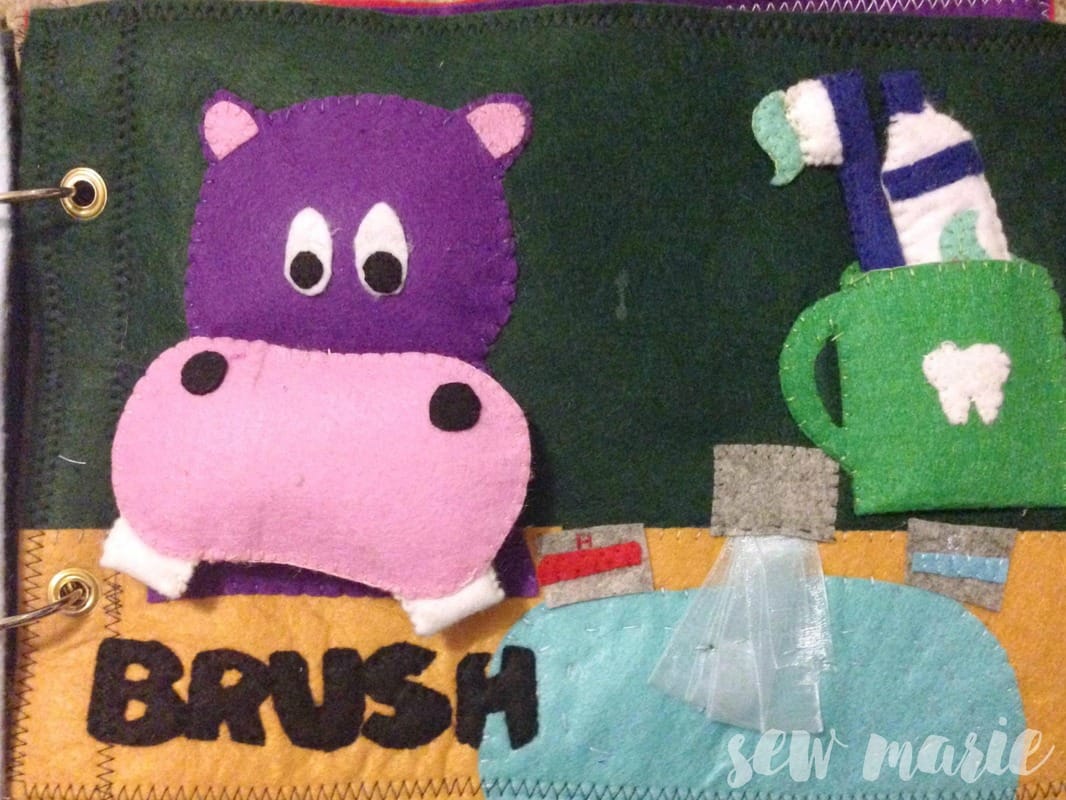
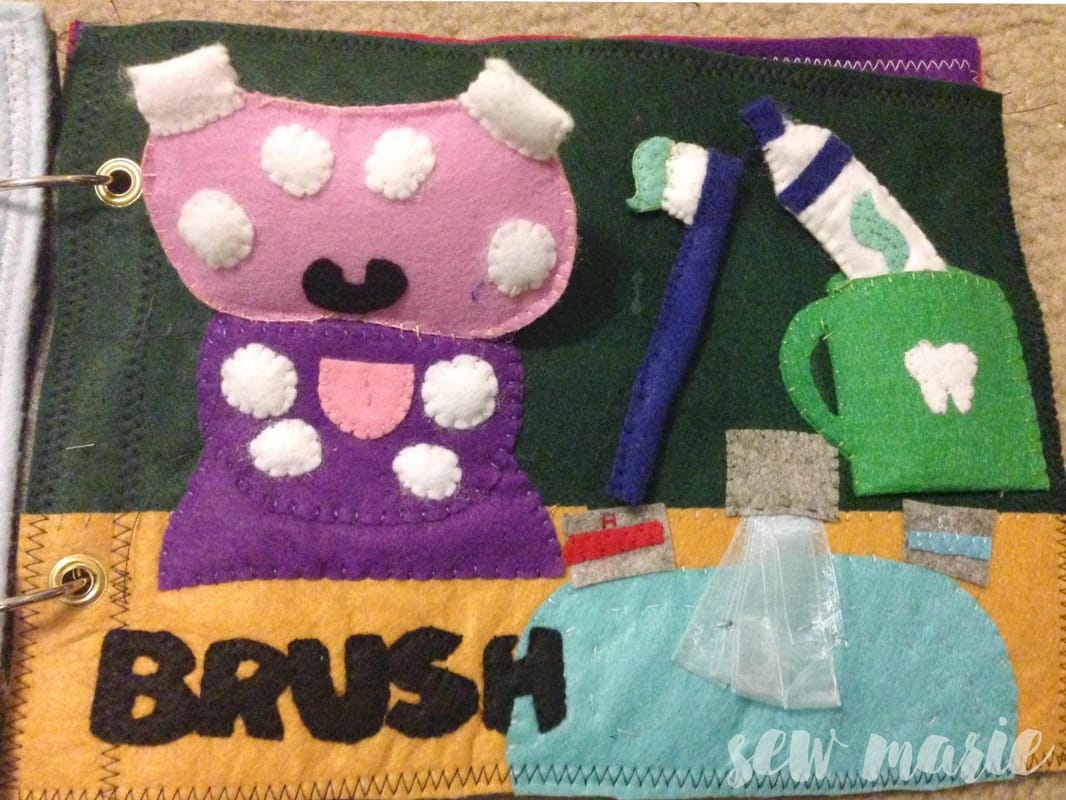
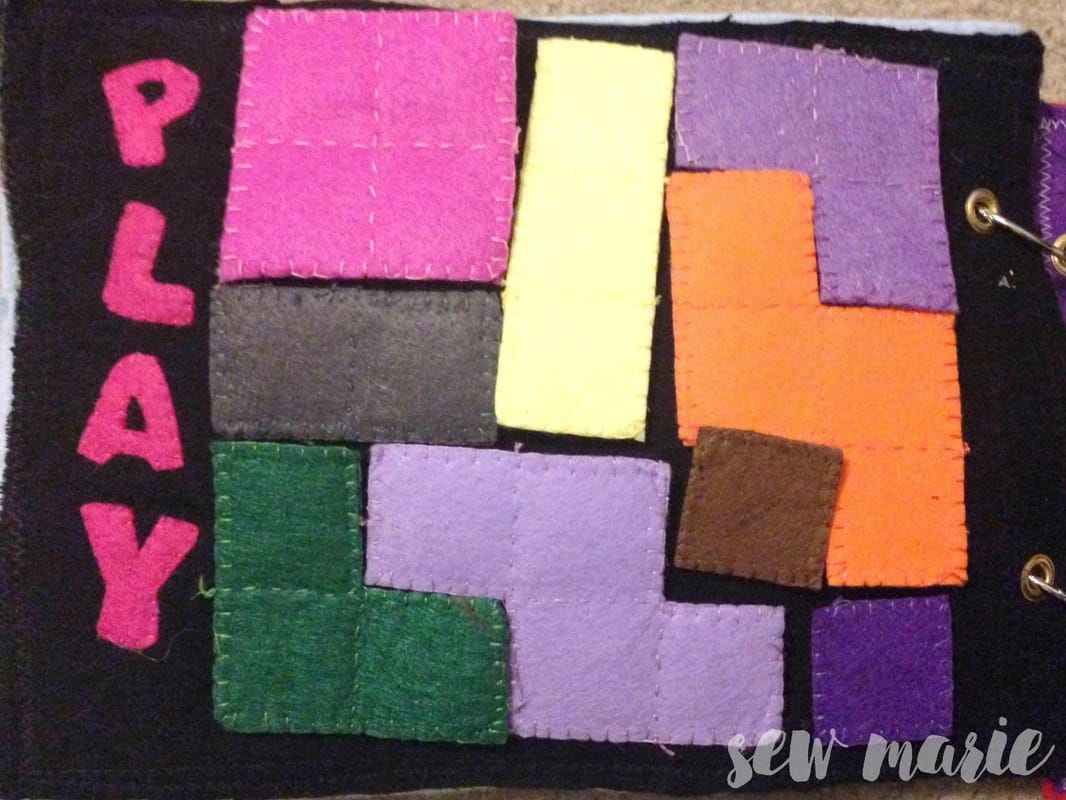
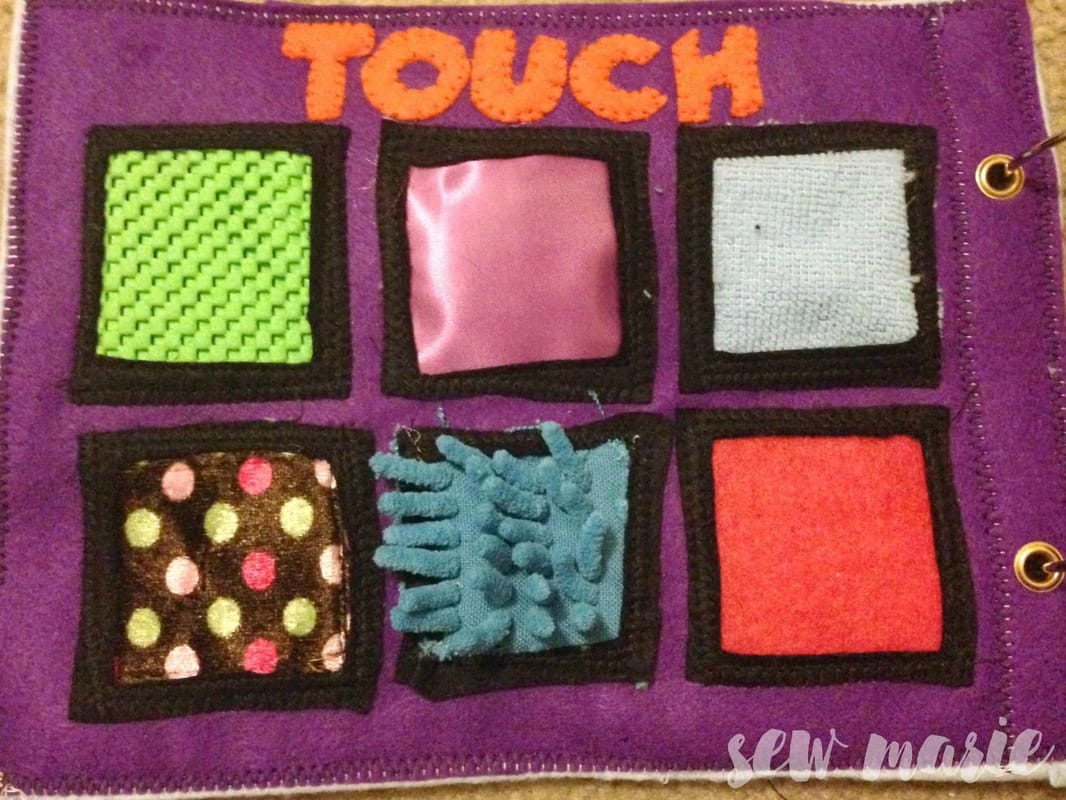
Cuddle up with these not-so-prickly pears. The only nourishment they need are your smiles :) Find 'em at my Etsy Shop! XOXO Bailey Marie   For these pages, I used craft felt, yarn, snowflake stickers, D-rings, beads, and embroidery thread. Braid Anna's Hair - Quiet Book Page The background is dark blue 9" x 12" felt, with grey felt cut into mountains, brown felt into background landscape, and white layered on top. I used scraps of white and green felt to make trees and stitched them down. The sky swirls are strips of light blue felt, twisted and stitched down. The snowflake stickers are from the Dollar Tree and I hot-glued them down. The trickiest part was Anna herself! I found a clipart piece online that I liked, and I sketched it out on my freezer paper. I cut the pieces out after ironing it to the felt, piece by piece. Same thing for the dress, cape, lips, and eyes! Then I hand stitched the nose, freckles, and lip details. For the braids, I used a square of brown felt for each one, and hot glued the ends of the yarn, folding it over. Then I glued that section to the background, under the skin colored felt, before stitching everything down. No matter how hard the little one tugs, those braids will not come out! And of course, don't forget about Anna's white streak in her hair. Help Elsa Get Back to the Castle - Quiet Book Page
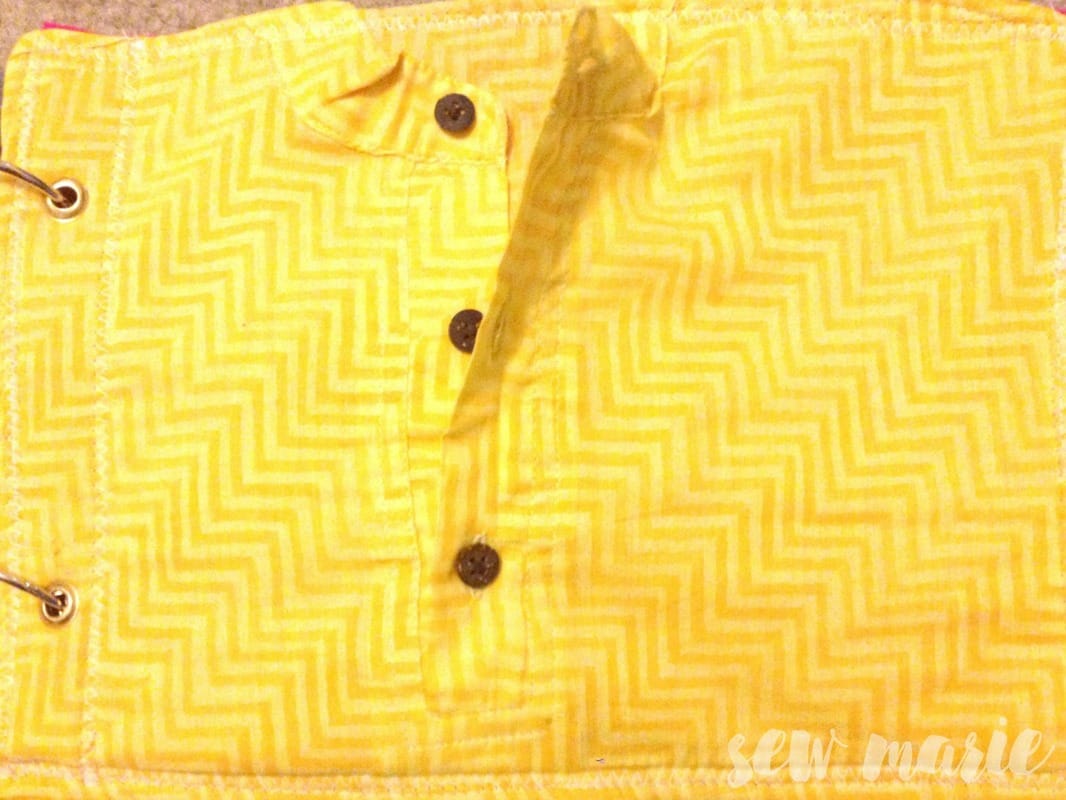
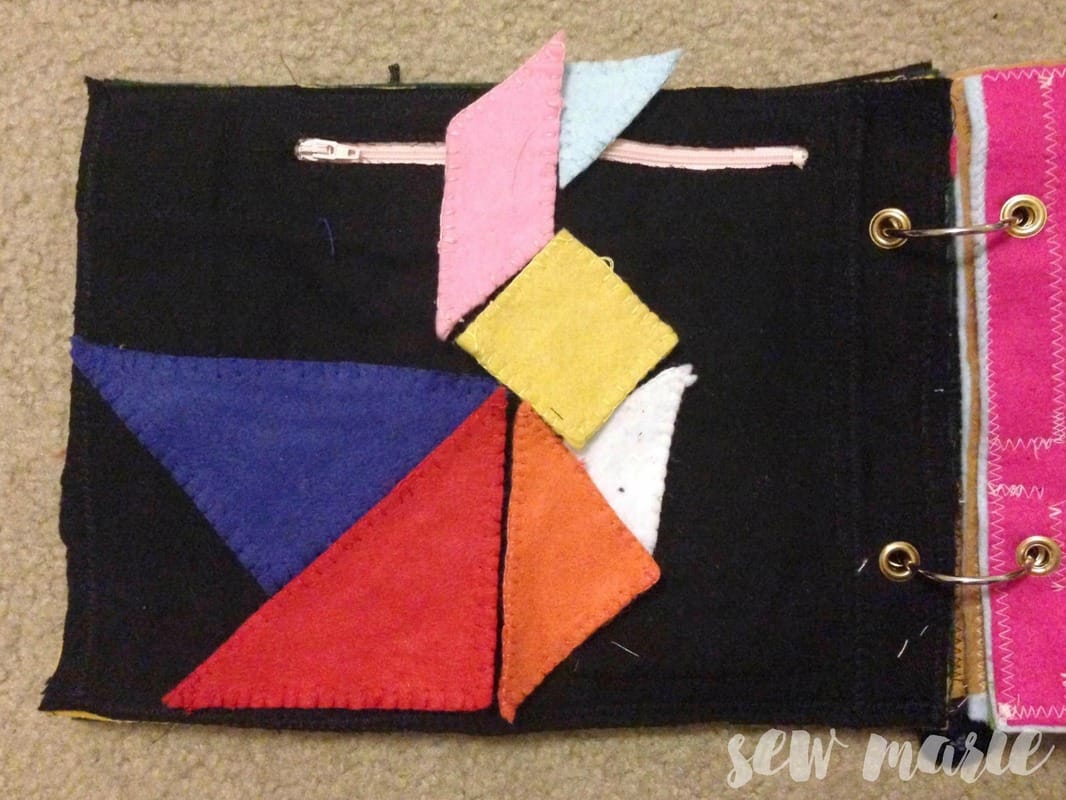
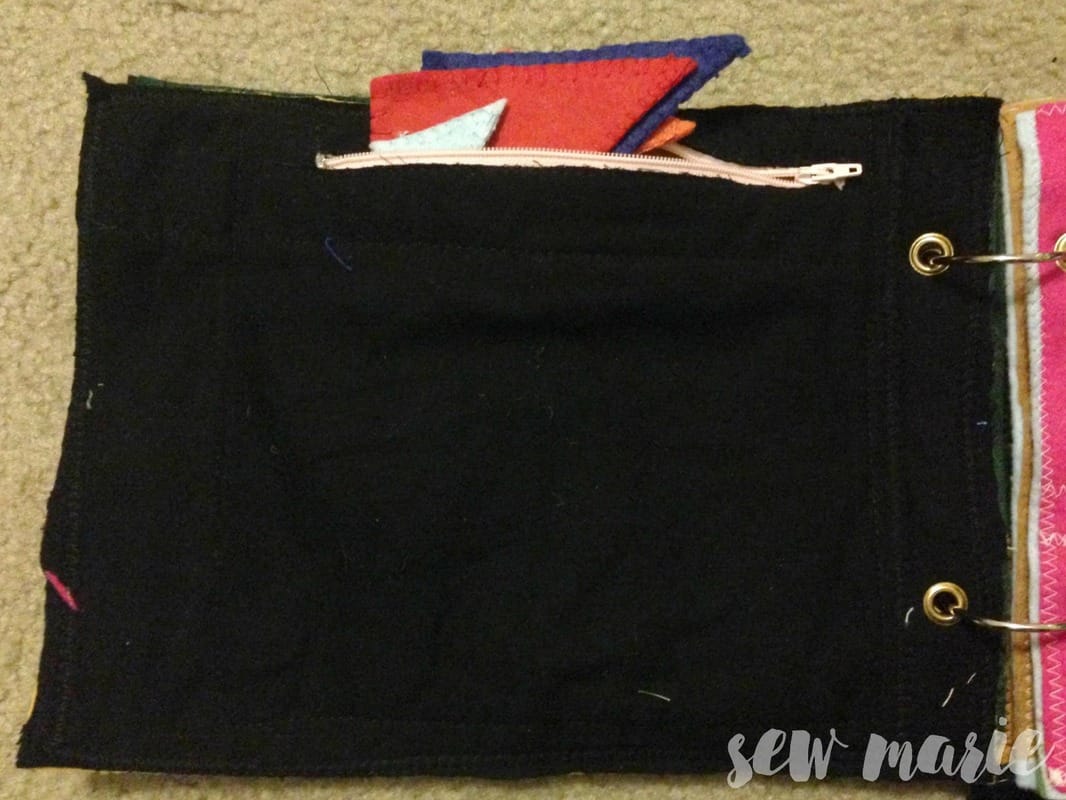
I used a random piece of 9 x 12" felt and covered it in light blue flannel (only because I was out of light blue felt). I found clipart of the castle on the mountain, and of Elsa, traced it on to freezer paper and cut the pieces out. They're pretty small so it was a little tricky. I layered Elsa over two pieces of blue felt because her dress was a very similar color to the background, I added beads to her bodice (triple stitched - still a choking hazard, always supervise your child!) and some snowflake stickers. To make the "maze" I used scraps of white felt, and stitched them around the D-ring, and then to the background. I cut a shoelace in half and stitched it under Elsa. More snowflake stickers were glued to buttons on the background (for more depth). I hope you and your little one enjoy your quiet book! Leave a comment with any questions you have about the pattern or materials! Bailey 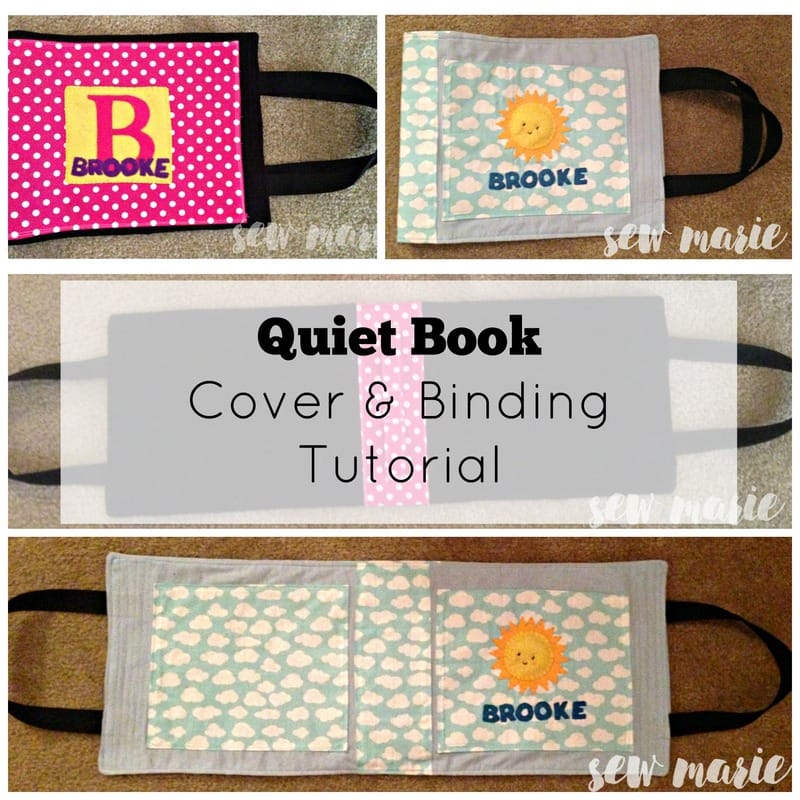 Quiet books seem to be getting more and more popular on Pinterest and Etsy. Some want to do it themselves, some just like looking at them, and some are in the market to buy a crafty quiet book for their little one. If you've looked at enough online, you'll notice a few major blogs that have shared hundreds of ideas, as well as tutorials on how they chose to bind their book. I did a decent amount of research to decide what I would do for my quiet book pages. Size of quiet book pages First, I had already decided (and created) my quiet book pages on full 9" x 12" felt sheets. I did try to leave an inch or two on one side of the design knowing it would need to be bound. Others have done their designs on 9" x 9" or 8" x 8" squares, and then mount them to 9" x 12" felt. Using this square pattern allows you to use scraps of non-felt fabric for the background. You can see in the photo below the 9" x 12" landscape oriented pages, with grommets and reinforced binding strip on one side. You'll also see that my cover has plenty of room for this! Prepping the pages For my quiet book binding on the pages, I stitched around the edge of the pages together using a zig-zag stitch. Then I stitched about 1.5" in from the edge. I approximated the first one, and then used it as a guide for the rest. I chose this amount because it worked with the blank margins I allowed for while sewing the pages together. I installed grommets (1/4") with traditional anvil and punch, 2 per page. I used a piece of cardstock, hole punched where I wanted them (about 2 inches from each side) and marked through the cardstock template so they were the same on every page. 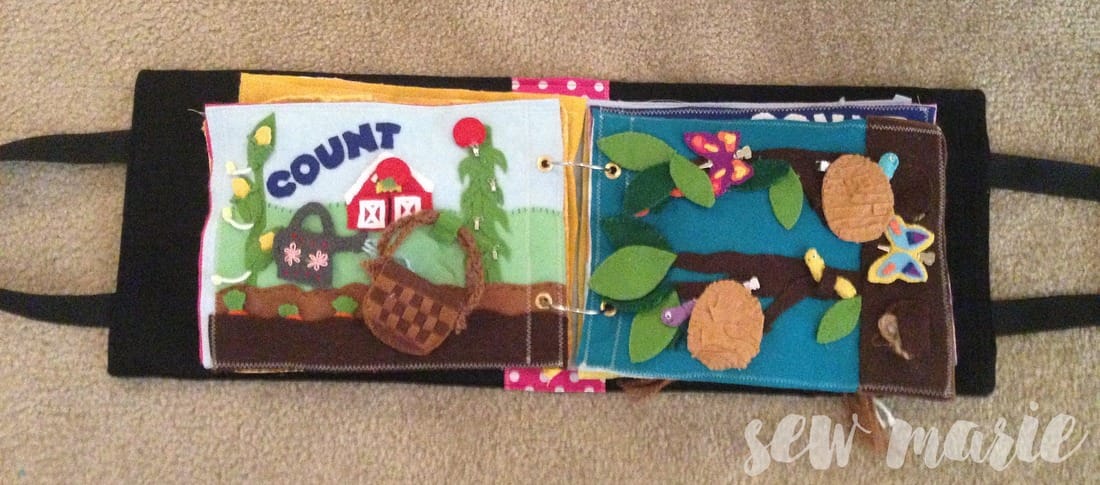 Using binder rings I planned on using binder rings from the start, but hadn't decided how to attach them to the book. Some people install button holes or grommets in the center of their cover, and the binder rings show through to the other side. Other people do a strip of binding inside, like I did, with buttonholes that the rings slip through. And finally, you can see how I did mine (below), I folded a scrap piece of fabric lengthwise multiple times and stitched, then zig-zag stitched it down allowing for room to slip the binder rings under. This way was very simple, looks fine, and meant no more grommets! 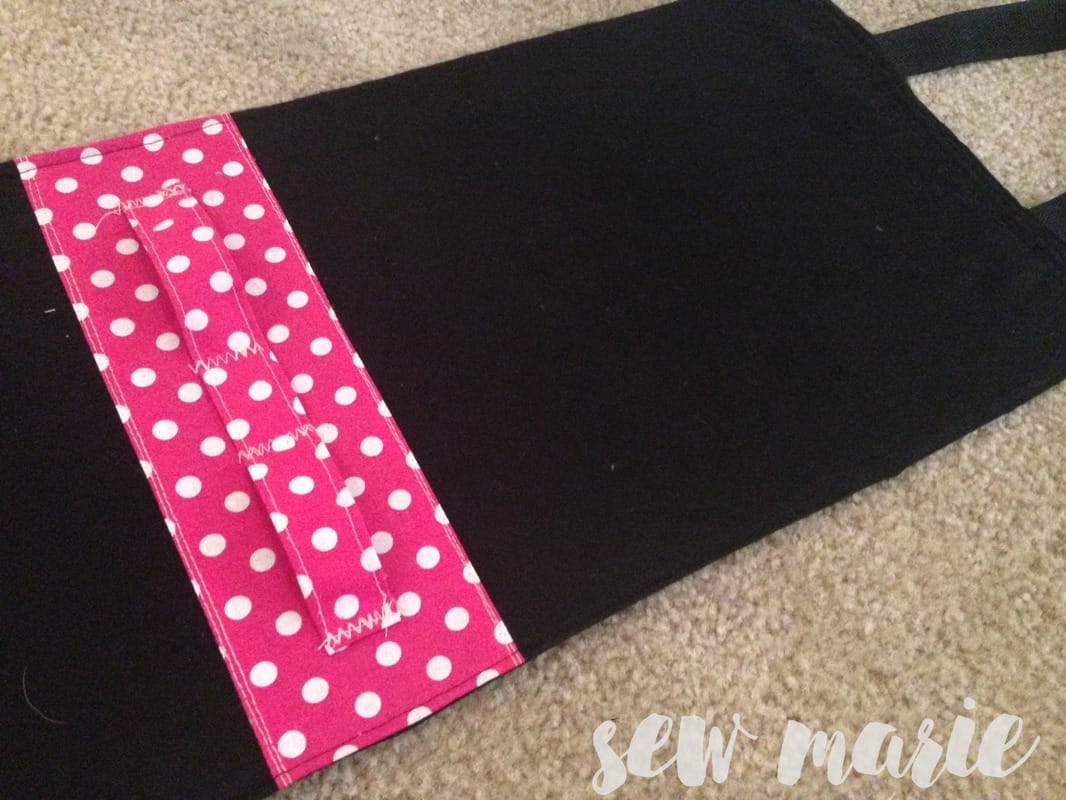 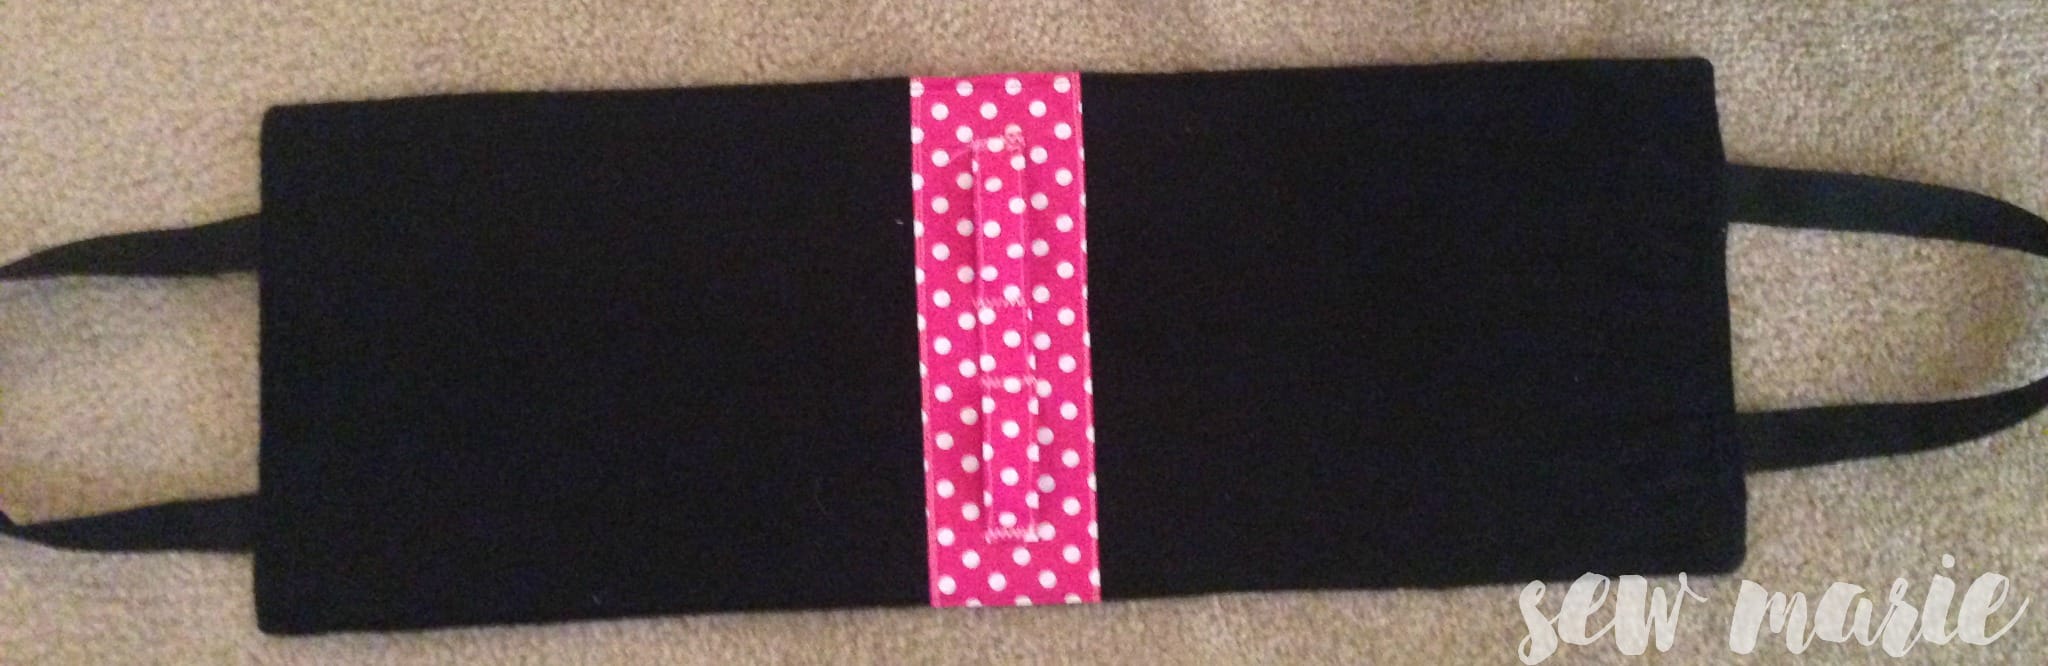 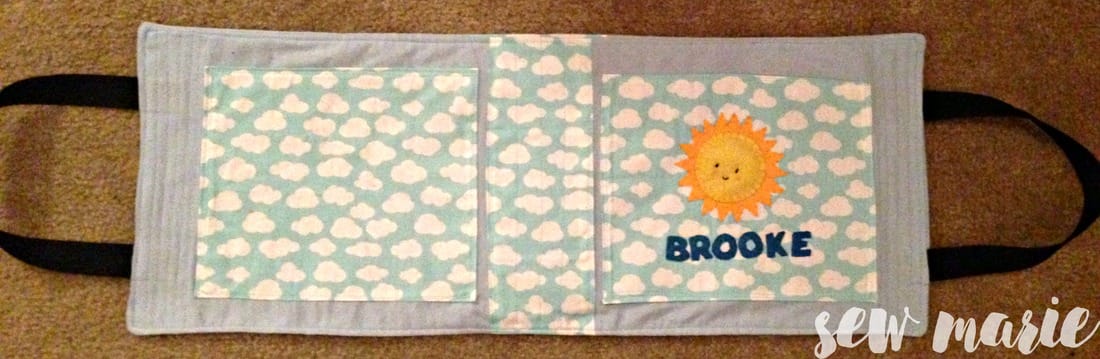 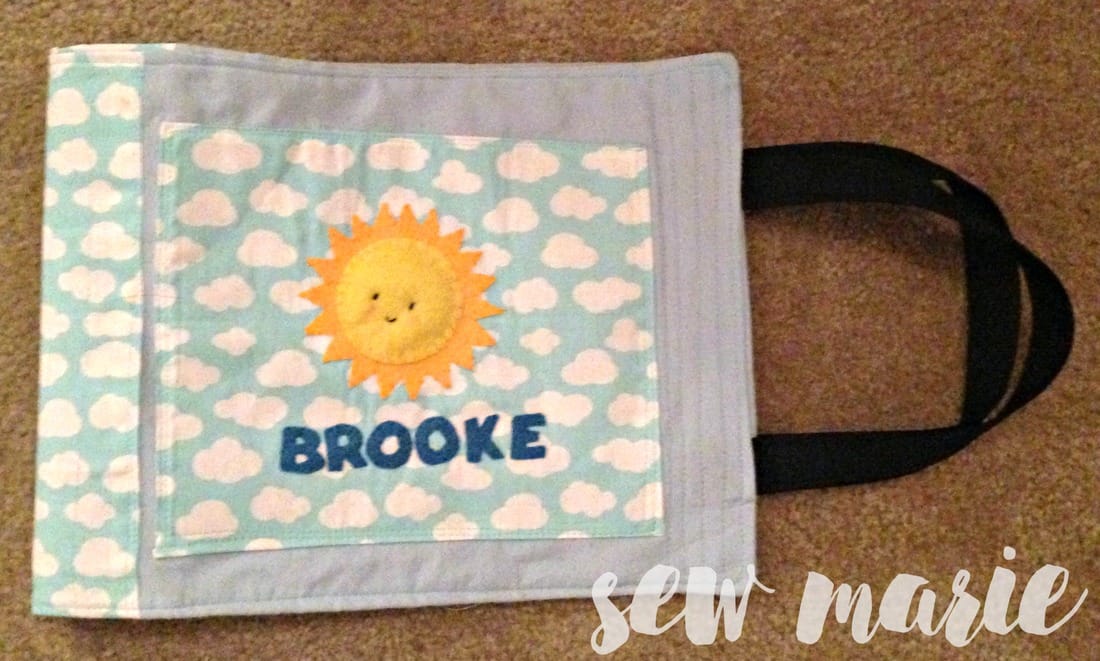 Above you can see the second cover I did, in blue flannel. I Used a matching light blue cotton fabric with clouds on it. With the lighter color fabric (versus the black and pink version) you can see the reinforcement lines I used to secure the handles. You could also do these on the binding. I used sheets of fusible interfacing (double-sized) to secure the squares on the front and back cover, as well as the outside and inner binding. I ironed a hem and stitched around to secure.
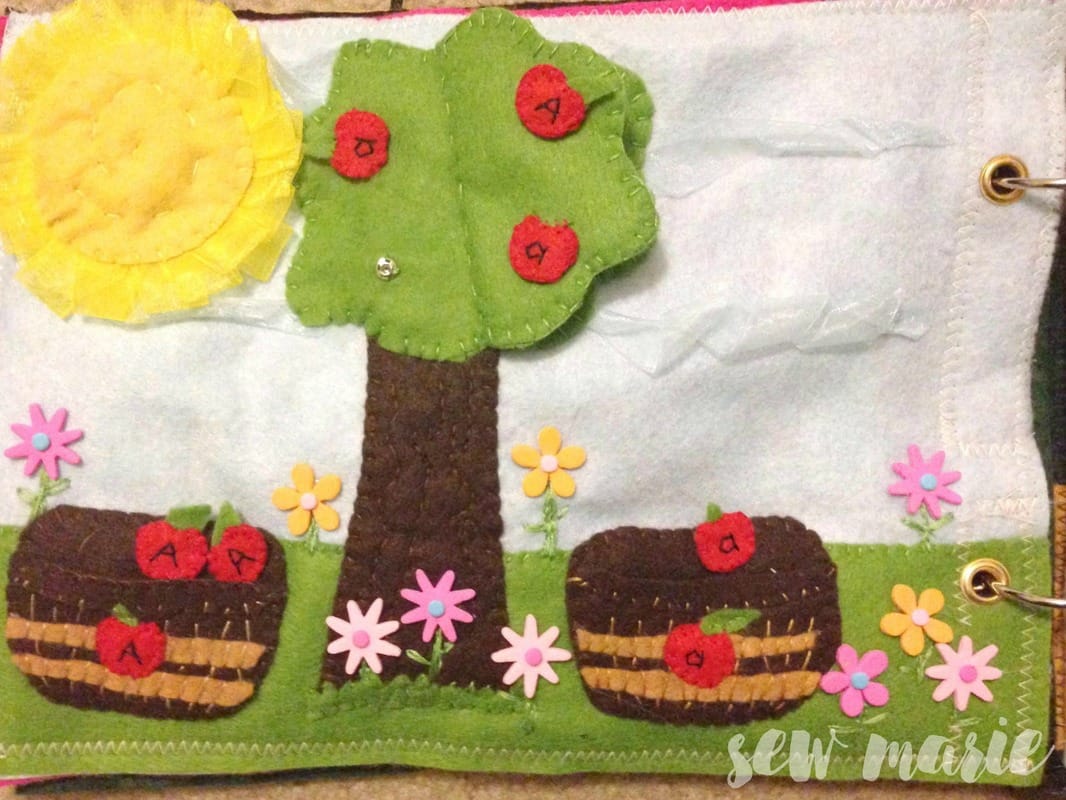
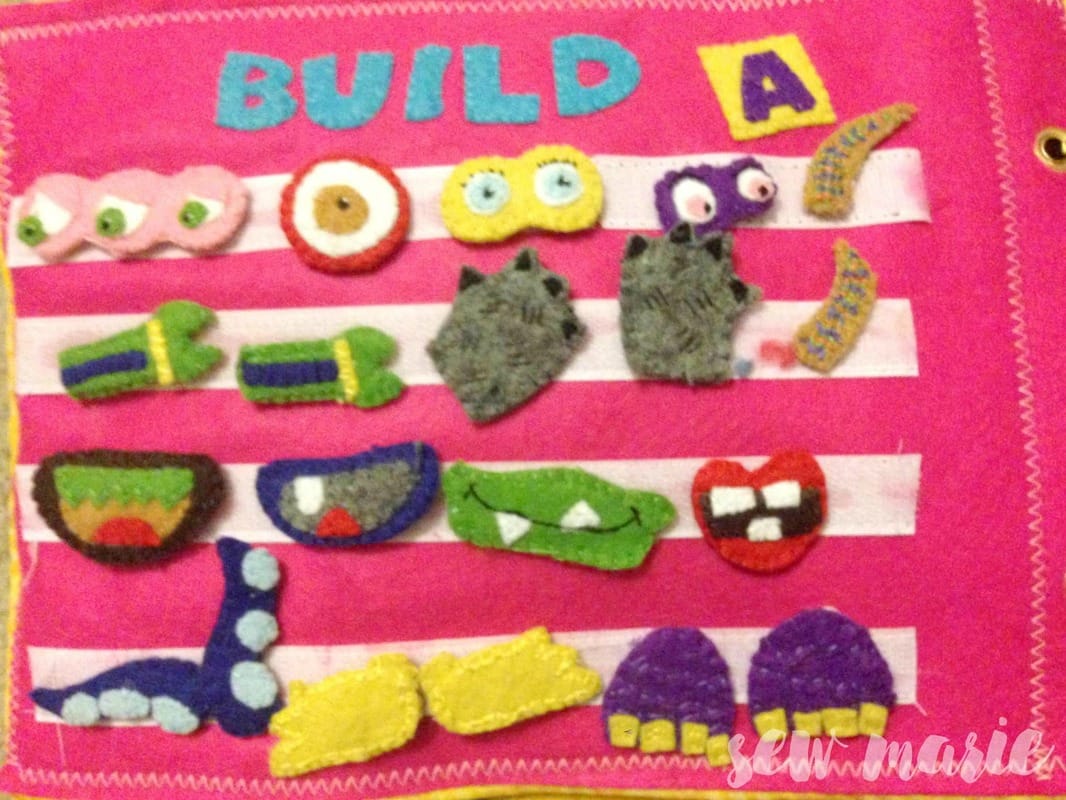
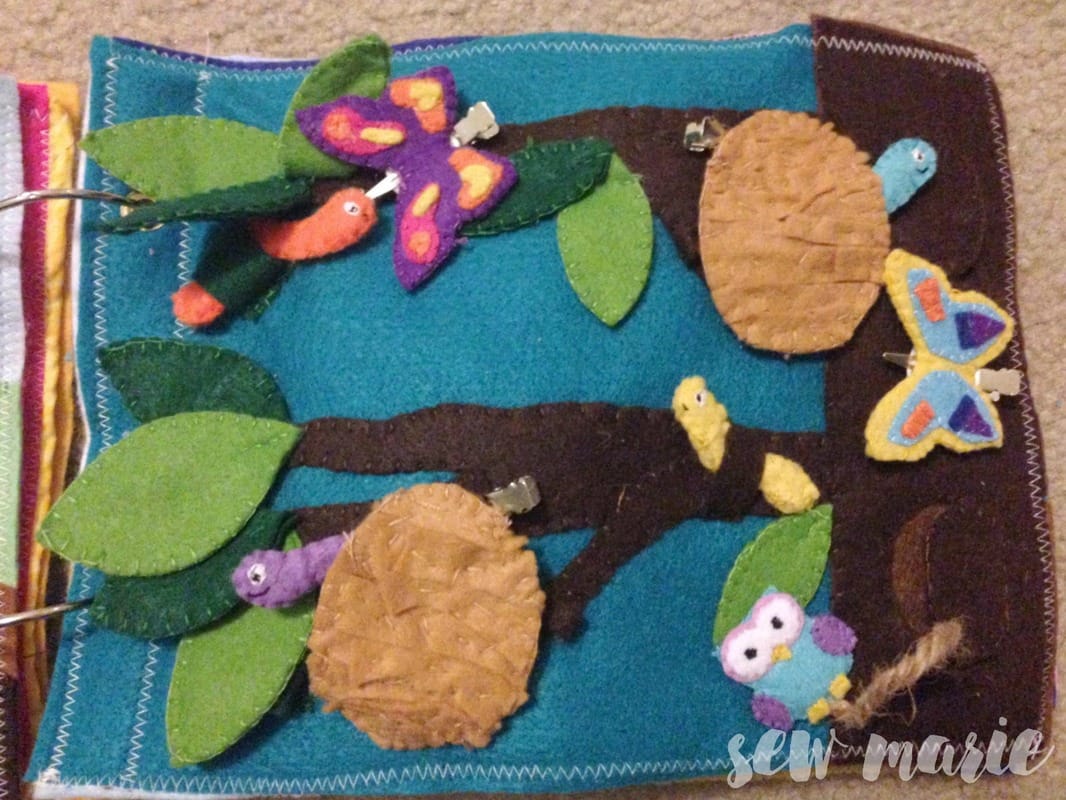
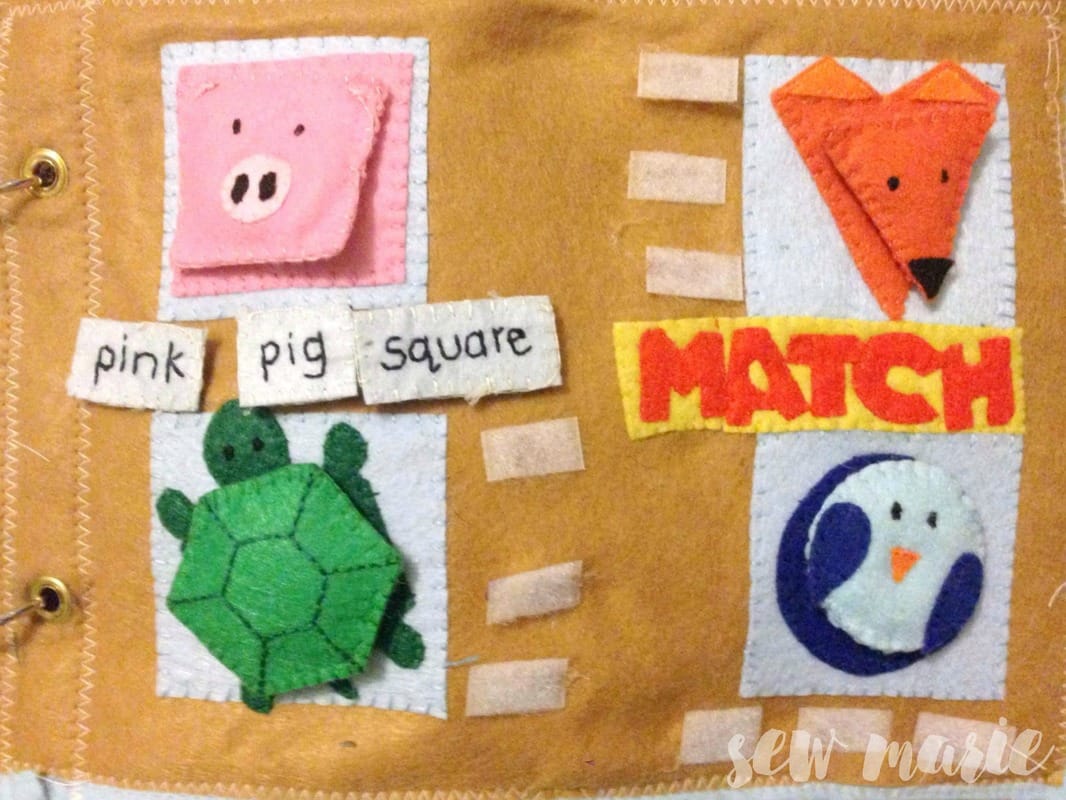
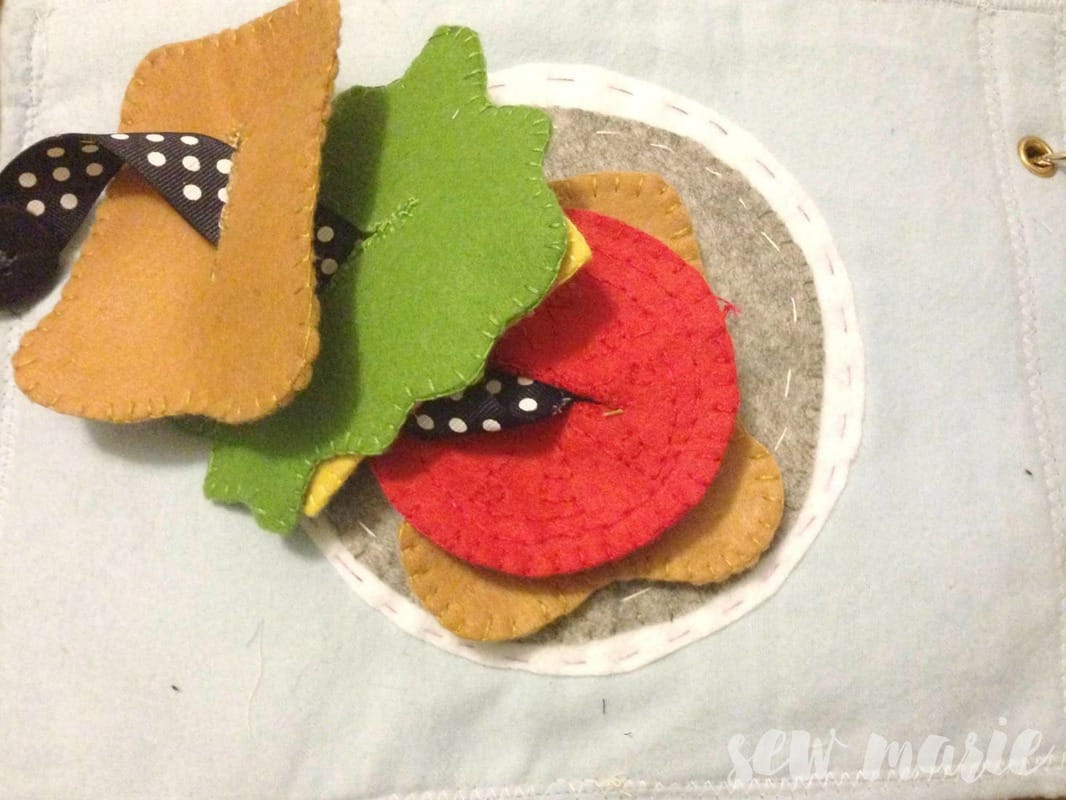
I hope you enjoyed my quiet book covers! Please comment with any questions you have about my pattern, inspiration, measurements, or materials,. Bailey I've long been fascinated with the felt quiet books I see on Pinterest - I love how they combine creativity, imagination, and education for little hands. I decided to take the dive and try my hand. I purchased cheap acrylic felt on Amazon (9 x 12" soft, 4 x 4" stiff), grommets and installer from a local hardware store, and various bits and bobbles from the Dollar Tree. I plan on sharing some details about these pages in future posts. But here they are in a gallery! Please comment with any questions you have about my materials, how-to, patterns, etc. or if you'd like to see something else! Skip the work and buy your quiet books from my Etsy shop. 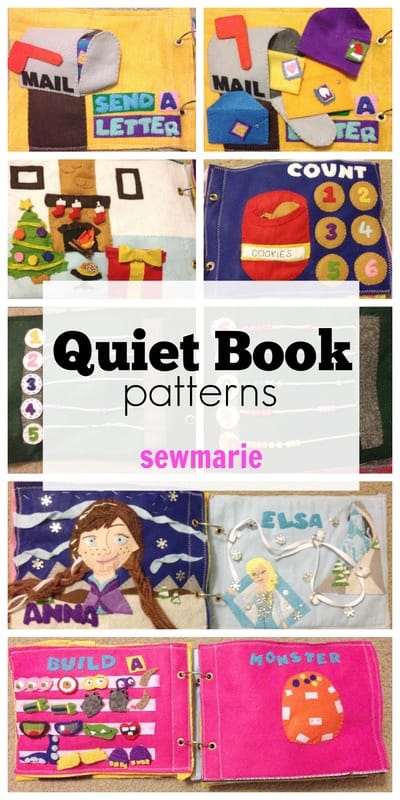 Can't wait to see your final results!
Bailey
I was home over Spring Break, basking in the glory of our fully stocked craft room and thought that making some pillow covers would be harmless in prepping for our new home this summer. I spent time on Pinterest looking for inspiration - I wanted neutral but interesting.
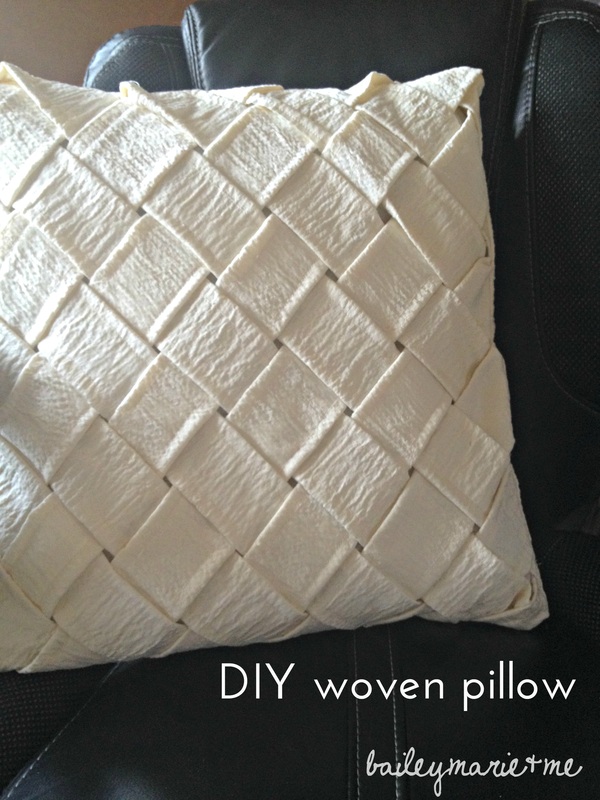
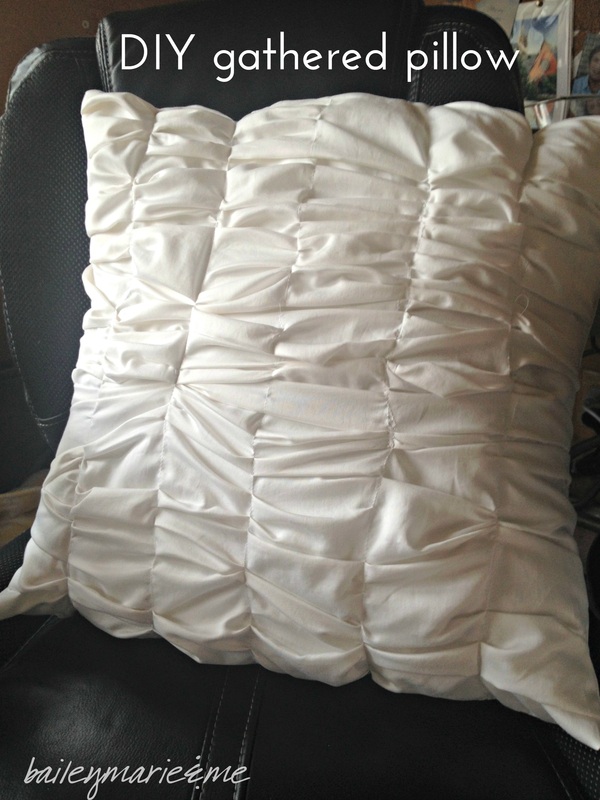
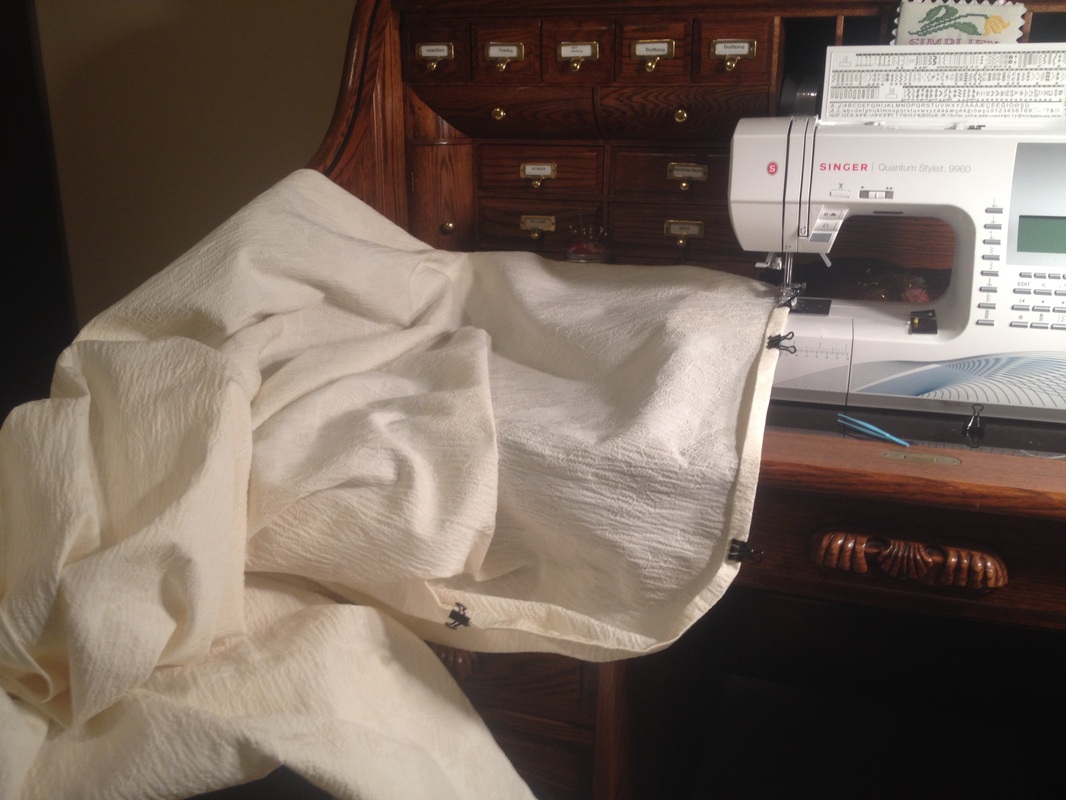
Gathered Pillow - I cut apart a soft pillowcase and marked 5 lines down the square. Then I zig-zag stitched crochet cord through, and pulled to gather the fabric. These gathers didn't stay very well though and ended up uneven. I ended up gathering the fabric as I sewed it with straight stitch. You don't want to make gathers and push it through because the sewing foot will straighten the fabric. Make a gather and pinch it together as it goes through the sewing. If a row comes out not gathered enough, just go back through! For the back, I did an envelope so that it looks nice but can be interchanged. Let me know if you need help with that! Woven Pillow - Using the same fabric as my curtains, I cut 3" strips that were very long lengthwise, and then hemmed each side. Using my pillow form as a size guide, I laid strips diagonally, cutting them as I needed. Then I wove them, pinned, and stitched around the edges. Flipping the piece over, I did long running stitches to further secure the woven pieces. Then I attached it to an envelope back. This pillow form is much flatter than the gathered pillow form, which is why the latter looks a bit fuller. Do you use pillows to add a splash of texture or color to your rooms? Bailey Have you seen this charming sampler on Pinterest? I did awhile ago, and recently discovered KG Chart cross-stitch software. Going off the grainy image, I charted it out. This is for personal use only, as the original link goes to an old eBay bid, without information on the designer. Further searches also did not reveal any other information - comment if you know something! 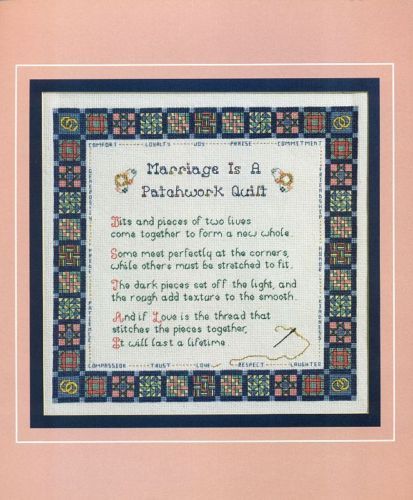 I did the best I could with the smaller words - some were hard to make out. Also feel free to add backstitching - it was tedious in the software to do so on the border designs. I just love how it looks like an heirloom quilt. 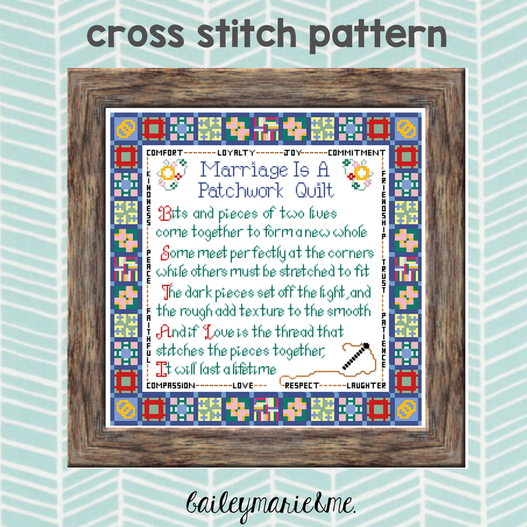 There are 2 PDF patterns, one with symbols and one in color. Please leave a comment if you download! I love hearing about projects. Are you going to change the color combinations? Add a personalization? Marriage is a Patchwork Quilt - Symbols Marriage is a Patchwork Quilt - Color There are a lot of guides for machine quilting out there, but that may be where most of the information on sewing large projects stops. My sewing machine has an attachable quilting table, but I've never used it. After sewing curtain panels 90+ in long (and also a few basic quilts) I have come up with a few tips that help, from measuring and cutting to sewing and finishing. 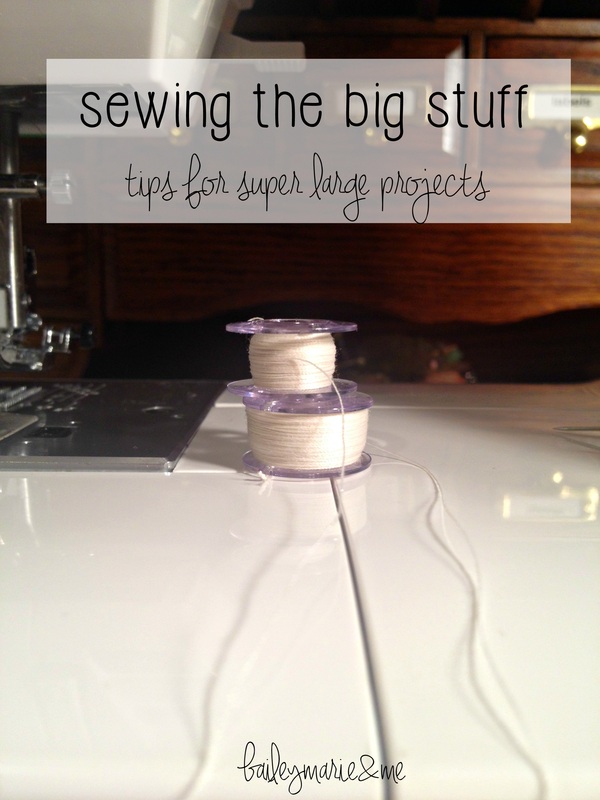 1. Wind up extra bobbins! You do not want to let out a sigh of relief after a 100 inch hem only to realize your bobbin ran out a few stitches in. 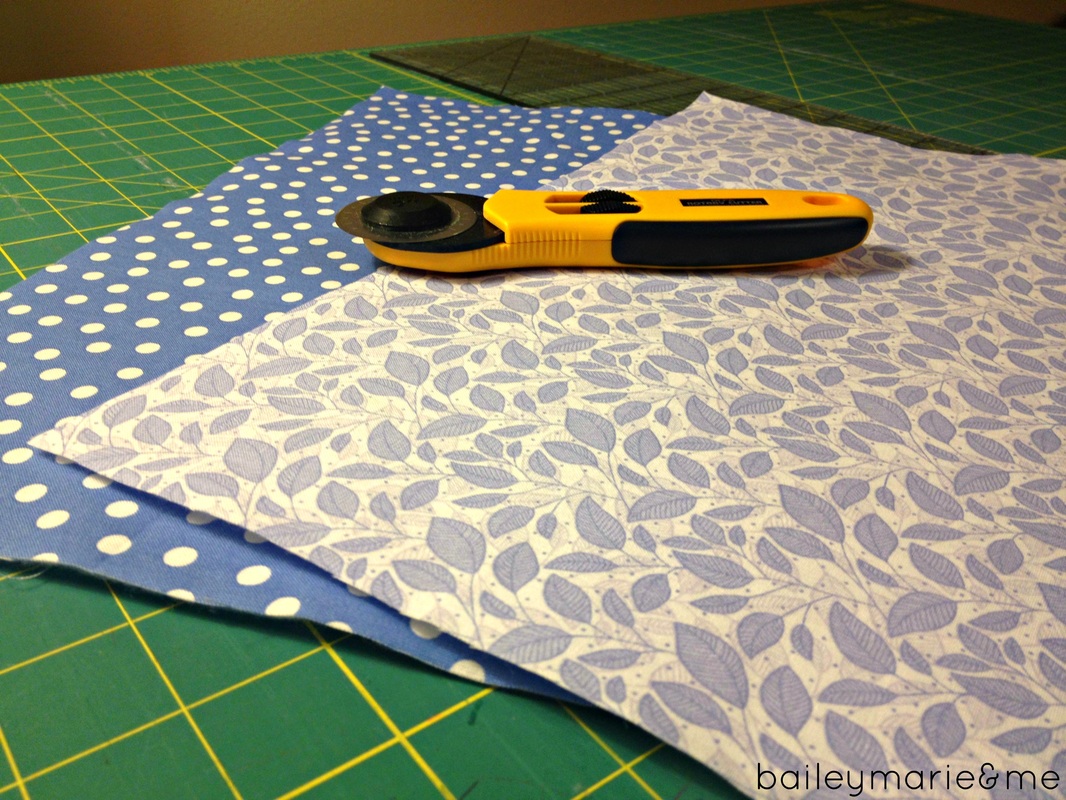 2. Don't stress too much about straight lines. Add a few inches to your measurements - and measure 3 times because those flexible tape measures can be squirrely. To me, a large project means too large to cut rotary on a mat. This means you need sharp scissors and a big open space! Also...vacuum your floor first. Divide your total length into thirds or fourths, measure out that length, and then carefully fold your fabric so it is easier to cut.
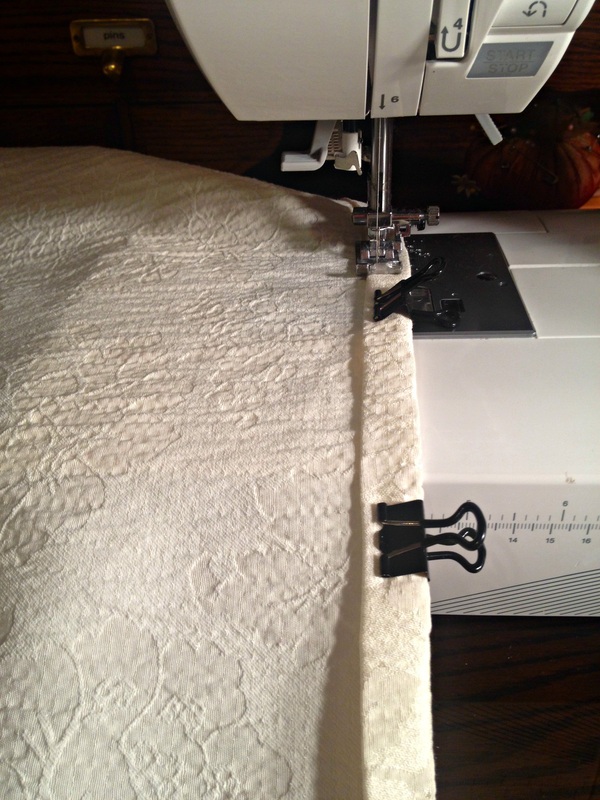
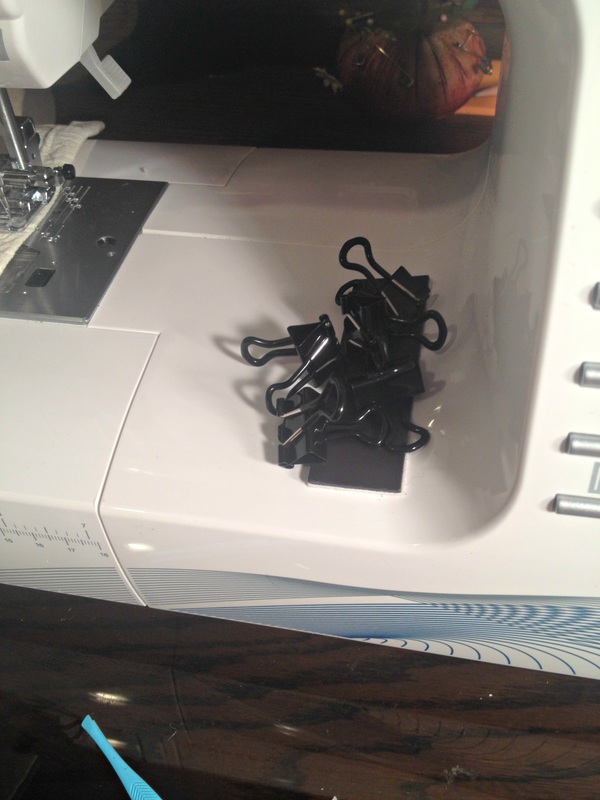
3. Skip the pins. I swear by these binder clips - the ones with plastic coating. Believe me, you'll wish you got the ones with plastic coating when your fingers are numb. I used 3M tape to adhere a kitchen magnet to my sewing machine where I can throw pins and binder clips as I sew. Highly recommended! 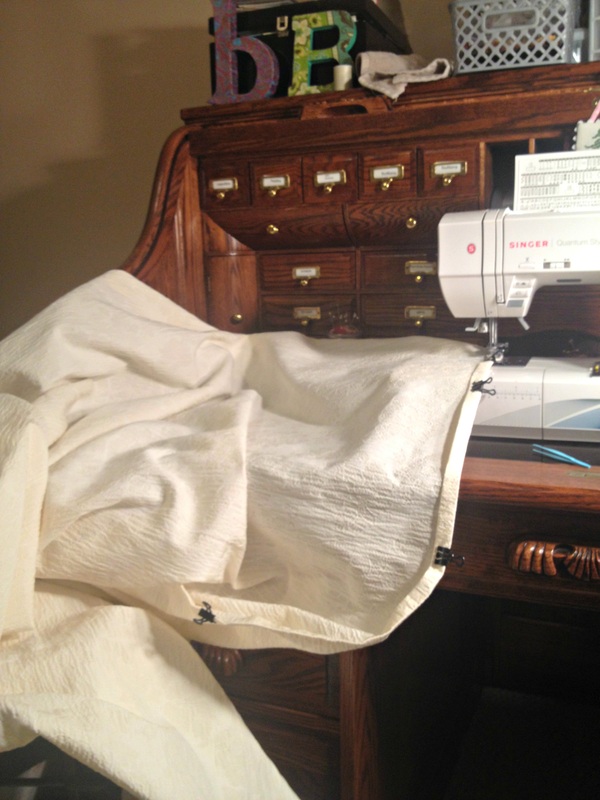 What large projects have you undertaken?
-Bailey Do you have an overflowing pile of fabric scraps? I particularly have a number of squares from creating box-bottom bags. Well, I just sewed some great curtains, and wanted to make some curtain tie backs. What could be cuter than fabric flowers? 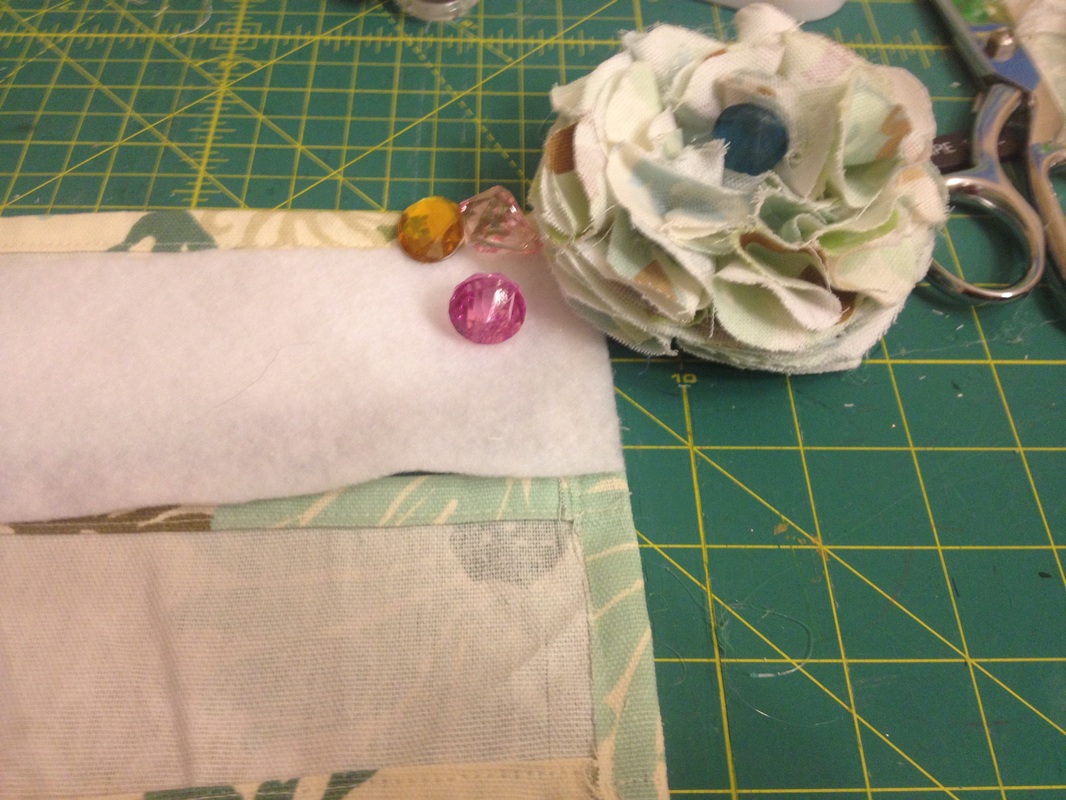 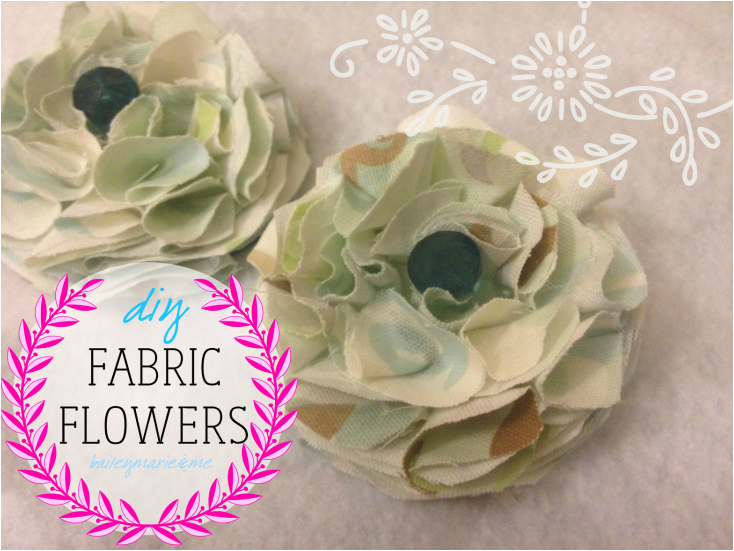 For the flowers:
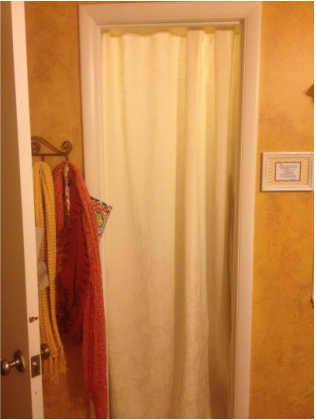
Squares of home decorating weight fabric Bead or rhinestone for center Hot glue Felt square Cut the fabric squares into circles. Fold them, right sides in, into fourths. Use the felt square as your base and glue them down around the edge. Build up until you get the height you want. Finish off with a bead or rhinestone in the center. For the tie-back: My original plan was to use magnets, and I built this elaborate plan to use felt cut down, insert magnets, and attach. But these flowers (about the size of your hand) were too heavy. As soon as I snapped them around the curtains, they just slid down. In the mean time, I am using safety pins (chic, right?) I highly suggest velcro Measure around your curtains. This is the length of your rectangle. Now decide on a width that will support your flower. That is the width of the rectangle. Add 1-inch. Cut out 1 rectangle per tie back, fold, iron, and hem each side. If you are using iron-on batting/interfacing, wait. If you are using sew in, sew it in with the hemming. Attach your flower with hot glue to the center of your rectangle. Attach velcro to the two ends so they overlap cleanly. Ta da! What else could you use these flowers for? Bailey 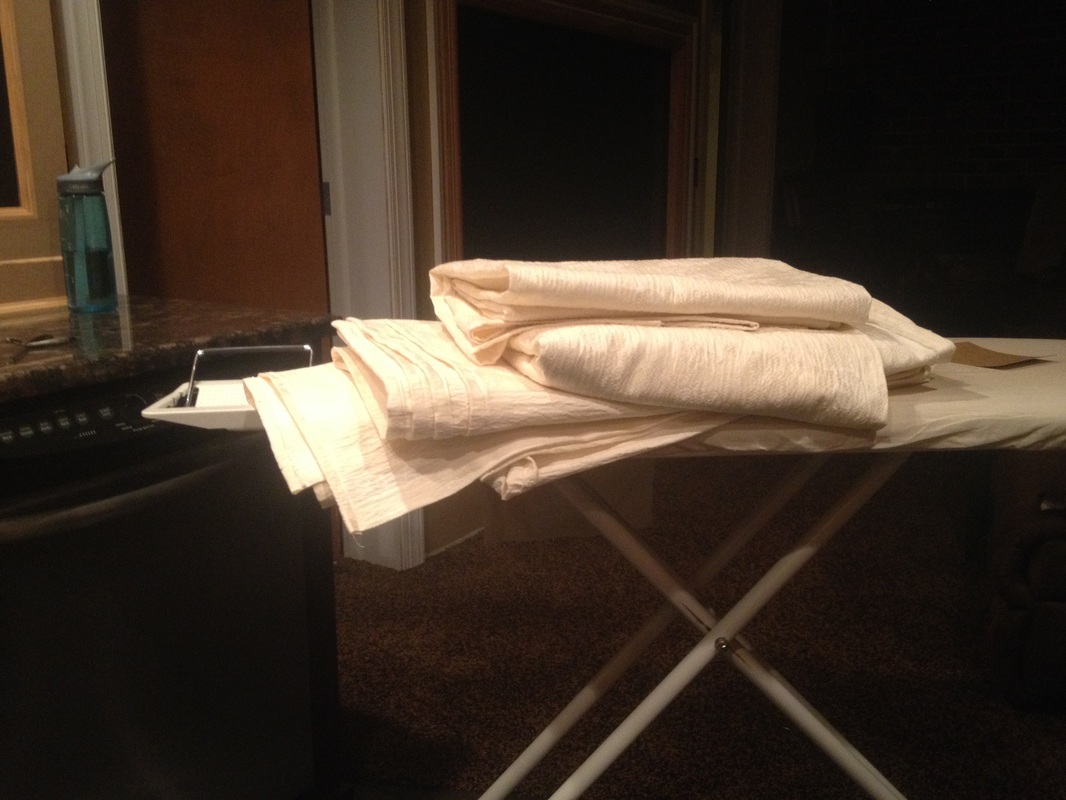 This blog post contains affiliate links to products I used to complete the project. I was not sponsored to write this post and all opinions are my own. If you can hem, you can sew curtains. The decision comes to how you want the curtain to hang. You can sew extended tabs that you see at the top, you can sew tabs on the back of your curtains, or you can sew a large pocket. I went with the large pocket method. Sewing curtains is really great practice for cutting and sewing large pieces of fabric. I suggest searching Pinterest for curtain styling so you can decide how many panels you want, and how you want them to hang. And then you need to measure. Like, measure 5 times. Measure the entire width of the curtain rod/area to hang, then measure from rod to window sill, and rod to floor. Decide how many panels you want, and then decide what width they should be. Add extra length to the curtains and then adjust by hemming later. Did you see my furniture makeover with chalk paint? In high school I decided to paint my quaint off-white, flower decorated furniture set bright red. And then a few years later decided that wasn't really my thing. To match, I had hung thick red curtains. We swapped these out for multiple panels of sheer checker fabric. They weren't really doing it for me either because they were a hassle to pull back, and didn't block out much light. We have bolts and bolts of fabric in our basement, so I picked one out to make curtains. Now, if you do not have a ton of fabric lying around, I highly recommend purchasing curtains. There are a number of DIY tutorials for using flat sheets or drop clothes - these are other decent methods if you can't find a pattern or design that speaks to you. But I don't think that going to the fabric shop to purchase yards of soon-to-be curtains is the most cost effective measures. Definitely one of those times when DIY is not always better. Each of those above is a single curtain panel! They ended up being ~96" long and 54 in wide (entire width of bolt). My trick for cutting large pieces of fabric: gather your pins, scissors, and fabric in a large room with empty floor space. Divide your entire length into thirds or quarters. Measure that amount, and fold your fabric to that level. Then keep folding your fabric - three times, four times - and then cut. Ta da!
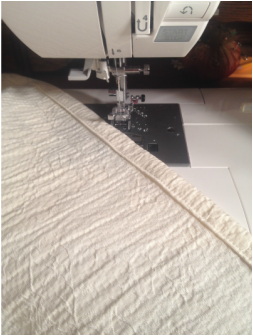
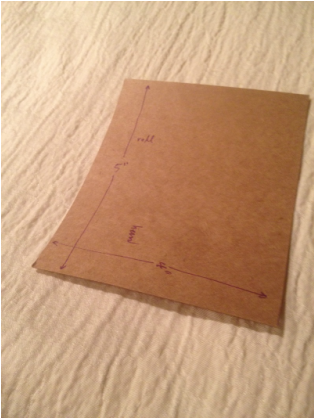
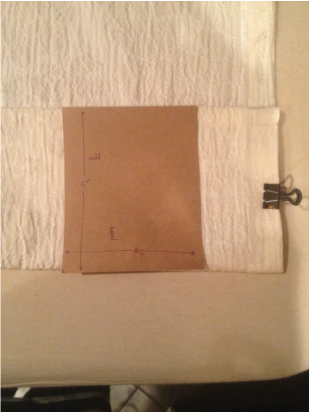
Hem Helpers: cut a piece of cardboard for your top pocket hem ("roll" here - 5") and the bottom hem ("hem" here - 4"). Use it as you iron and fold to make sure your hem is even all the way across.
 Leave questions in the comments!
Bailey |
NewsletterSubscribers get first looks at new patterns, sales, giveaways, and more.
Archives
June 2022
Categories
All
Terms of Use: Please link back to my site if you use one of my original tutorials or photos!
|


 RSS Feed
